Beauty in Gold Scrapbook Page


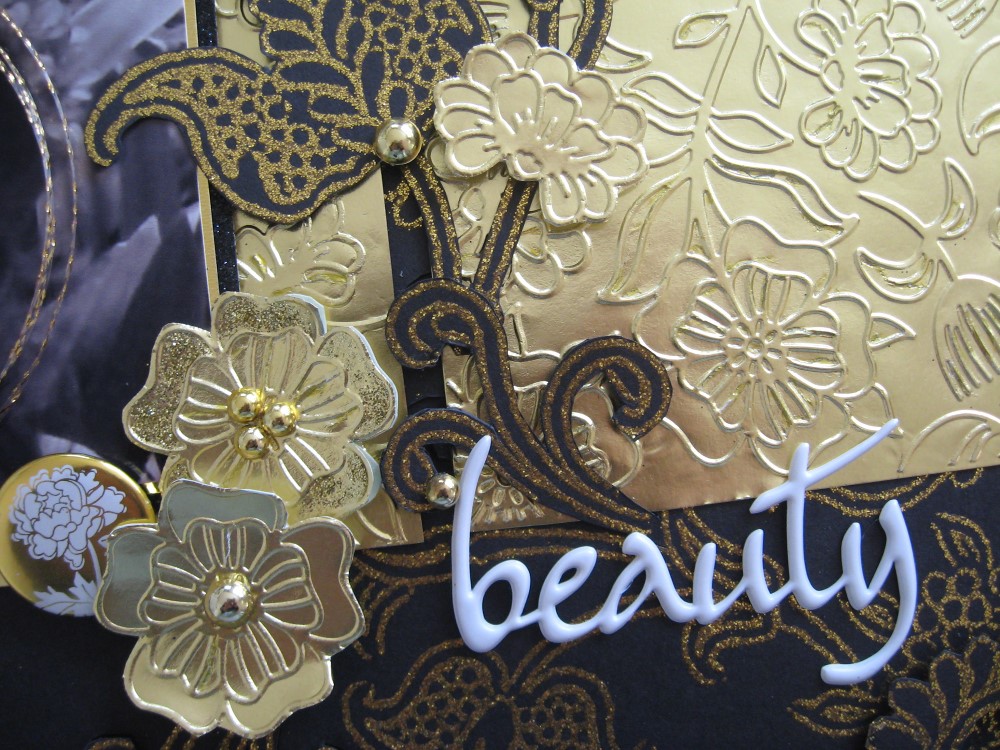
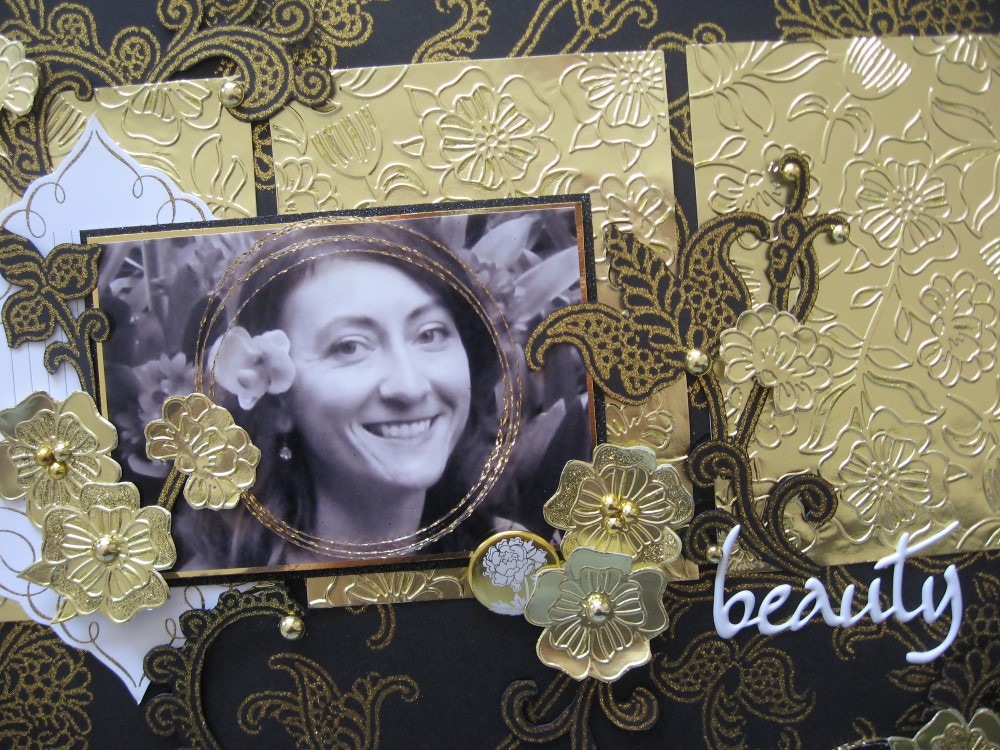
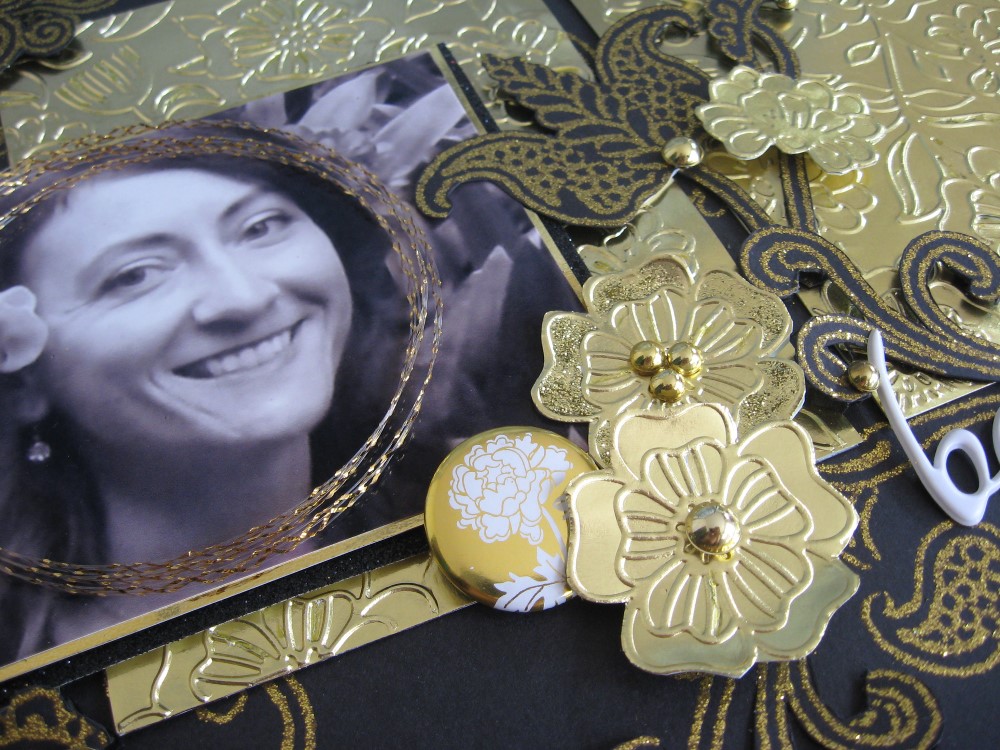
I usually think that metallic papers are best left for Christmas crafting but I went out of my comfort zone and used beautiful gold foil prominently on a scrapbook layout. Using a BW photo and minimizing the number of colors really allowed the gold to take center stage. Embossing the foil creates a wonderful intricate and crisp image and I adore how elegant and feminine the layout came out. In fact you don't need to embellish it because it is so pretty already. Let me show you how I did it and share a few tips with you along the way.
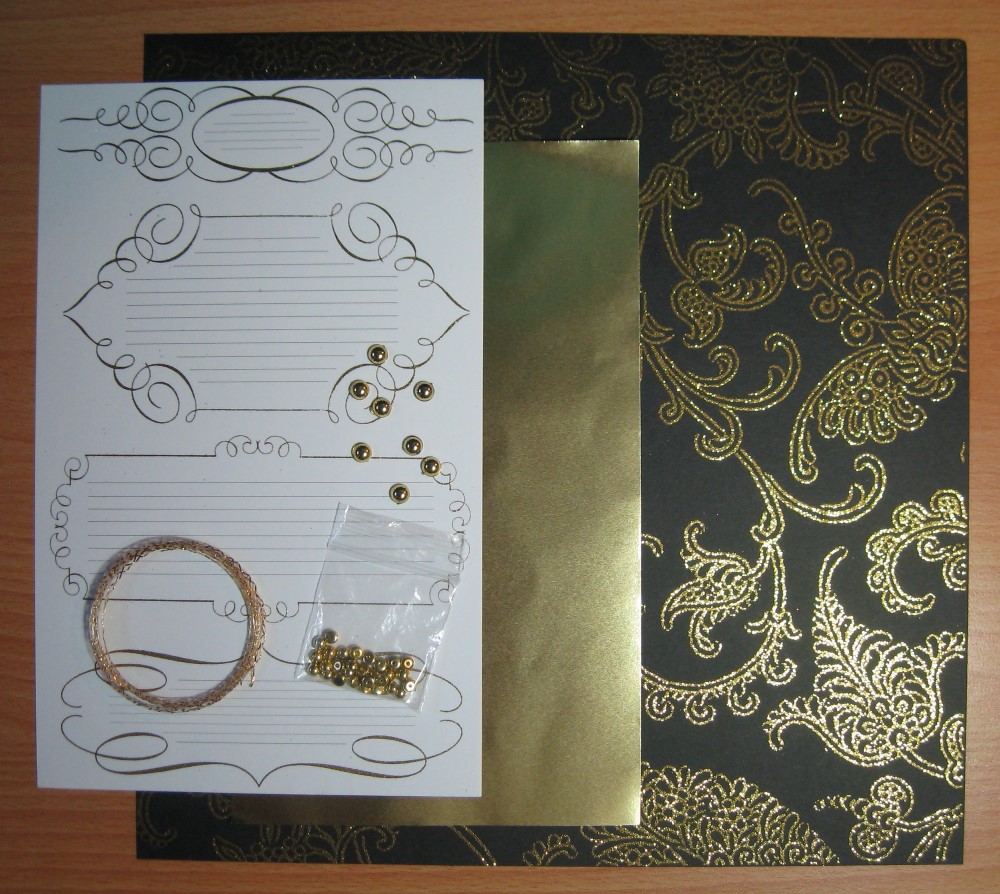
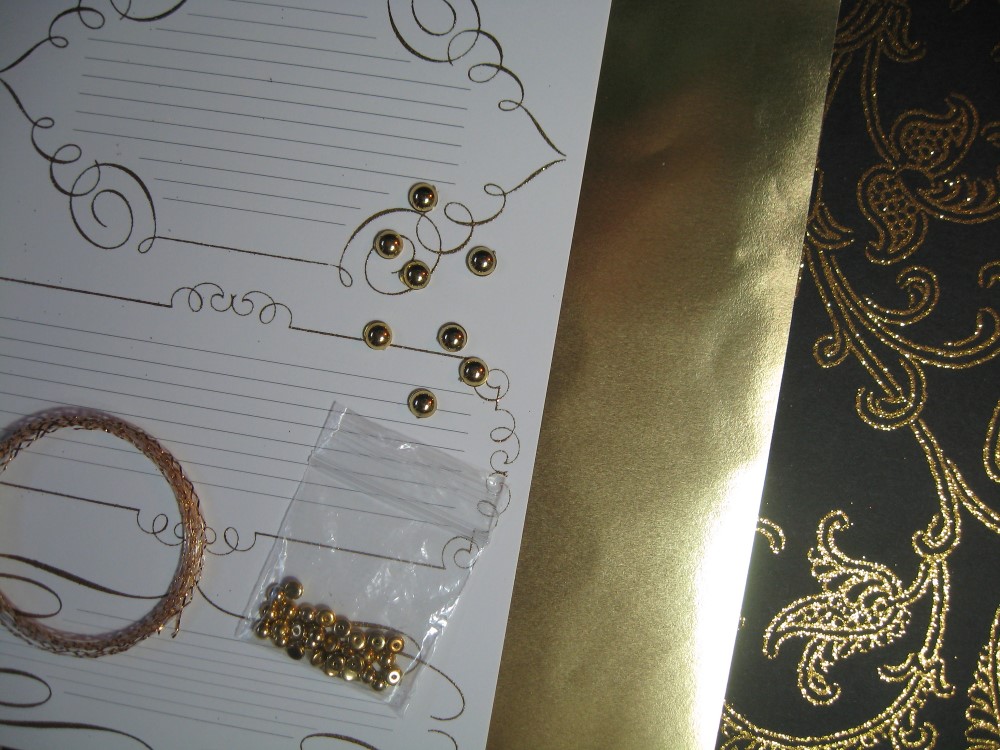
Rinea Supplies:
Crafters Glossy Pack Gold
Other Supplies: double sided tape, Floral Whimsical Embossing Folder (Darice), Ebosser Die Cutting Machine (Craftwell), Black Glitter Cardstock (The Robin's Nest), Black Cardstock, Gold Metallic Dew Drops (The Robin's Nest), Gold Glitter Journaling Tag (The Robin's Nest), Gold Straw Fibers (The Robin's Nest), Craft Knife, 3" Circle Paper Punch, Puffy Sticker Embellishments (Paper House), photo 4x5"
|
|
Directions:
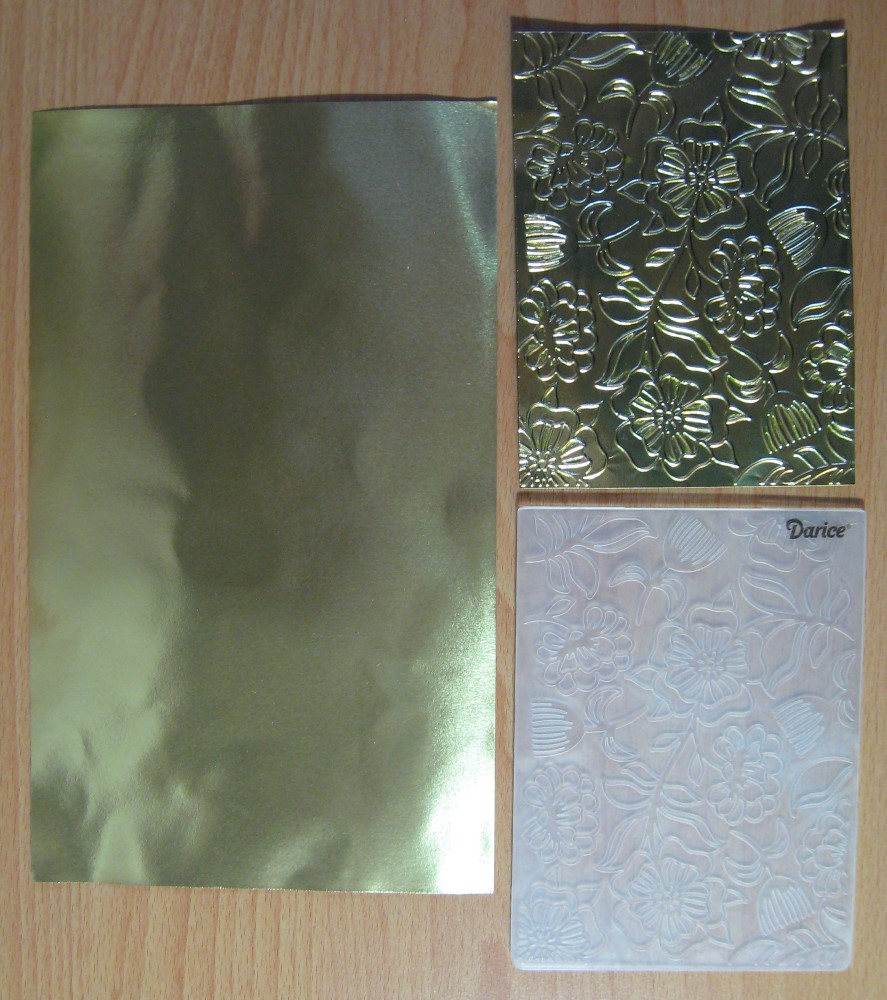
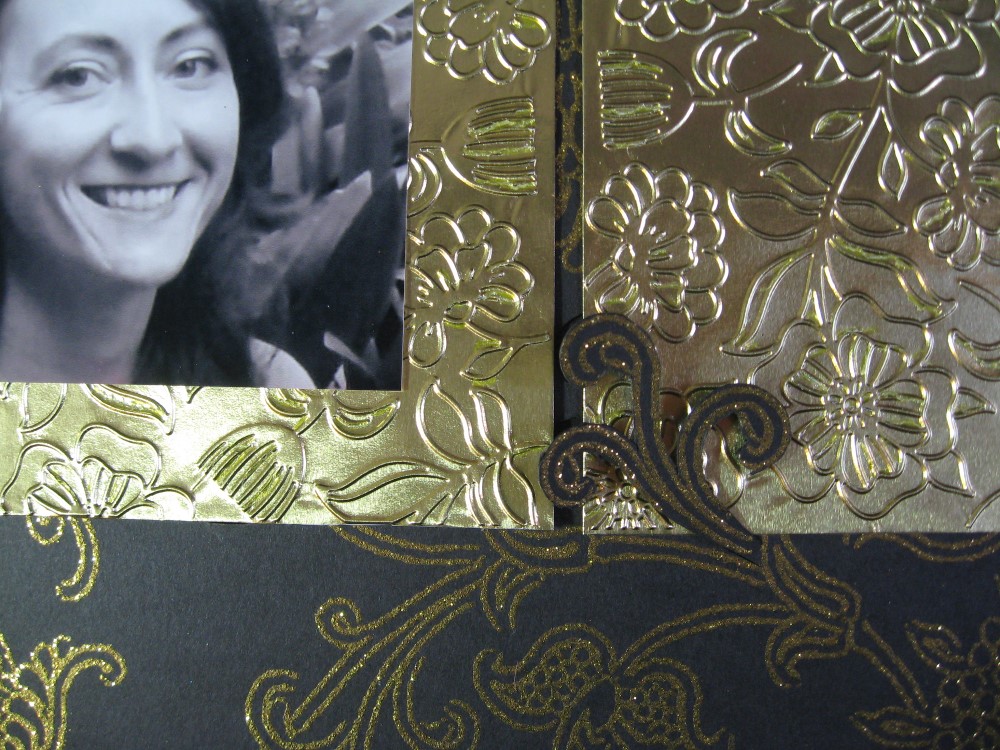
1. Emboss 5 pieces of gold foil. (4x5")
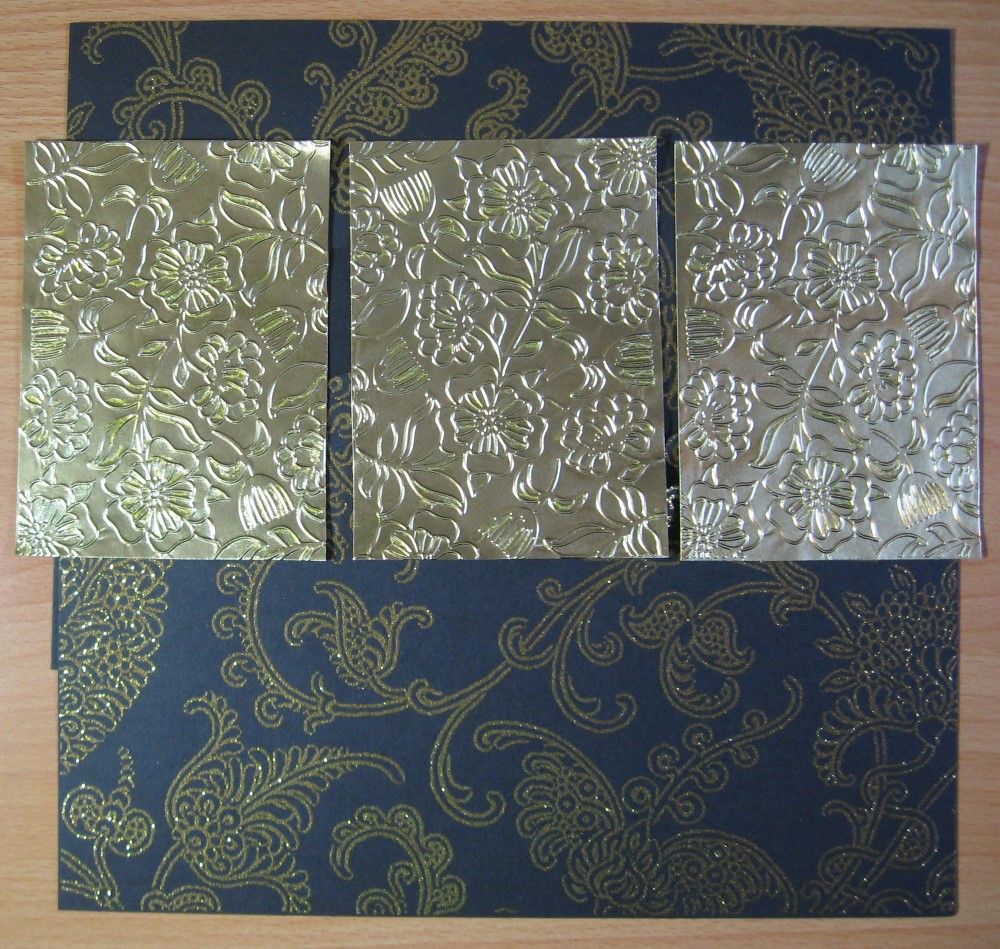
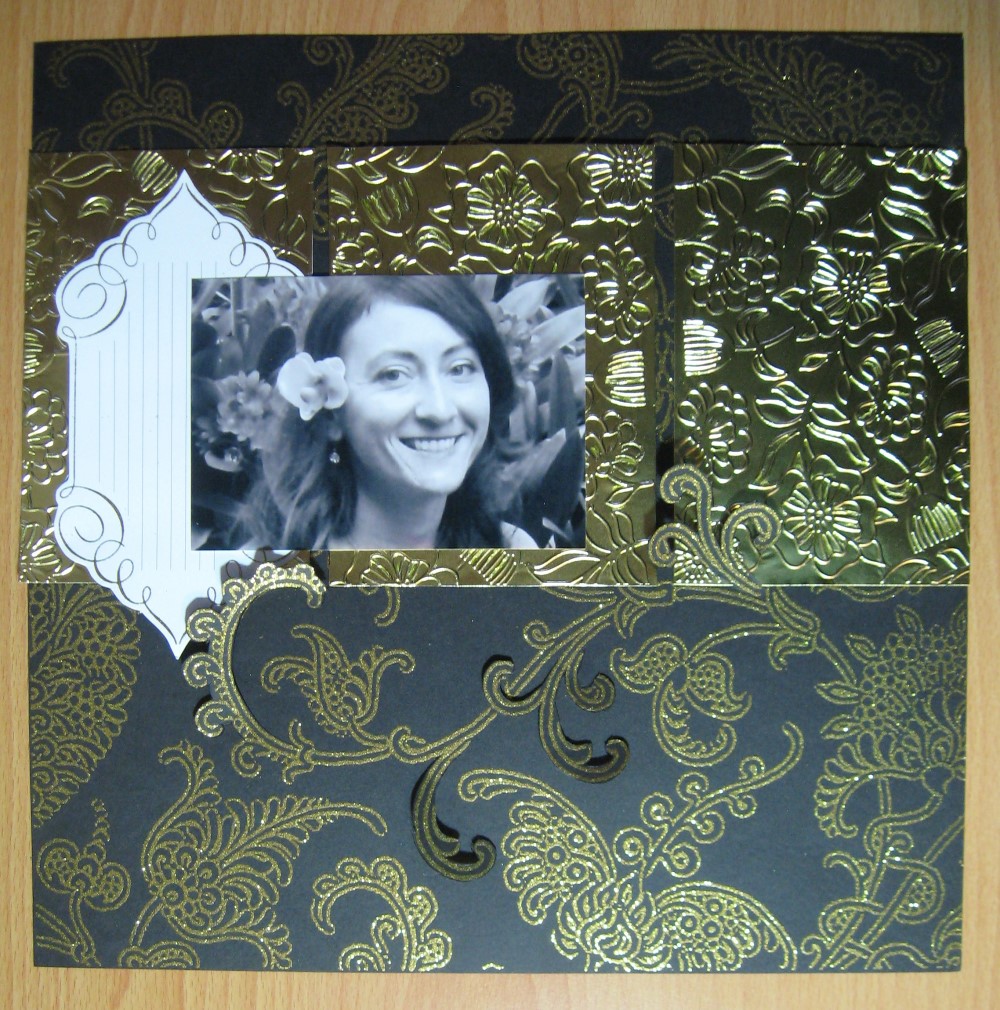
2. Adhere 3 embossed foil pieces vertically across the top 1/3 of the layout leaving a 1/4" gap between them.
3. Next, double matte the photo with gold and then black glitter cardstock. Layer it with a gold glitter journal tag and attach it overlapping the gold embossed foil in the upper left.
|
|

|
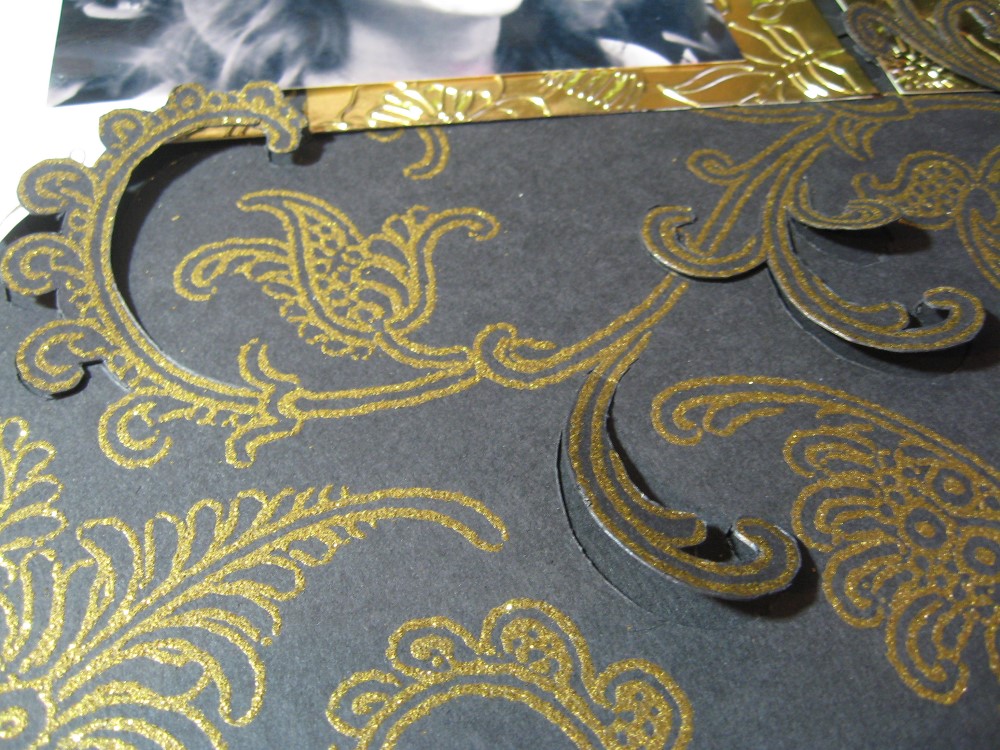
4. Select some flourishes within the patterned background paper and carefully cut around them with a craft knife not to remove them but enough to allow them to be raised with foam tape. After all the selected areas are cut, adhere black cardstock to the back of the layout to camouflage the missing paper and provide support and stability. Place foam tape underneath the flourishes to raise them and to add more dimension to the layout.
|
|
|
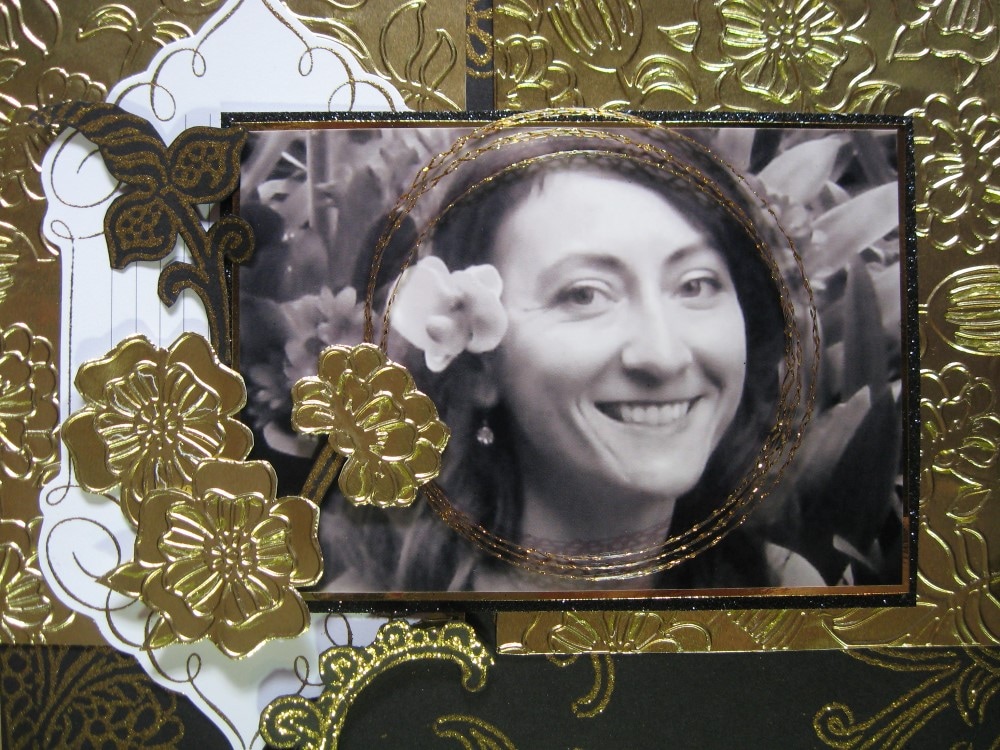
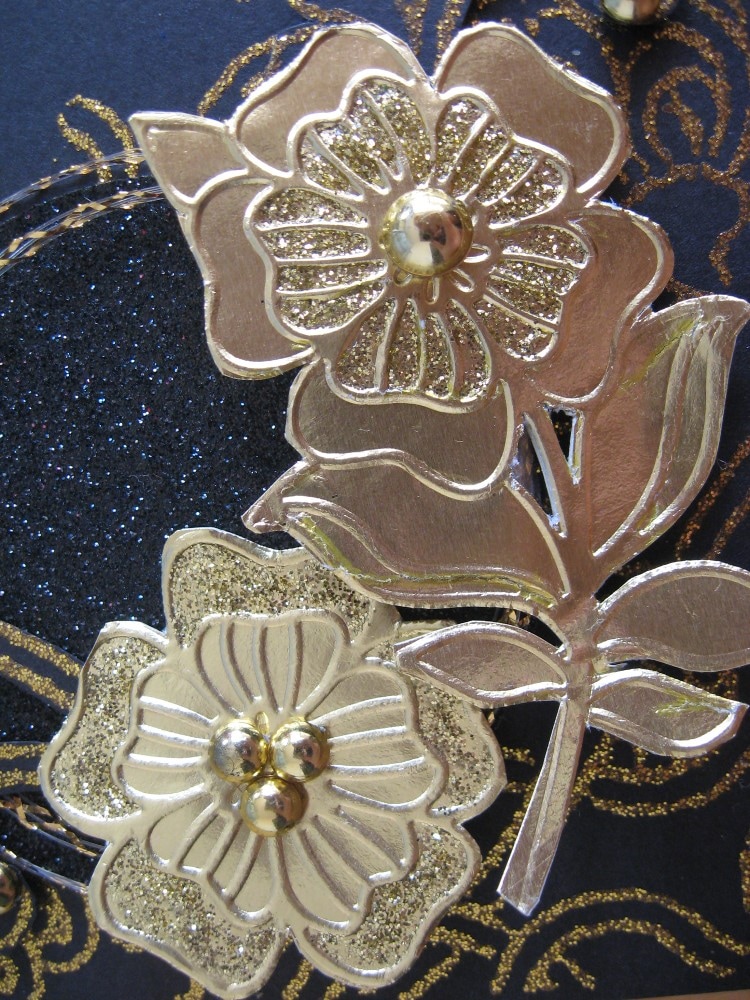
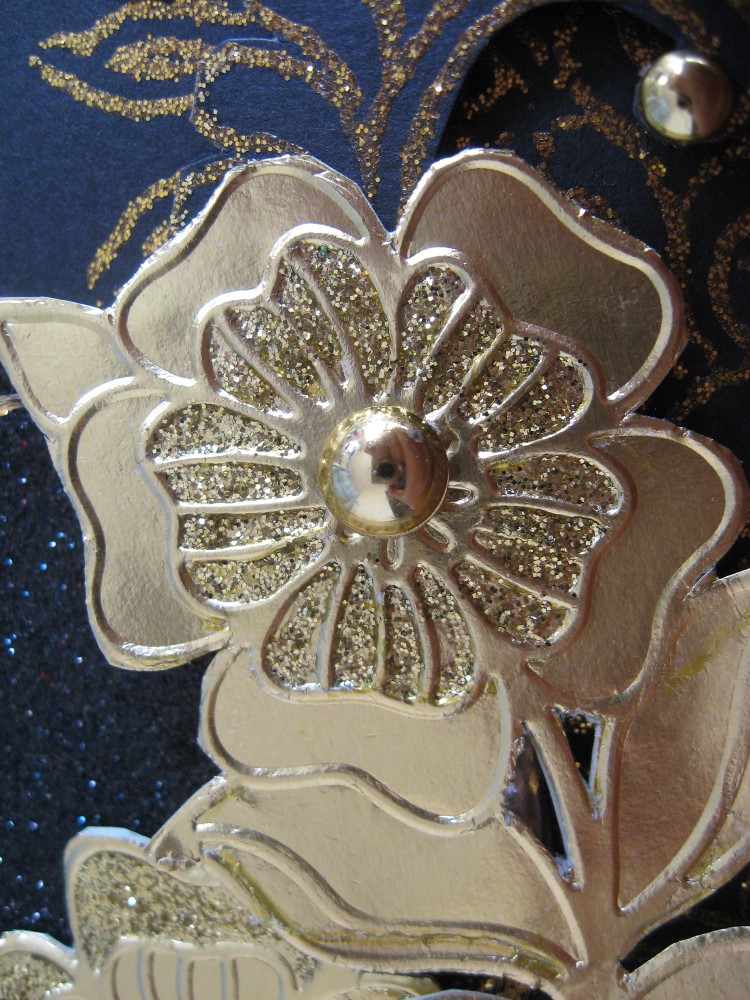
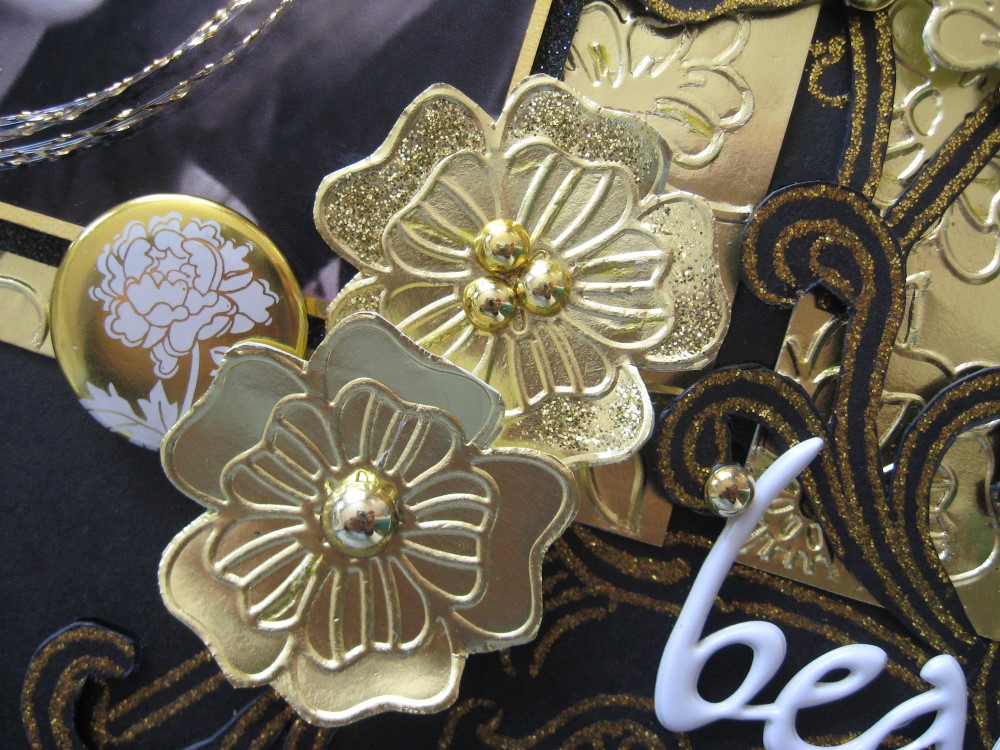
5. Carefully cut out flowers & blossoms from the remaining two gold embossed sheets. Set these aside to be used later as embellishments. (TIP: if you have small gold scraps, place them in the embossing folder aligned over a flower and run it through the die cutting machine.)
6. Carefully, wind 3 loops of Gold Straw into concentric circles and adhere over the photo to accentuate the face.
6. Carefully, wind 3 loops of Gold Straw into concentric circles and adhere over the photo to accentuate the face.

|

|
|
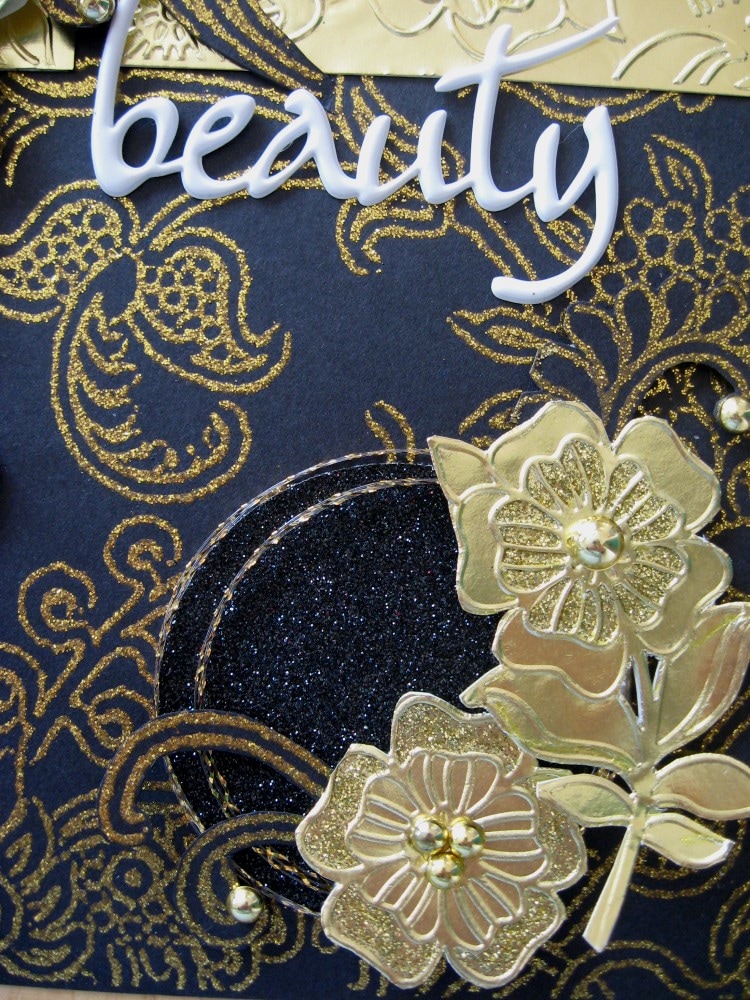
7. Punch a 3" circle of black glitter cardstock and adhere loops of Gold Straw to the edge. Attach gold embossed flowers to the right side and adhere the circular cluster to the lower right corner.
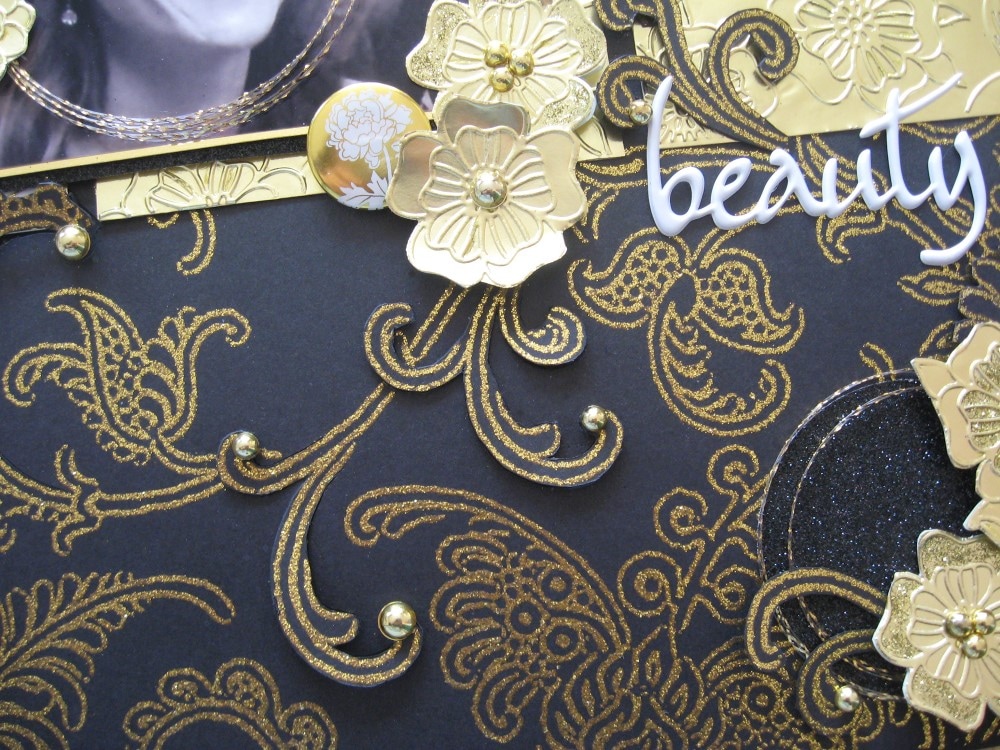
8. Adhere a large word embellishment to the right of the photo.
8. Adhere a large word embellishment to the right of the photo.

|
|
9. Lastly, add gold gems to the center of the flowers. Finally, embellish the layout with clusters of gold embossed flowers. Apply gold glitter glue to some segments of the recessed parts of the petals.
|
|
TIP: Any area of the background paper that will be covered with other layers provides images that can be removed and used as embellishments. If you carefully plan the layout before adhering anything to the background, you can rescue bits of hidden paper. Remove sections and use a craft knife to fussy cut flowers & flourishes to be used as embellishments. All of the black & gold flourish designs were part of the background that was hidden under other layers. This is a very useful technique if you only have one sheet of paper so you can really stretch your supplies further.
|

|
|

|
|
To purchase these supplies, visit Rinea. http://www.rinea.com/
For more inspiring paper-craft projects from the Design Team, be sure to visit us at Rinea Blog http://www.rinea.com/blog and follow us on Facebook. https://www.facebook.com/RineaFoil/
To see more of Karen's projects, visit her blog Art & Soul. http://karensessionsartandsoul.blogspot.com
Thanks for visiting!
Spark Your Creativity!