Winter Fairy House

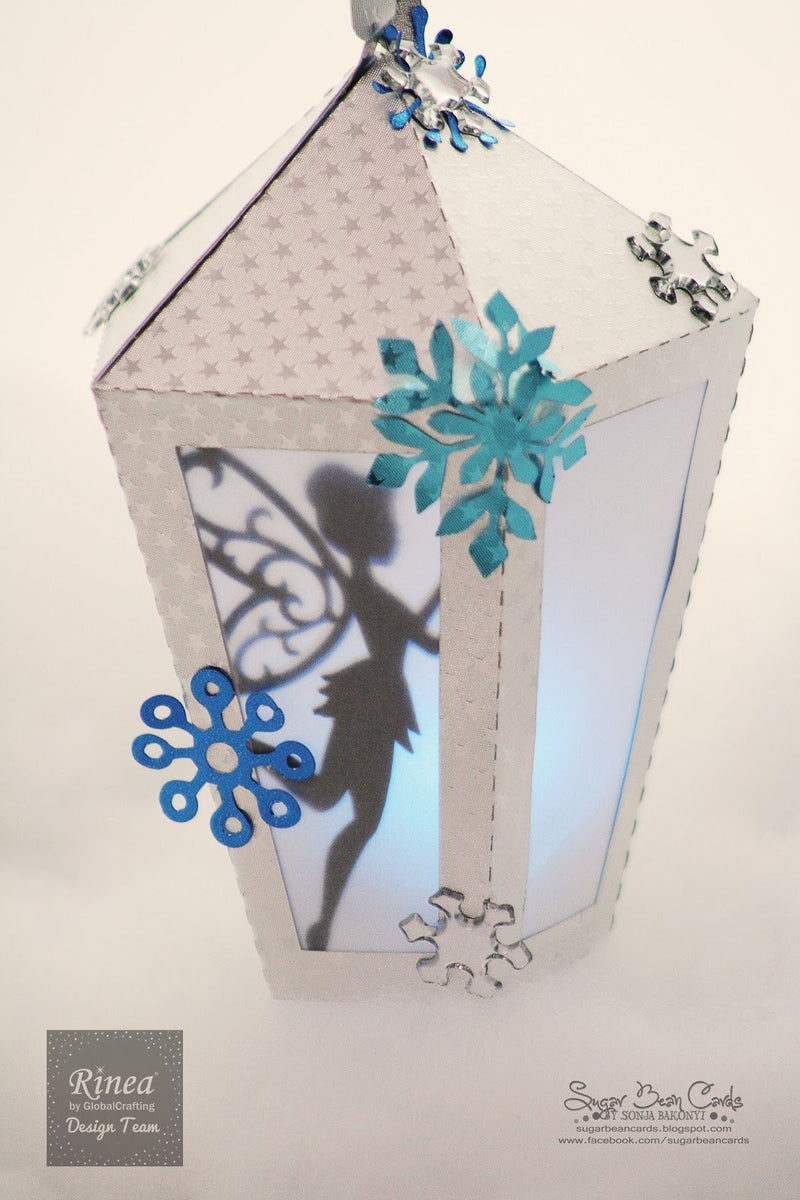
Sonja is on the blog today with a cute little fairy lantern, how cute!! Perfect for a little girls room, birthday party decor, or just to have out during the winter time for a bit of fun!
Finally I caught the Snow Fairy and there hasn't been any more snow since I caught her!
Finally I caught the Snow Fairy and there hasn't been any more snow since I caught her!

Step One: Choose your foil:
For this project I used light blue, silver, and dark blue
For this project I used light blue, silver, and dark blue

Step Two: Choose a file

After choosing a file, I find it helpful to cut the file in a heavier paper and attaching the foil to it for more durability on 3D files.

After cutting the base of the lantern out in white cardstock, I cut the base again in the silver foil and attached to the white cardstock.
Step Three: Snowflakes
Now I had some difficulty in this area. Snowflakes are a delicate cut with intricate little pieces. The foil is delicate as well.
Step Three: Snowflakes
Now I had some difficulty in this area. Snowflakes are a delicate cut with intricate little pieces. The foil is delicate as well.

I found it helpful to have a utility knife to help me cut some parts out. The blade setting on my machine was at the lowest with the lowest pressure.

Step Four: Find a Snow Fairy
After cutting the fairy in black, I adhered it to the inside of the lantern to create a shadow effect.
After cutting the fairy in black, I adhered it to the inside of the lantern to create a shadow effect.

Step Five: Add a light
The bottom of this lantern is open, but it fit my tea light perfectly so it would fall out when hung up.
The bottom of this lantern is open, but it fit my tea light perfectly so it would fall out when hung up.

|

|
The best way to catch a snow fairy is with sugar. You know what they say, sugar and spice....give a fairy sugar and it takes the spice out of her leaving us too much snow!

Materials Used:
Rinea Foil
Silhouette 3
Silhouette Studio Designer Edition
File from Silhouette Design Store
Aleene's Original Tacky Glue
Teresa Collins Mega Runner
Thank you,
Sonja Bakonyi
http://sugarbeancards.blogspot.com/
https://www.facebook.com/sugarbeancards/
https://www.pinterest.com/sonjabkn/sugar-bean-cards/
Spark Your Creativity!