How To Create a Tiny Witch Hat by Annie Collins

Hello Crafty Friends - Annie here with a fun and easy Halloween craft. All month long we are collaborating with Joy Clair Designs to bring you loads of inspiring projects.
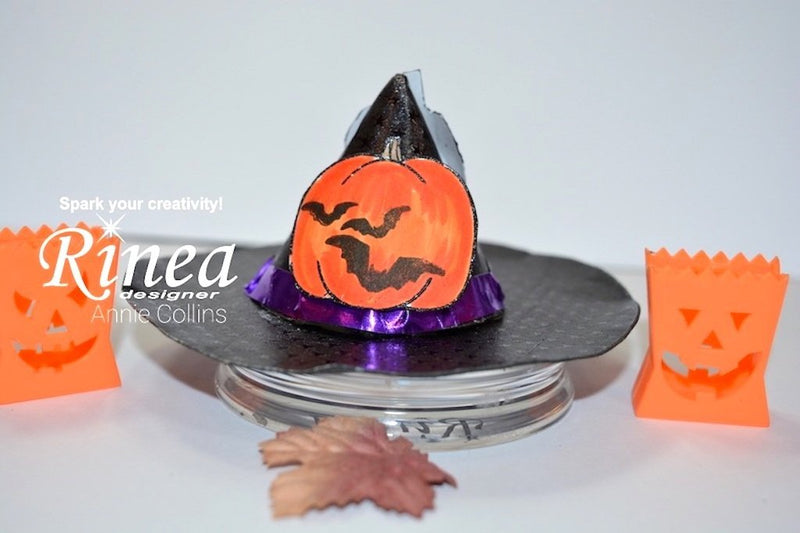
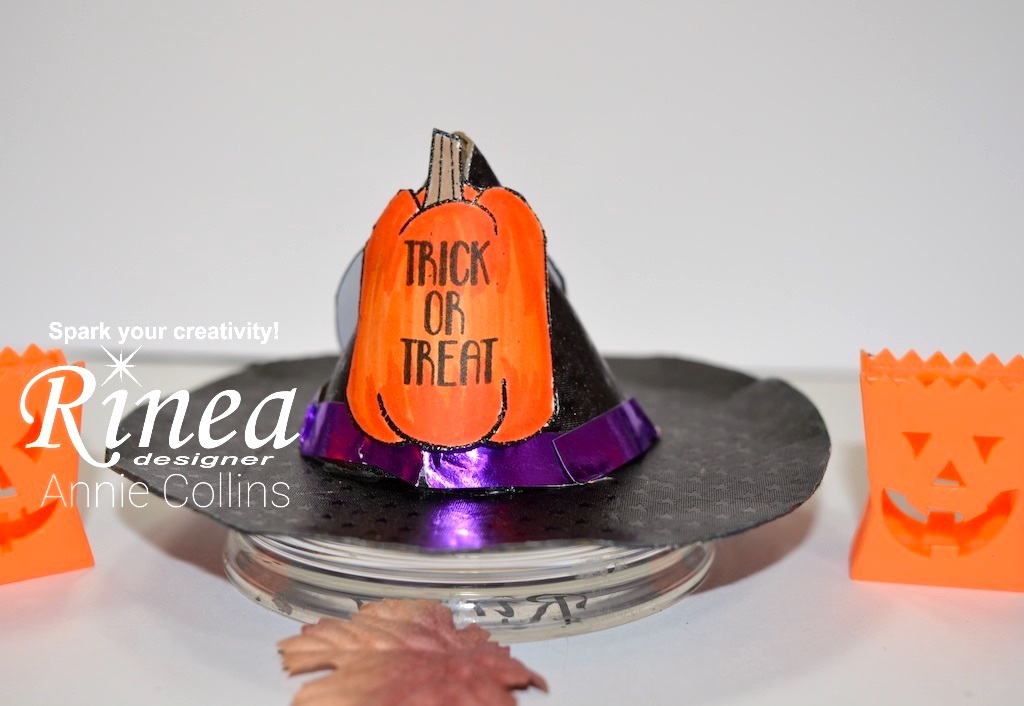
I am creating a tiny witch hat prefect for your table-scape or Mantel.


Materials Used:
Rinea Foil Paper: Starstruck Ebony/Ebony
Rinea Foil Paper: Glossy Voilet/Gold
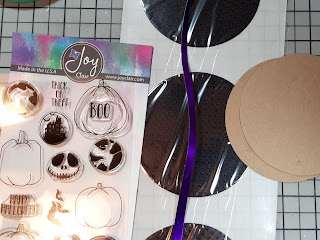
Joy Clair Designs: Trick Or Trick Stamp Set
Tsukineko Memento Ink: Tuxedo Black
Tsukineko Versafine Ink: Onyx Black
Tsukineko VersaMark Ink
Tsukineko Memento Marker: Tangelo
Tsukineko Memento Marker: Moracco
Tsukineko Memento Marker: Toffee Crunch
Tsukineko Memento Marker: Tuxedo Black
Imagine Crafts Mboss Embossing Powder: Black Hologram
Xyron Creative Station Lite
Rinea Foil Paper: Starstruck Ebony/Ebony
Rinea Foil Paper: Glossy Voilet/Gold
Joy Clair Designs: Trick Or Trick Stamp Set
Tsukineko Memento Ink: Tuxedo Black
Tsukineko Versafine Ink: Onyx Black
Tsukineko VersaMark Ink
Tsukineko Memento Marker: Tangelo
Tsukineko Memento Marker: Moracco
Tsukineko Memento Marker: Toffee Crunch
Tsukineko Memento Marker: Tuxedo Black
Imagine Crafts Mboss Embossing Powder: Black Hologram
Xyron Creative Station Lite
Ad Tech: Multi-temp Glue Tool
Ad Tech: Glue Sticks
Jot Brand: Foam Adhesive
EkSuccess Embossing Tool
Sizzix 4" Circle Die
Chipboard
Ad Tech: Glue Sticks
Jot Brand: Foam Adhesive
EkSuccess Embossing Tool
Sizzix 4" Circle Die
Chipboard
Let's get Started.
I die 3 - 4" circles from the Rinea Foil Paper: Starstruck Ebony/Ebony and 2 - 4" circles from thin chipboard. I also trimmed a 1/4" strip of Rinea Foil Paper: Glossy Voilet/Gold. I then insert the 3 - 4" circles of the Rinea Foil Paper: Starstruck Ebony/Ebony into my Xyron Creative Station Lite.
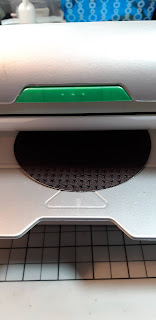
I apply the 3 - 4" circles of the Rinea Foil Paper: Starstruck Ebony/Ebony onto the 2 chipboard pieces. One of the chipboard pieces will be covered on both sides.
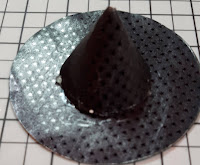
Next, I take the chipboard piece that has Rinea Foil Paper: Starstruck Ebony/Ebony only on one side and cut it in half at 2". Then, I apply a bit of hot glue to the straight end and press it on the other side; creating a cone shape.
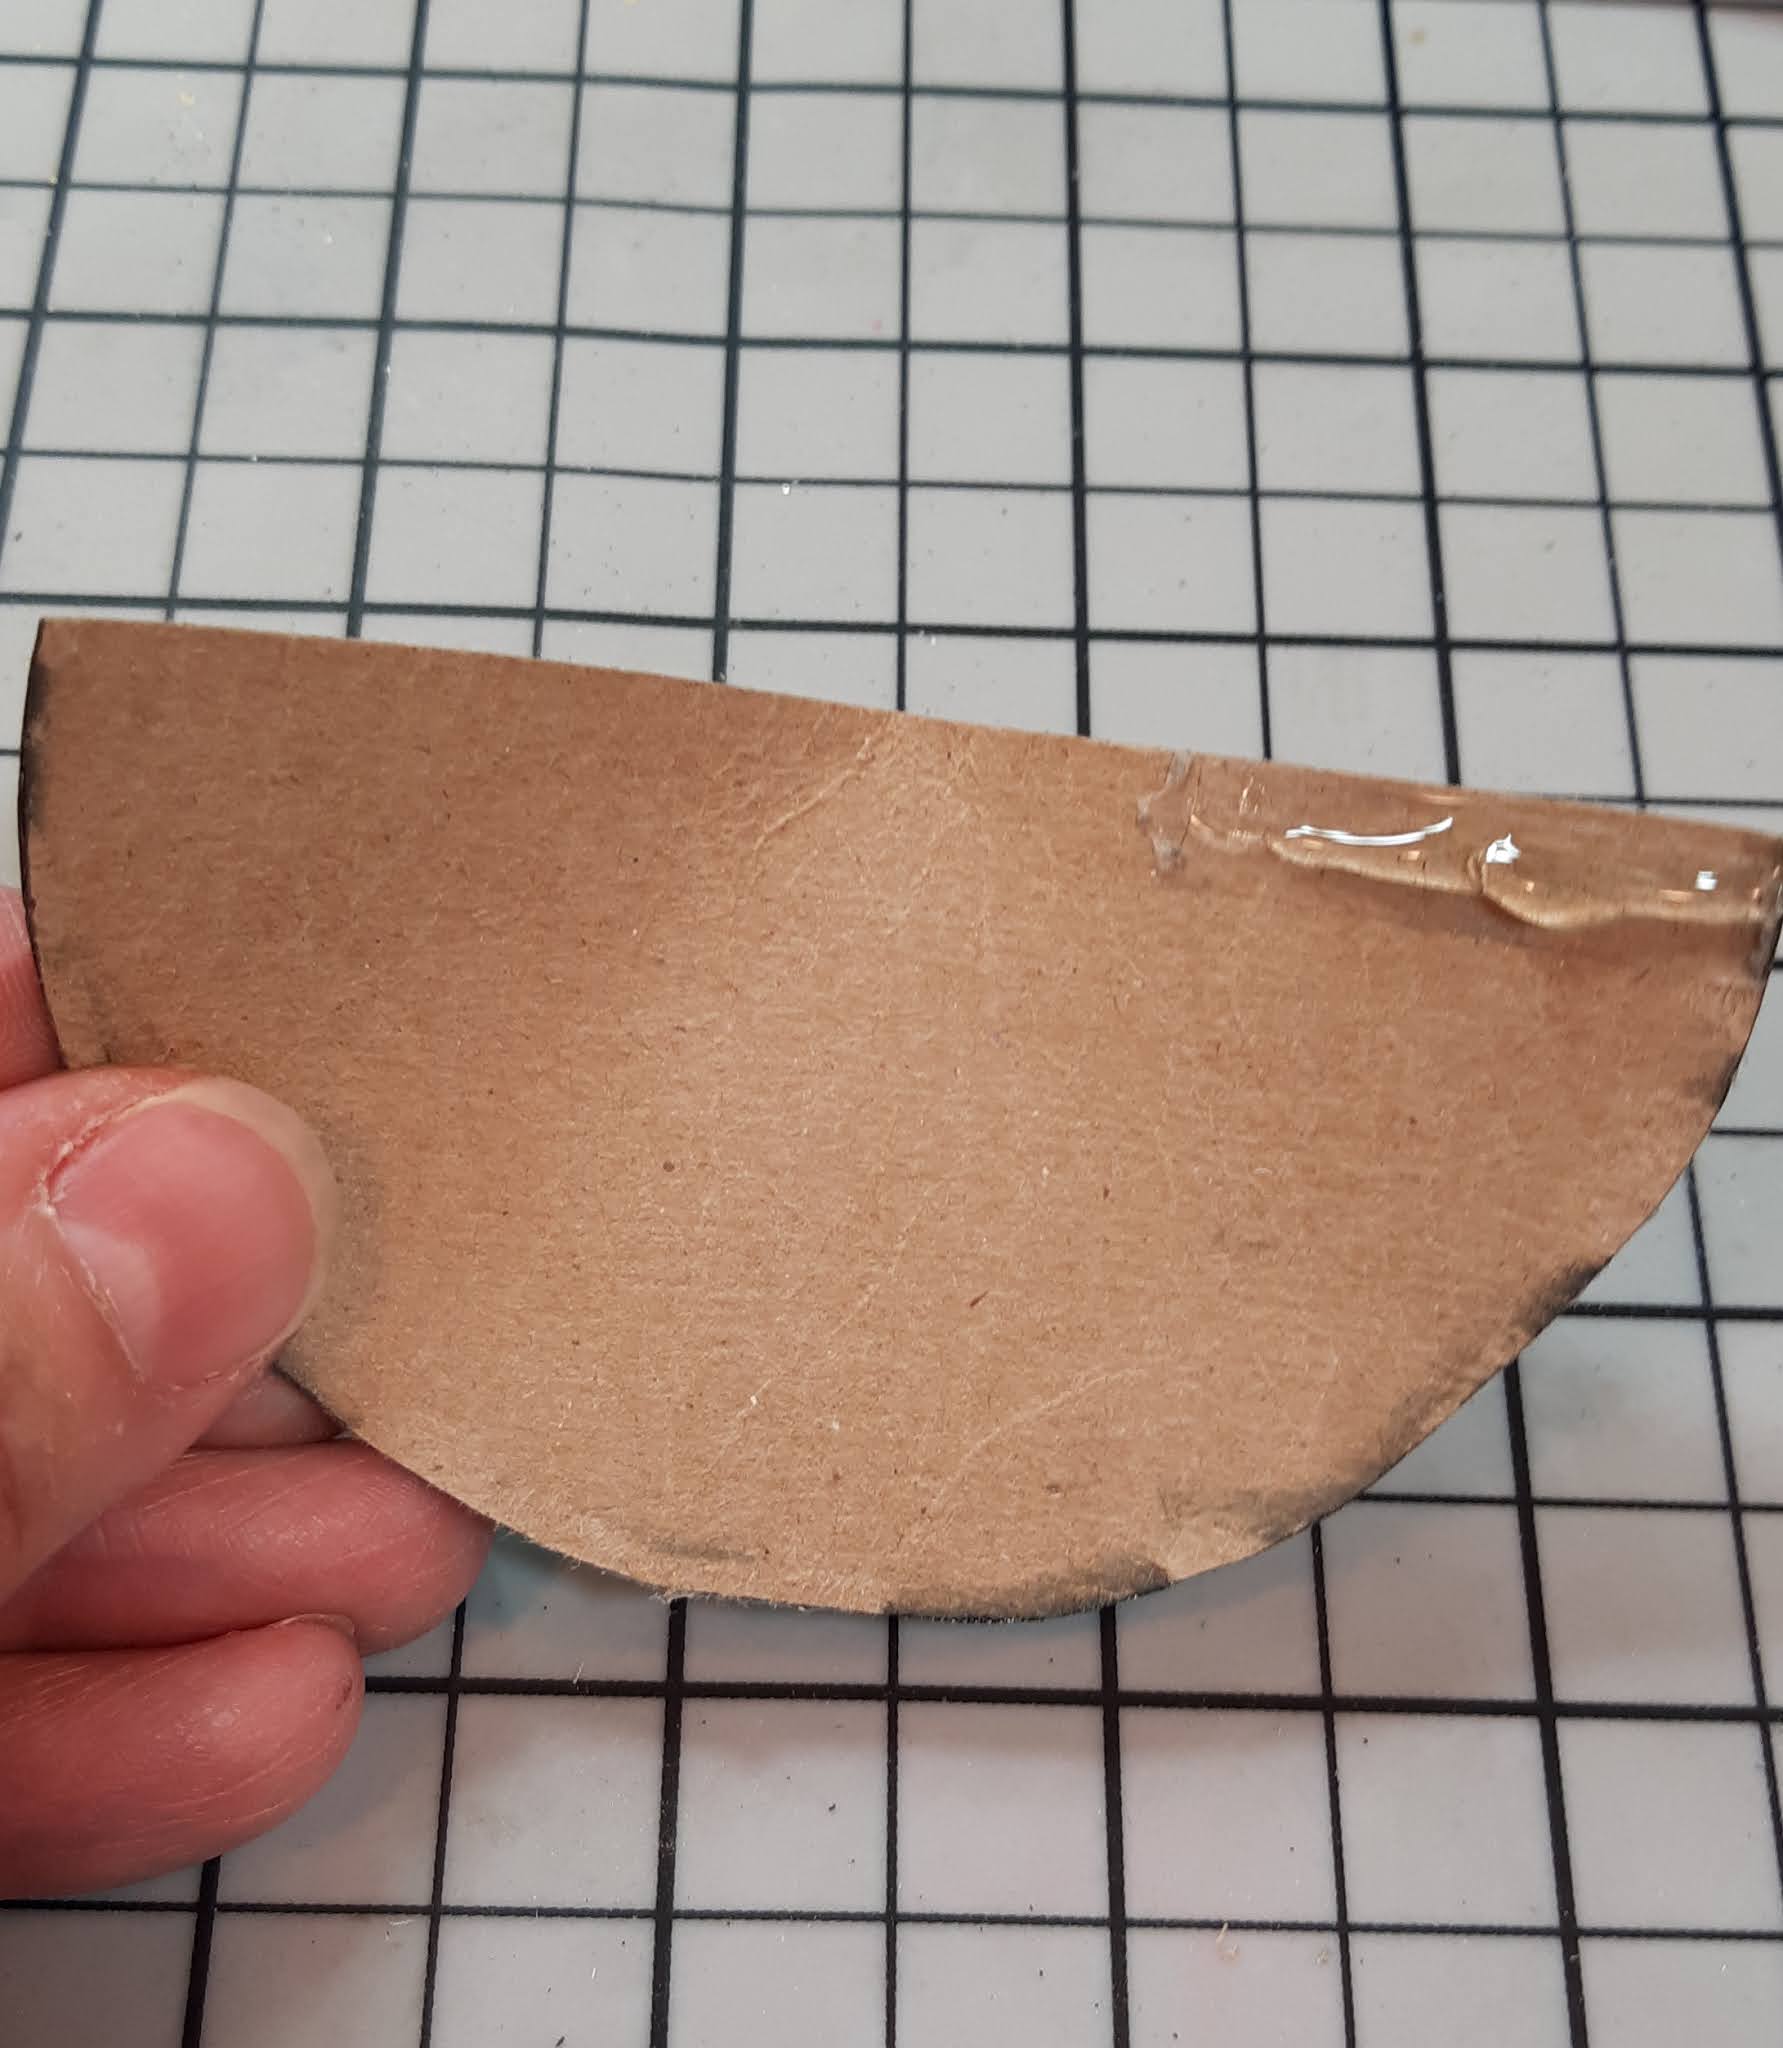
I then, apply no hot glue to the bottom of the cone shape and adhere it to
Now we have a tiny witch hat.

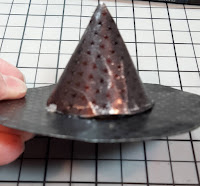
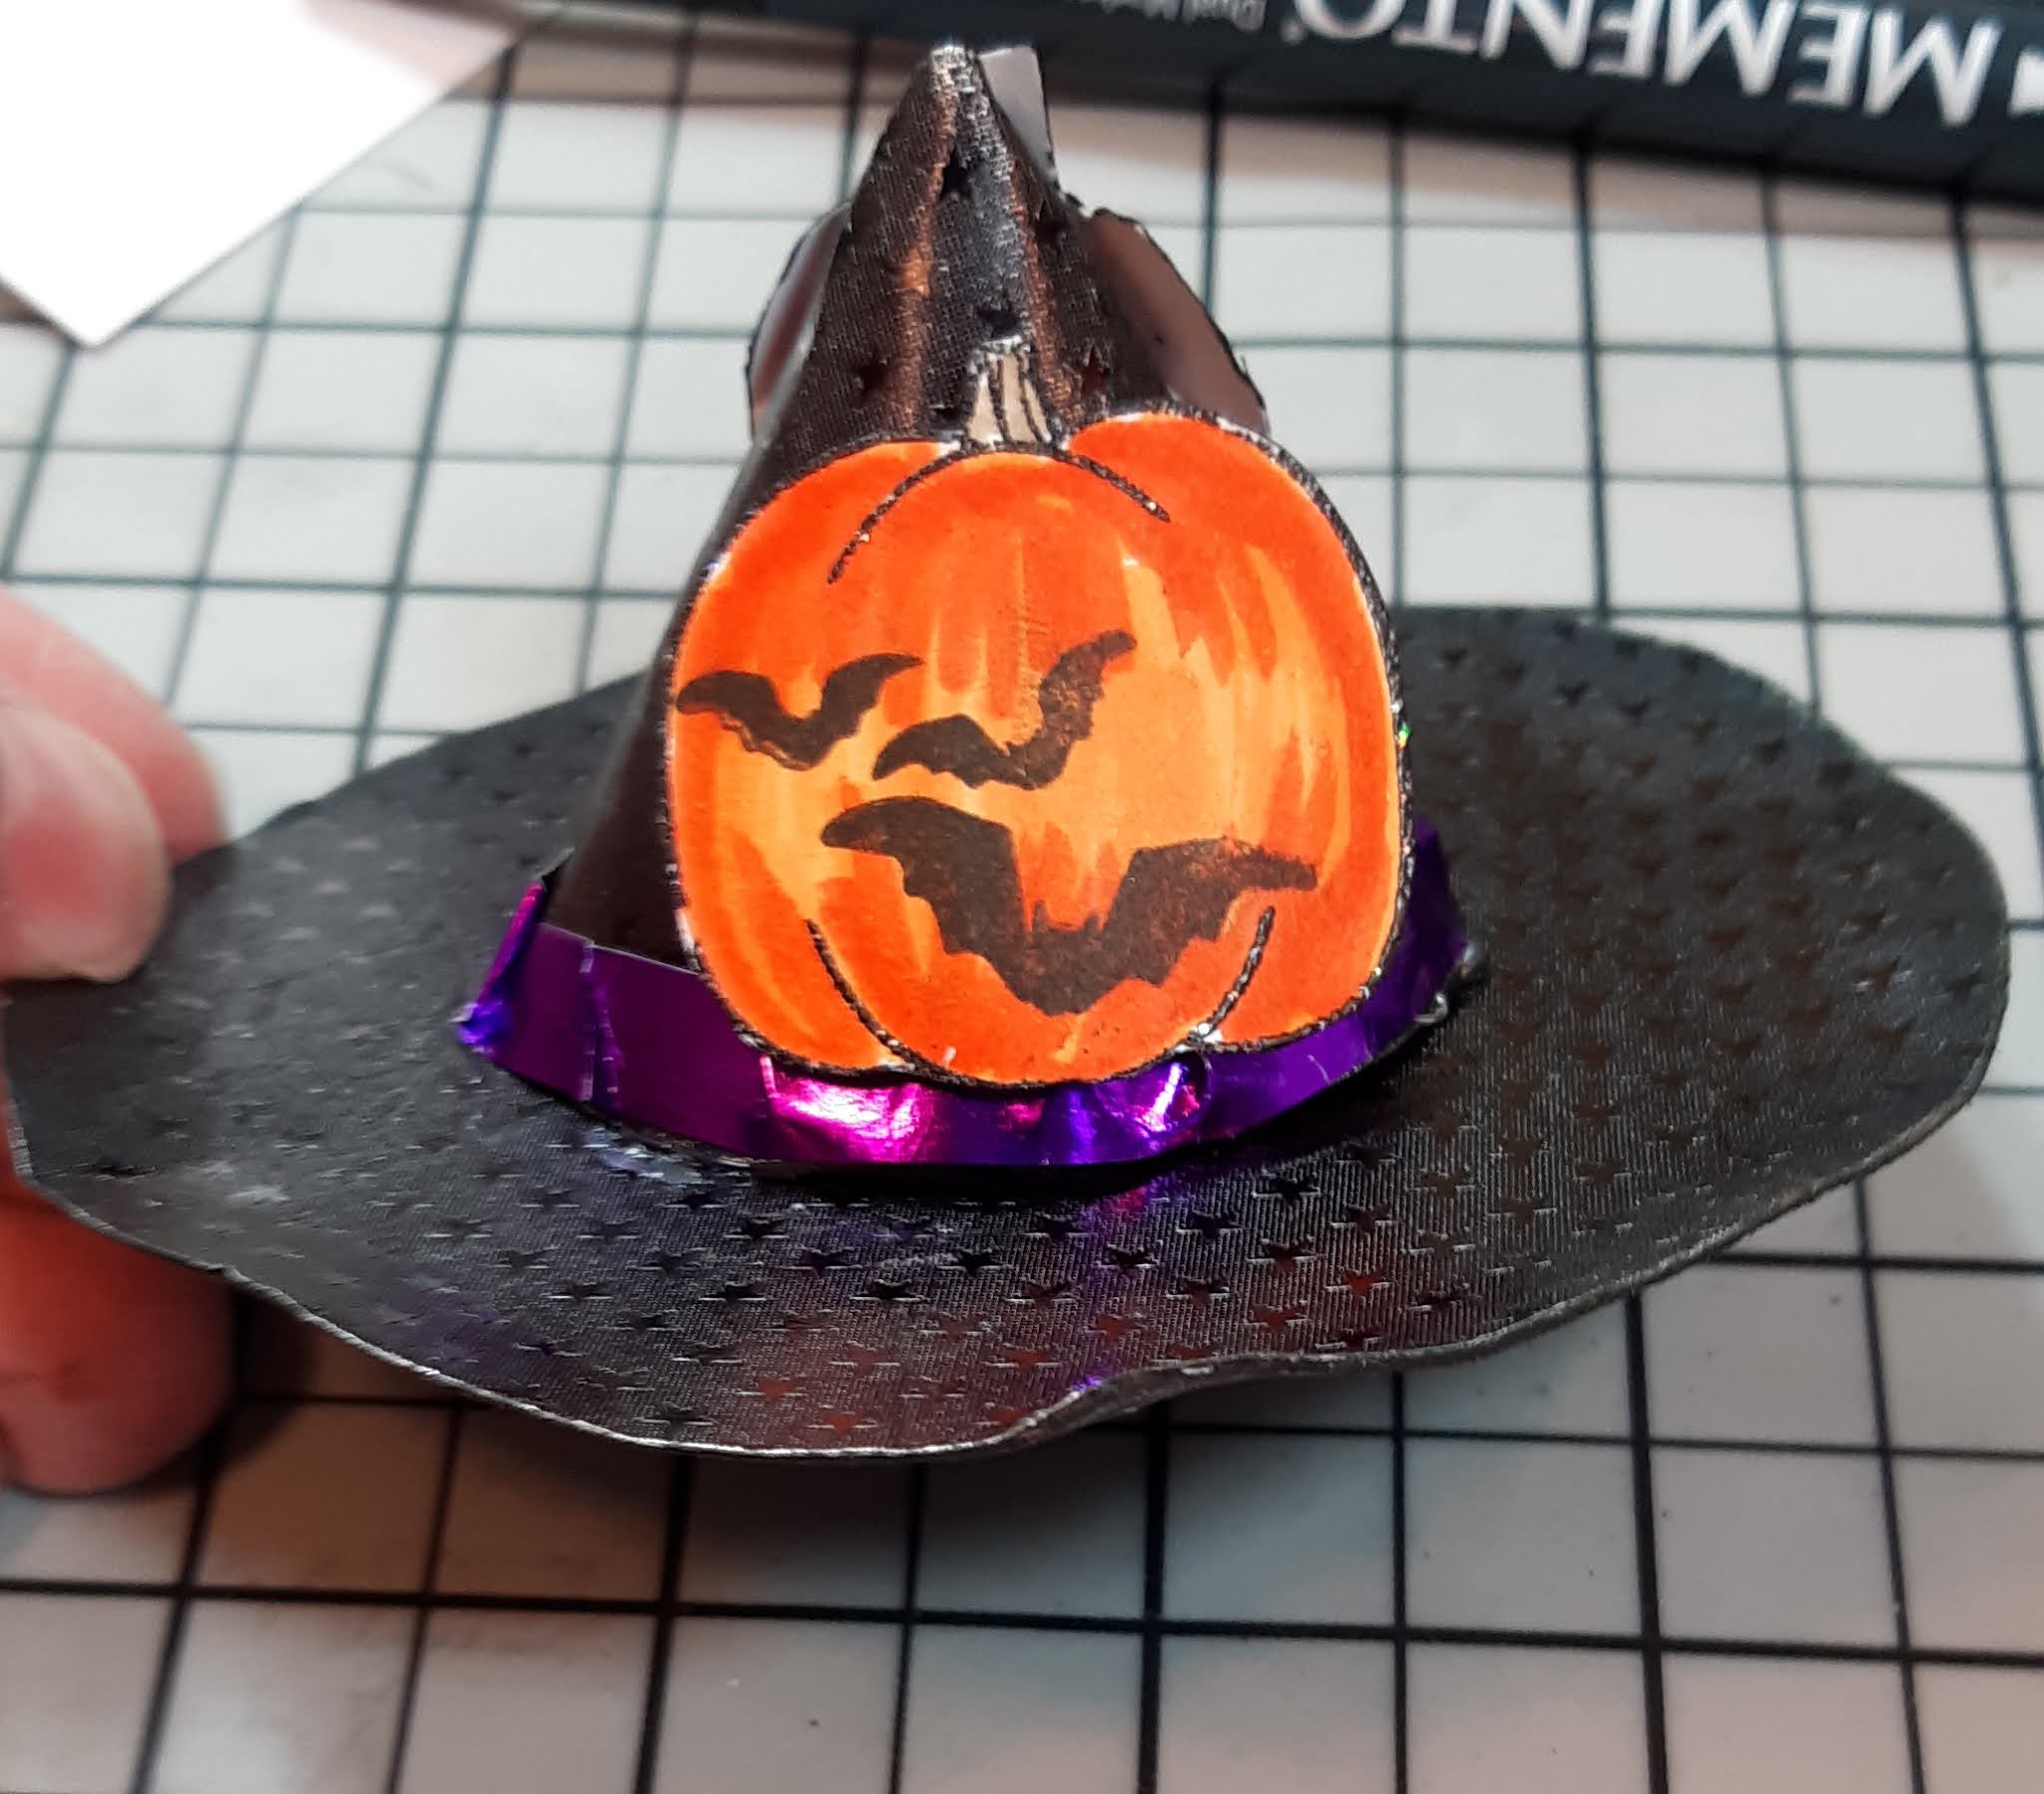
Then, I curl up the brim a bit to give it some fun texture. As you know a good witch hat is a bit worn and torn. Next, I apply a bit of adhesive to the strip of Rinea Foil Paper: Glossy Voilet/Gold and press it into place around the hat. Making sure to crumple it a bit.


Next, I stamped and embossing the pumpkins. I then colored them with Memento Makers. I added the sentiment and little bat cluster to the pumpkins. I fussy cut them out and gave them a bit of a curl so they would sit nicely onto the hat. I put some foam adhesive on the back of the pumpkin and placed them onto the hat. Making sure that the tall pumpkin covers the back seam of the hat.
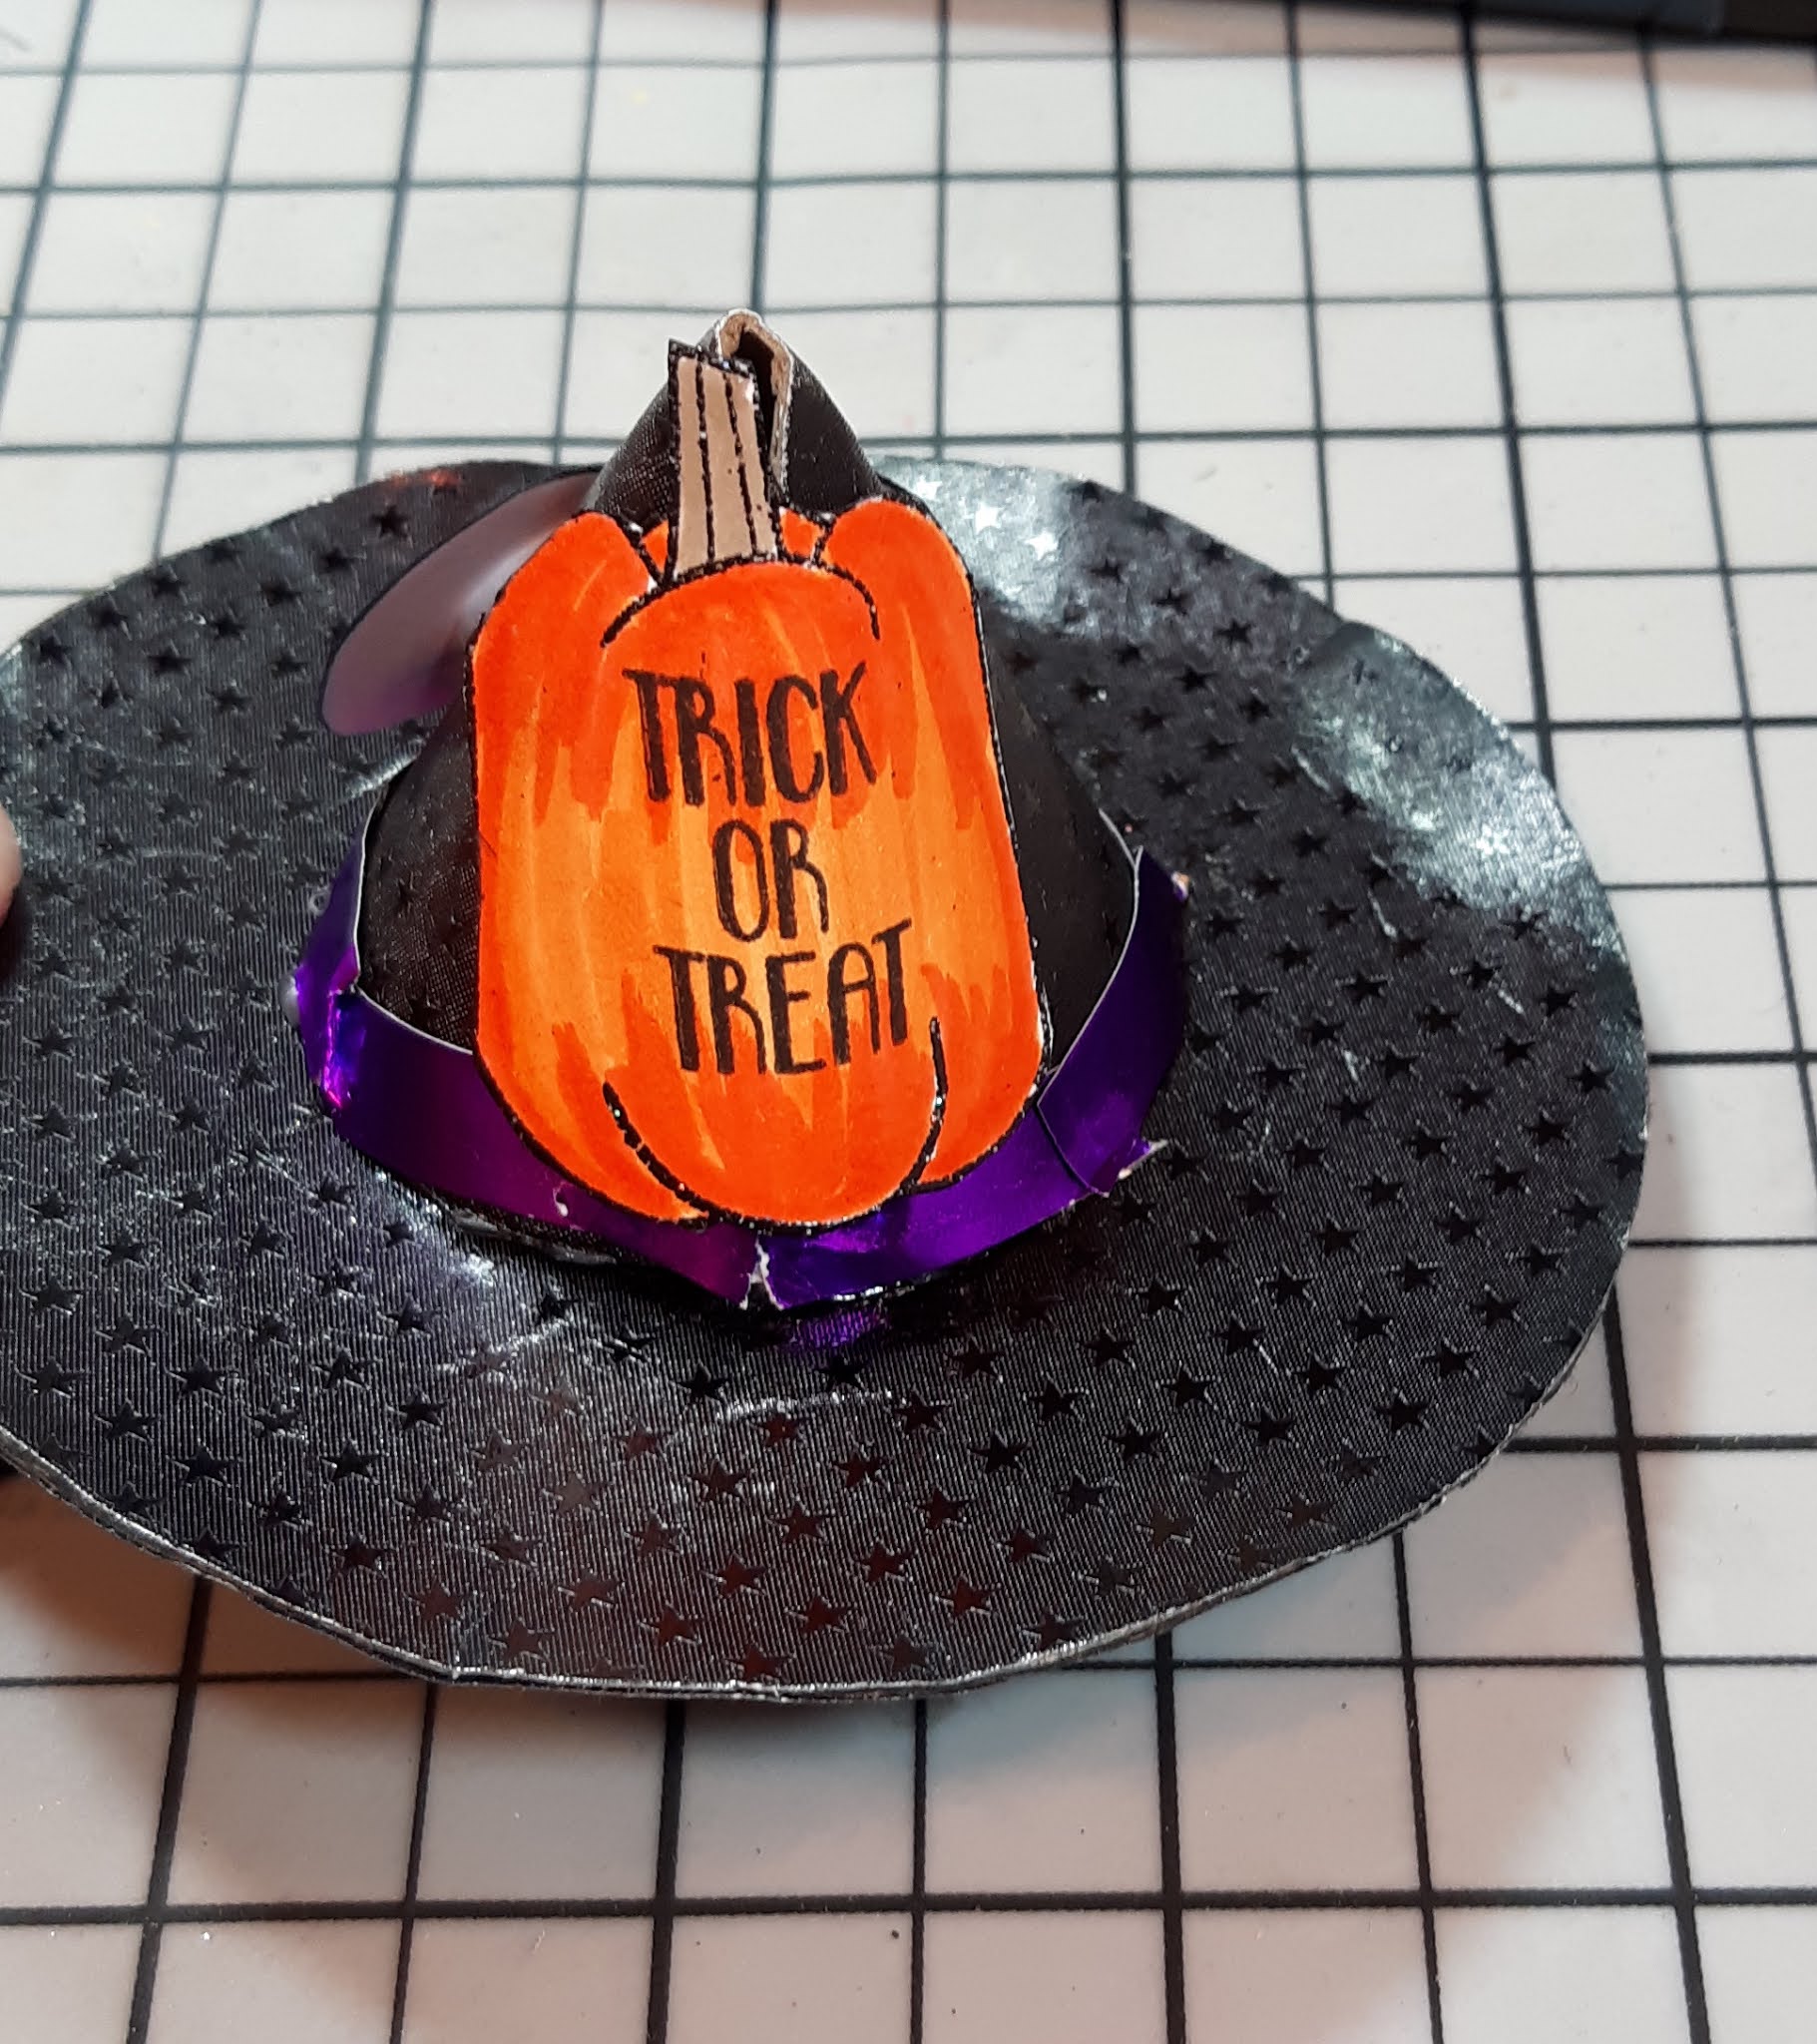
Now, the Tiny Witch Hat is complete!

Thank you for stopping by the blog today. I hope you found some inspiration!