Make Your Own Bridesmaids' Gifts & Gift Cards with Rinea Foiled Paper

Hello! It's Clair here today with another tutorial! Today, I want to show you how to make Bridesmaids' Gifts and Gift Cards, with Rinea Foiled Paper. It's fairly easy and won't take more than an afternoon. And how lovely does an afternoon of making personalised gifts sound, amongst all of that wedding preparation chaos?
I worked with Gold/Gold Glossy Foiled Paper for a classic look, but the beauty here is that there will be a colour to fit with any scheme that you've chosen!
You'll also need:
- Die-cutting Machine
- Small Dies - I've used little bows and hearts.
- Gluestick.
- Earring Wires.
- Jumprings.
- Pliers.
- Hole Punch.
- Cardstock - I've used a classic white.
- Sewing machine (Optional)

1. We'll start by making our die-cuts. Rinea Foiled Paper holds it's shape well, because of it's unique properties, but you'll need to make it a little more robust for jewellery. So, to start, use the Glue stick to stick 3-4 layers of Rinea Foiled Paper to each other and let it dry.
2. Once dry, use a small die to cut small bows from the Rinea Foiled Paper. You'll need two bows for each set of earrings. While the die-cut machine and dies are out on the desk, use a small die to cut one heart for each card.

3. Now we'll make the Bow Earrings. With jewellery pliers, open a jumpring and 'thread' it through a small hole towards the top of the bow die-cut. Then, 'thread' the jumpring through the earwires. Close the jumpring to secure, then repeat for the second earring.

4. Now we'll make the Gift Cards. Start by cutting the white cardstock to 11.5 inches x 2.5 inches. You'll need one section of cardstock for each set of earrings.
5. Now score the cardstock at 4 inches, and 8 inches. You'll have three 'sections'. Fold, so that the smallest section is on the outside of the Gift Card and forms an outer flap.

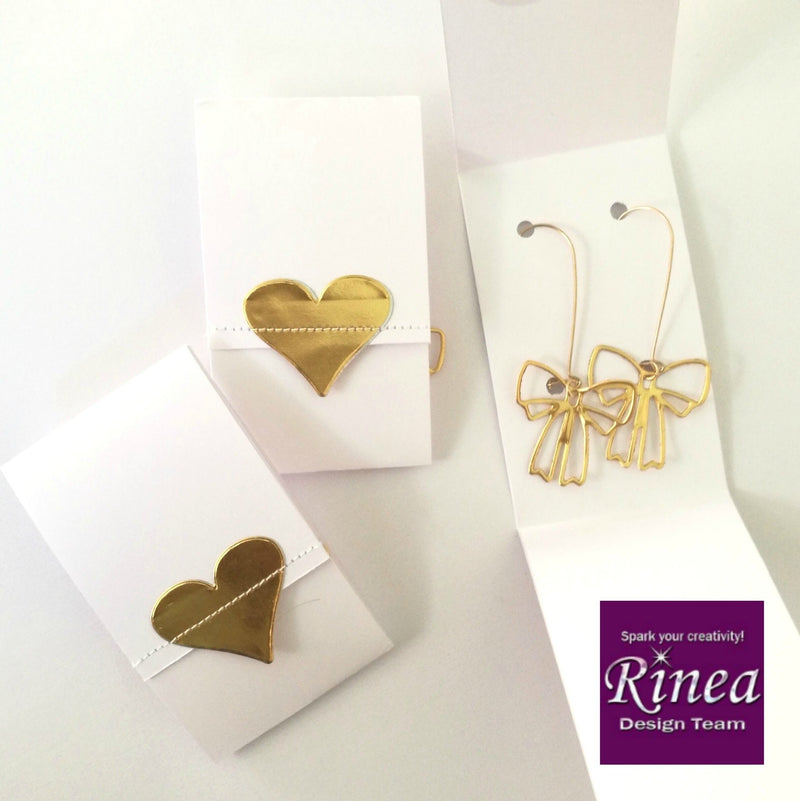
6. Open out the Gift Card and, in the central section, add two holes for the earwires. (My earwires have a small 'catch' at the base, so I have made extra holes in the card.)

7. Glue a heart die-cut to the outer flap of the Gift Card, so that it can be used to open the Gift Card. A simple machine stitch will secure the die-cut and add a decorative effect.

8. Add the earrings to the inside of the Gift Card. Personalise with a small note.
Experiment with different die-cuts and different shades of Rinea Foiled Paper!