3D Snowflakes with Rinea Foil

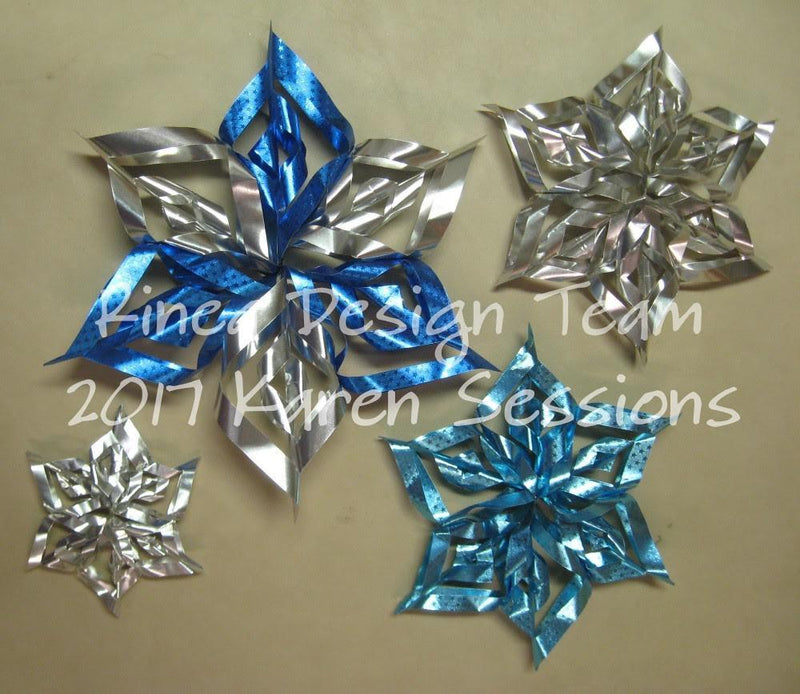
Karen has created a beautiful winter wonderland of snowflakes using Rinea foils. The shimmer and shine almost better than the real thing!
When you need a project for a cold wet winter day, this is a great family activity you can get the kids involved with. You don't need many supplies to make these gorgeous hanging snowflake decorations. Rinea paper foils fold and crease wonderfully and easily hold their shape. Try alternating colors of foil for a fun twist. Then display the finished snowflakes hanging in the window for an elegant Winter accent.
When you need a project for a cold wet winter day, this is a great family activity you can get the kids involved with. You don't need many supplies to make these gorgeous hanging snowflake decorations. Rinea paper foils fold and crease wonderfully and easily hold their shape. Try alternating colors of foil for a fun twist. Then display the finished snowflakes hanging in the window for an elegant Winter accent.

Supplies:
Crafters Glossy Pack: Rinea Paper-Foil 10-Pack 15 cm x 25 cm (Silver)
Crafters Embossed Pack: Rinea Paper-Foil 10-Pack 23 cm x 33 cm (Blue & Lt. Blue)
Other Supplies: scissors, ruler, double sided tape, needle, thread
Crafters Glossy Pack: Rinea Paper-Foil 10-Pack 15 cm x 25 cm (Silver)
Crafters Embossed Pack: Rinea Paper-Foil 10-Pack 23 cm x 33 cm (Blue & Lt. Blue)
Other Supplies: scissors, ruler, double sided tape, needle, thread

Directions:
1. Trim six paper foil squares 4x4". Six squares are needed to complete each snowflake.
(TIP: To form a square, fold a rectangle into a triangle by taking a corner and folding at a diagonal. Trim the overhanging paper outside the triangle. Have fun experimenting with different color paper foils in different sizes to create your hanging dimensional snowflakes.)
Paper foil square dimensions: Large 4x4" - finished size 10"
Medium 3x3" - finished size 7.25"
Small 2x2" - finished size 4.5"
2. Fold the square in half to form a triangle. Next, fold it in half again to form a triangle. With the creased side closest to you, cut 3 straight slits parallel to the longest side. Start cutting at the creased edge and stop cutting 1/4" from the edge.

|

|
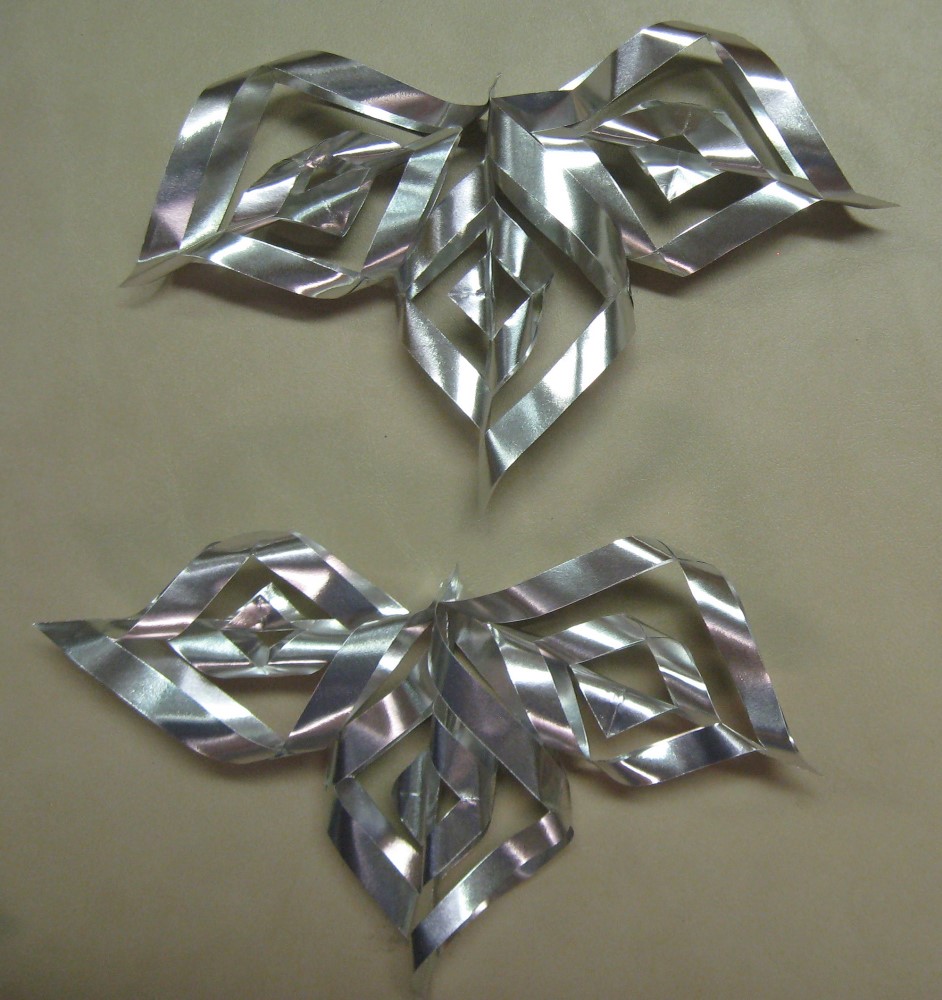
3. Completely unfold the triangle to reveal the sliced square rows. Begin at the innermost point of the square and roll the two inner points inward. Apply double sided tape, align the overlapping points, and adhere them.


4. Flip the snowflake segment over and take the next larger row of slits, overlap their points, and adhere them together. Continue this process by flipping over the segment and forming rolls until all the rows of slits are rolled inwards and glued together making sure to alternate sides with every new row. Repeat rolling and adhering the slits for all six squares of foil paper.

5. Align the 6 individual segments facing the same direction. Begin to attach the points together with double sided tape. (TIP: Staple the snowflakes together when you are making large square segments that are over 8")

|

|
|
6. Next, connect each snowflake segment on the outermost roll with the adjacent segment to add stability.

|

|
7. To display the snowflakes, use a needle to pierce the foil paper at one point and attach a loop of thread.
(TIP: The larger the square of paper foil that is cut, the easier it is to assemble the snowflakes. To avoid frustration & disappointment don't begin with a small 2" square.)
(TIP: The larger the square of paper foil that is cut, the easier it is to assemble the snowflakes. To avoid frustration & disappointment don't begin with a small 2" square.)

|

|
To learn more about our designer Karen, please visit her blog,
Art & Soul. http://karensessionsartandsoul.blogspot.com
Thanks for visiting!
Art & Soul. http://karensessionsartandsoul.blogspot.com
Thanks for visiting!
Spark Your Creativity!