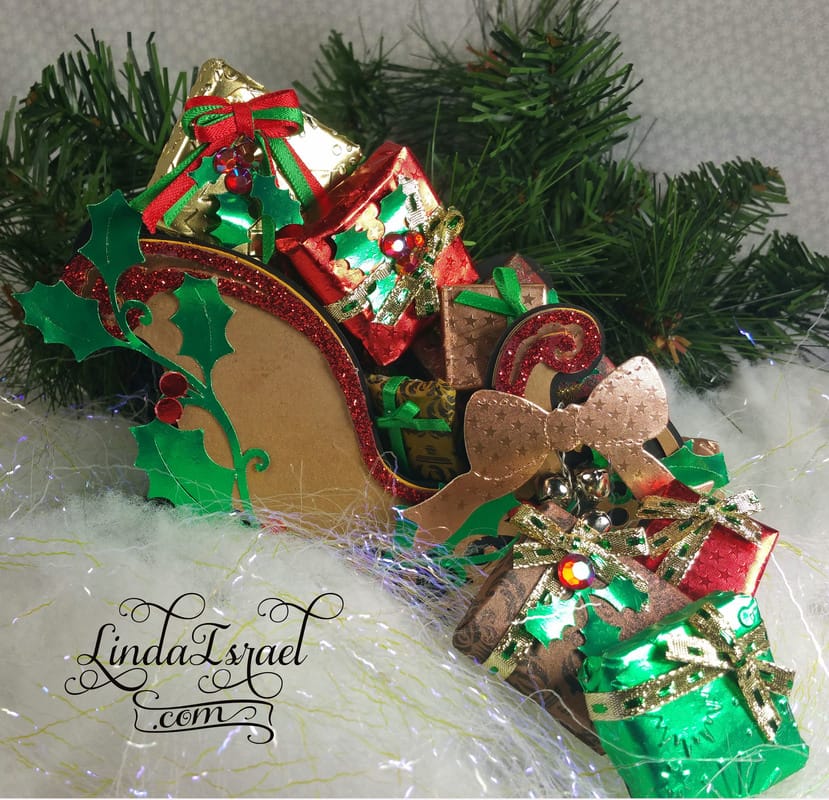
Christmas Foil Sleigh by Linda

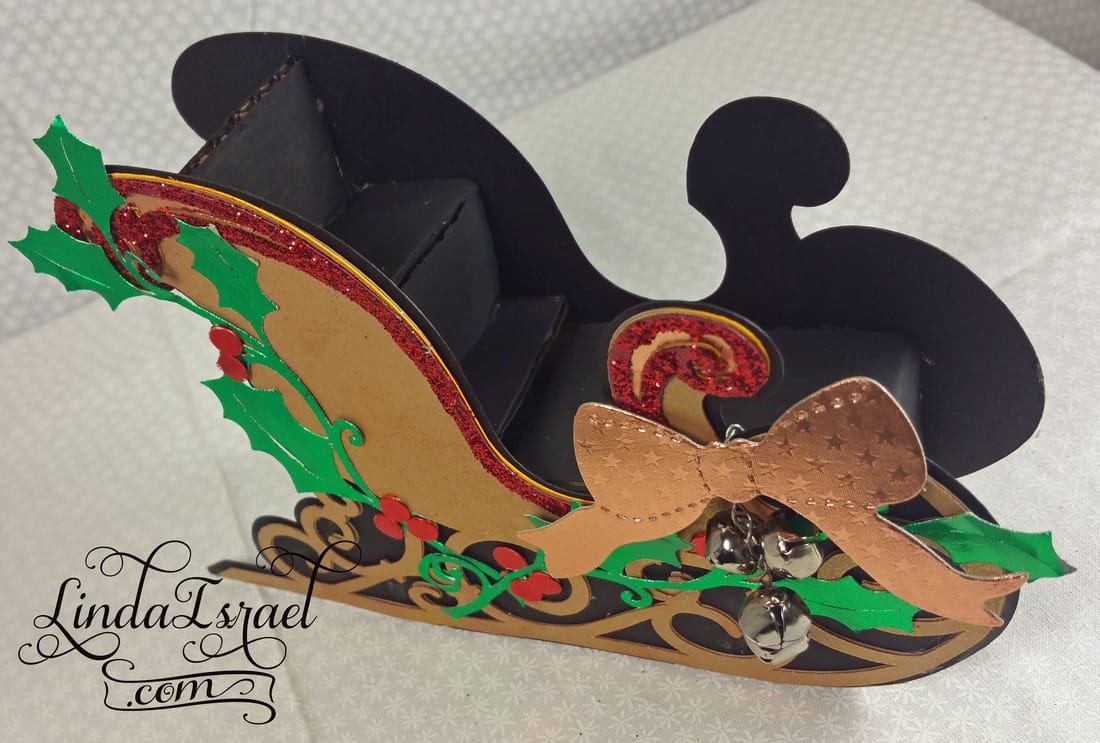
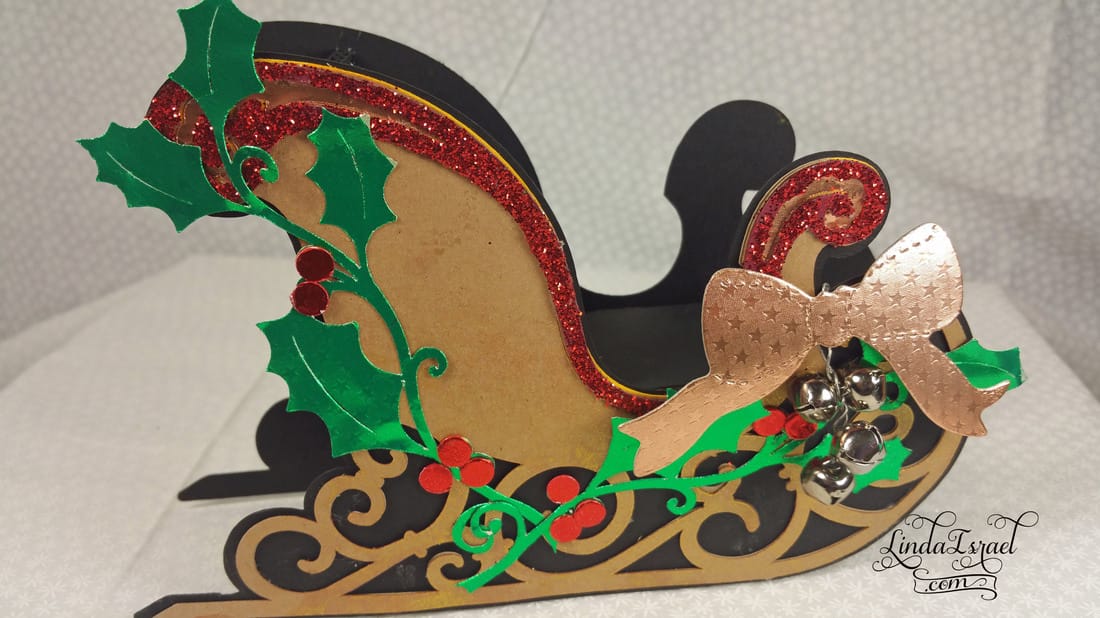
This year I’m making a few Christmas decorations as we won’t have a traditional Christmas tree displayed. Being on the Rinea Design team and having the challenge of using copper, red and green paper gave me an idea. I would make a Christmas Sleigh.
Recently I purchased a Cricut Explore Air. Looking through the designs I found a sleigh that I knew would be perfect for my project.
Having never worked with Rinea paper I wasn’t sure what to expect. I choose the least sticky of mats and made sure that my blade was new and set my cutting to cut delicate paper. The green paper was the first cut and the holy leaves cut beautifully.
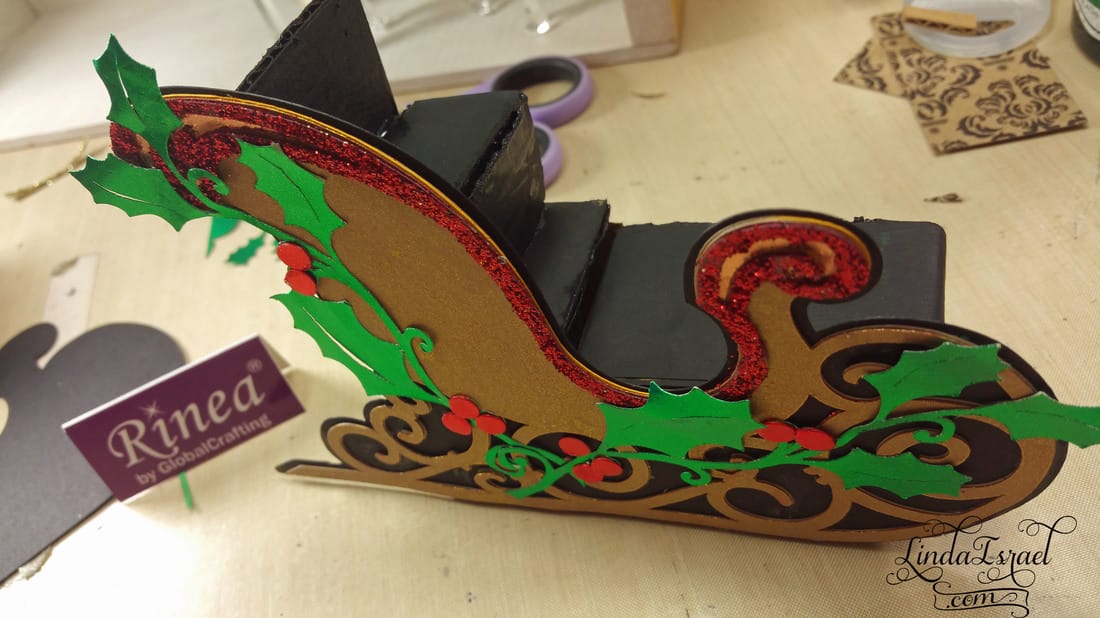
I cut the rest of the sleigh out of cardstock. The part that I wanted to be copper I sprayed with Tattered Angels Glimmer mist and Brutus Monroe’s Liquid Elements - Copper Penny. The sleigh now had the copper color I wanted. I was able to have a couple of small pieces of the copper foil paper in the upper parts of the sleigh in the scroll work.
Used a paint brush dipped in glue around the areas I wanted red glitter and then sprinkled the glitter over the area. Once the glitter was dry the green Rinea foil holy leaves were adhered with white glue. I glued a small amount to a white piece of paper and when the glue dried I then punched out red circles and placed those on the green holy leaves.
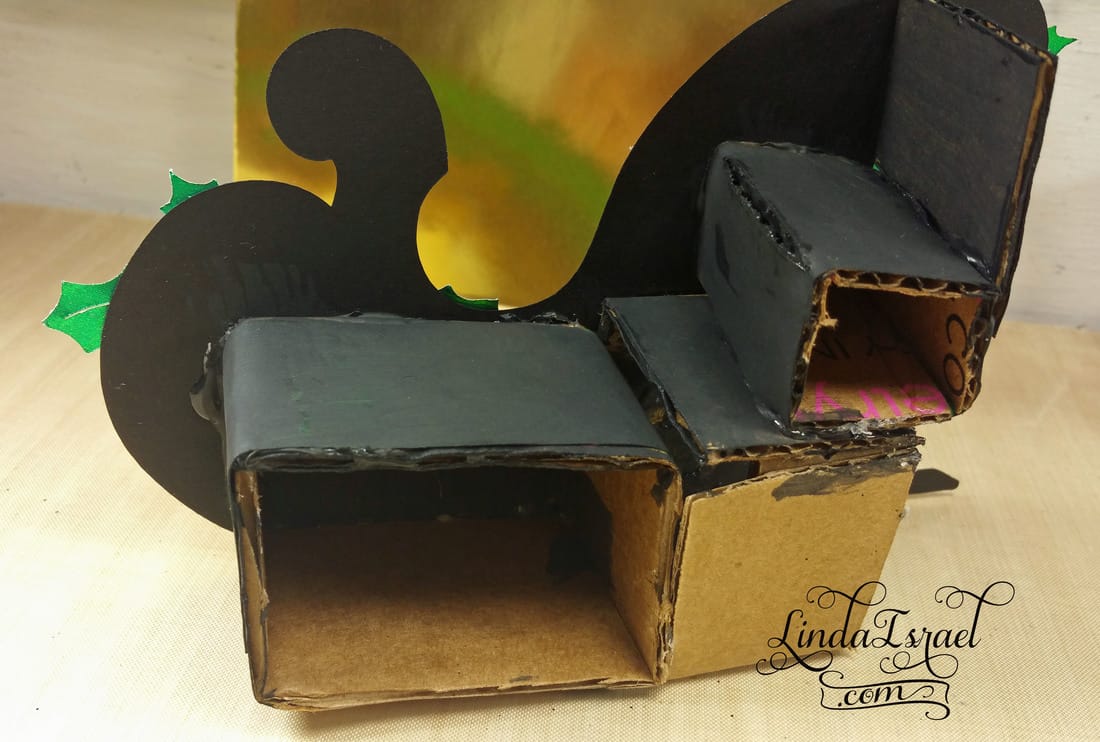
Knowing that I wanted the sleigh to be 3D and be able to hold items I decided to construct insides. This was achieved by building little boxes out of pieces of cardboard. I kept making little boxes and stacking these on each other until I had the inside of the sleigh built. I then painted the boxes black and attached the back of the sleigh.
The final touch was stringing a few silver jingle bells on a piece of wire and die cutting a bow out of the scrap of copper foil.
This Christmas Sleigh will be a perfect decoration for my home this year. I hope you enjoyed seeing my creation. Please, follow the blog to see how I fill the sleigh and other Christmas decorations I will be making with Rinea foil.
Here is a video on how Linda made this cute little sleigh!
[youtube https://www.youtube.com/watch?v=j6ayjgiOpJ0?wmode=opaque]
Supplies Used
Rinea - Plain foil in Red and Green, Embossed Foil in Bronze
Cardstock
Mists - Brutus Monroe & Tattered Angels
Paint
Glitter
Bells
Cardboard
Cricut
Glue
Rinea - Plain foil in Red and Green, Embossed Foil in Bronze
Cardstock
Mists - Brutus Monroe & Tattered Angels
Paint
Glitter
Bells
Cardboard
Cricut
Glue
Spark Your Creativity!

