Create and Embossed Clay Heart Ornament by Jessa Plant


Hello again friends! This is Jessa from Sparkle Living and I have a sweet craft to share with you today. This Embossed Clay Heart is made with oven bake clay, a stencil and the edge is made to look foiled using Rinea Foiled Paper!

What You'll Need
- Oven bake clay
- Rolling Pin
- Stencil
- Cookie Cutter
- Rinea Foiled Paper
- Paper trimmer or scissors
- Ribbon
- Hot glue
Embossed Clay Heart Instructions
- Roll out the oven bake clay on parchment paper, or other non-stick surface (I used an old silicone baking mat.) Try to keep the clay about 1/4 inch thick.

- Lay your stencil on the surface and roll over it a few times with the rolling pin to create the embossed image. You can also use an embossing folder or stamp to create the image if you'd like.
- Place the cookie cutter on the clay and press down, removing any excess clay on the outside of the cutter. Use a skewer or a small straw to poke a hole at the top of the clay. Then remove the cookie cutter.
- Smooth out the sides of the heart with your finger, trying to make the edge as straight as possible.
- Bake in the oven according to the directions on the clay, then let cool.

- Cut a strip of Rinea Foiled Paper in Ruby/Gold Gloss and use craft glue or hot glue to wrap it around the edge of the heart.
- Add a ribbon and hang.
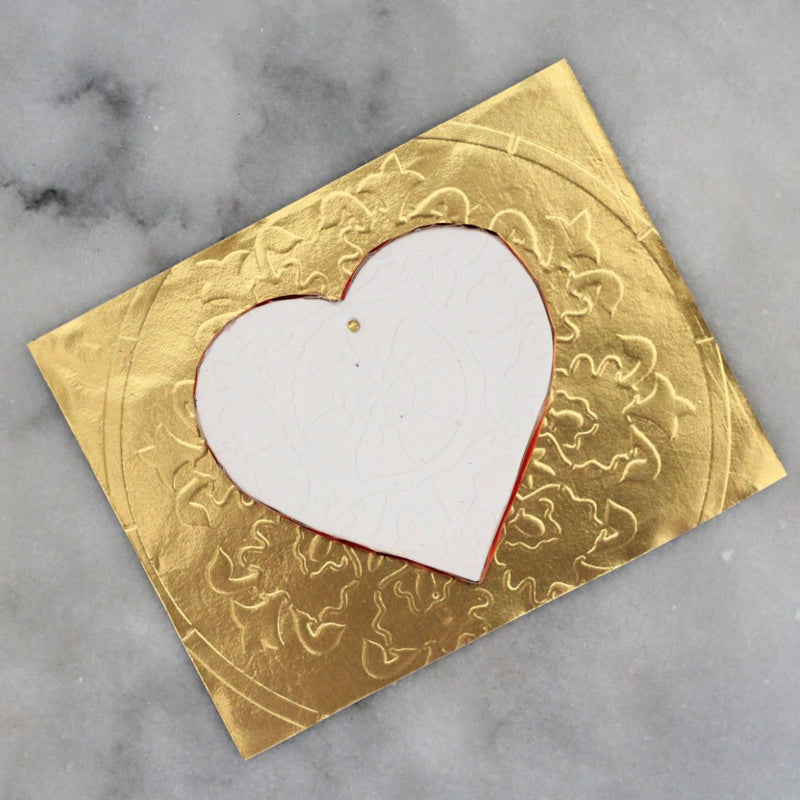
- For easy giving create a card with an embossed background. I used a similar stencil and ran it through my die cut machine. I used a chipboard shim, Rinea Foiled Paper in Ruby/Gold Glossy and placed the stencil on top, then my usual sandwich. The foiled paper came out nicely embossed. I glued it to cardstock and attached the clay heart.