Create Lovely Segmented Ornaments with Roni

I just love making ornaments for Christmas and these are one of my favorites because they are quick, inexpensive and relaxing to make. You won't be able to stop at just one!
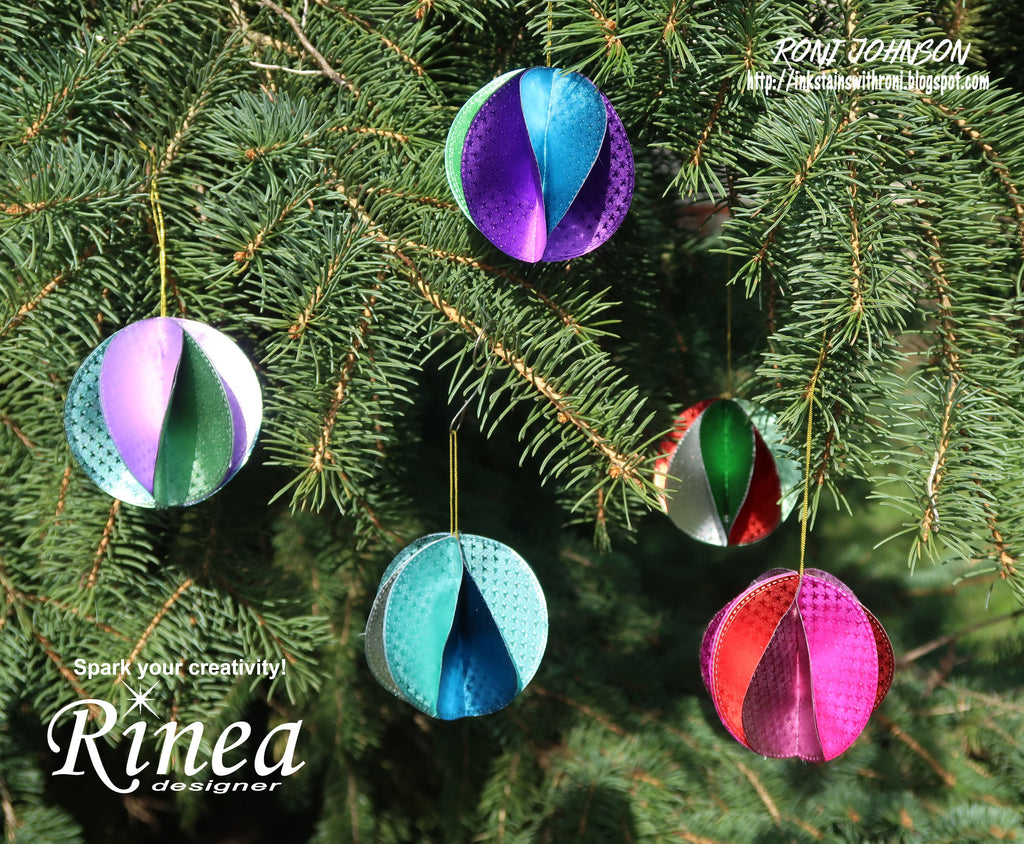
Rinea's Foiled Paper Variety Packs are perfect for these ornaments because they take the guesswork out of the color matching for an even easier make than before!
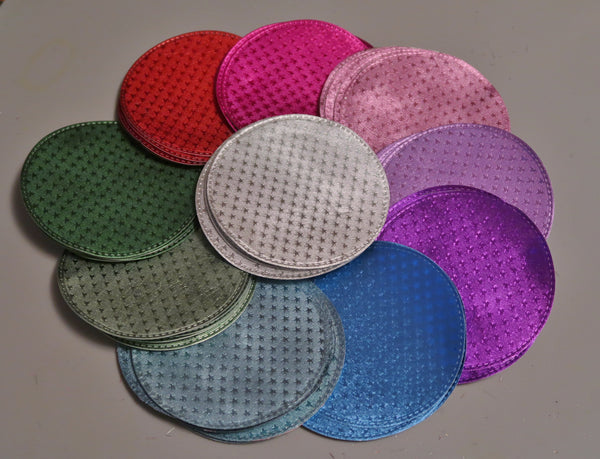
Step 1 - Each ornament requires 3 different colors; cut 10 - 12 total circles per each ornament (3-4 of each color).
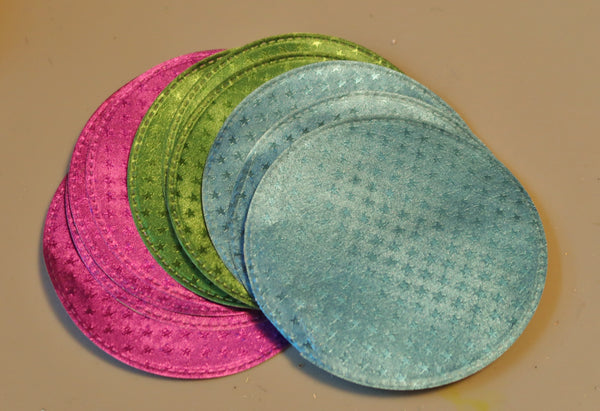
Step 2 - Choose the colors for your ornament - this example is from the Peacock Variety Pack.
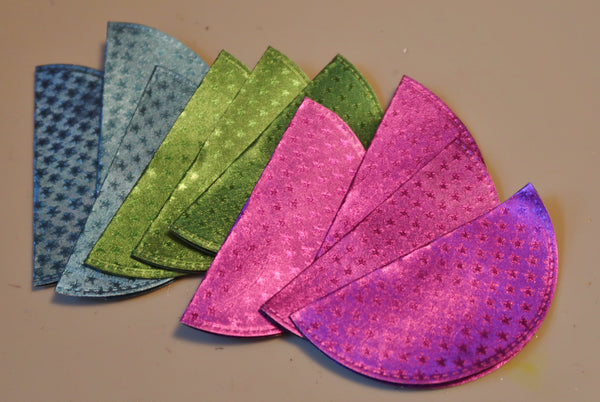
Step 3 - Fold each circle in half.
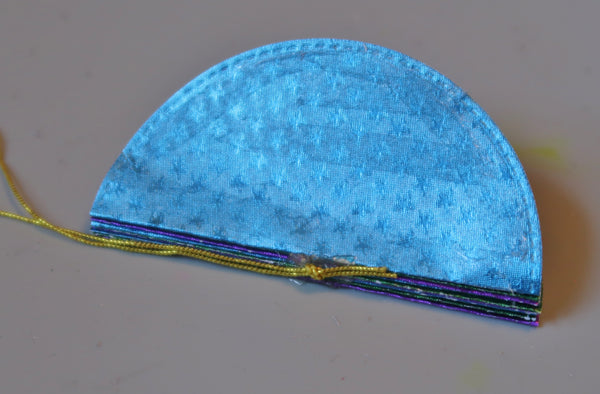
4 - Adhere each folded circle to the next alternating colors as you go.
Step 5 - Make a hanger from stretchy cord or embroidery thread; affix this hanger to the center of the stack of circles.
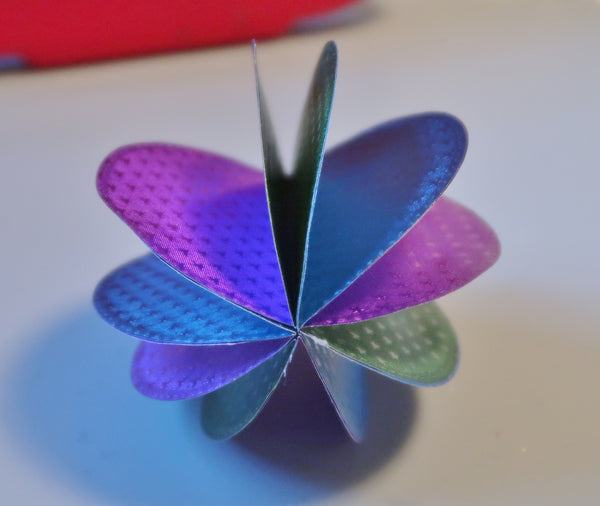
Step 6 - Open up the circles and affix the first circle to the last in the stack.
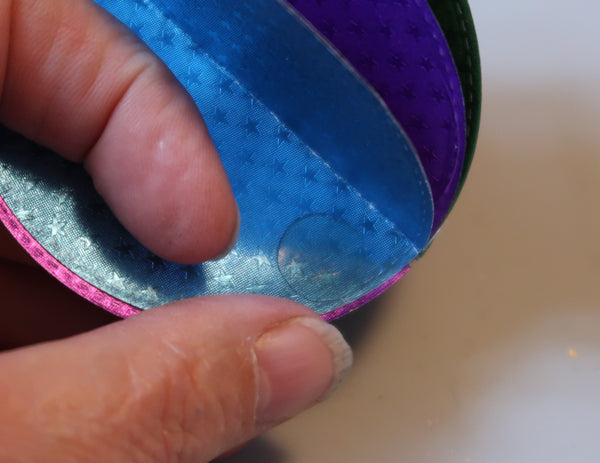
You could of course use the ornament as is but we're going to create the pretty segments to kick it up a notch.
Step 7 - Place a bit of adhesive at the bottom of one of the sections; stick the two sides together.
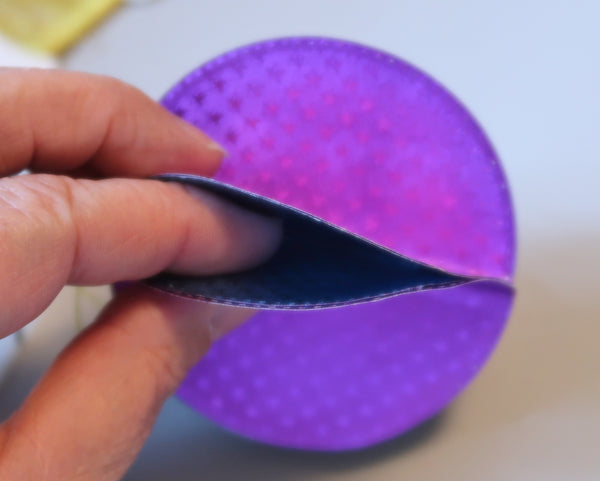
After completing step 7 you will create the first segment of the ornament.
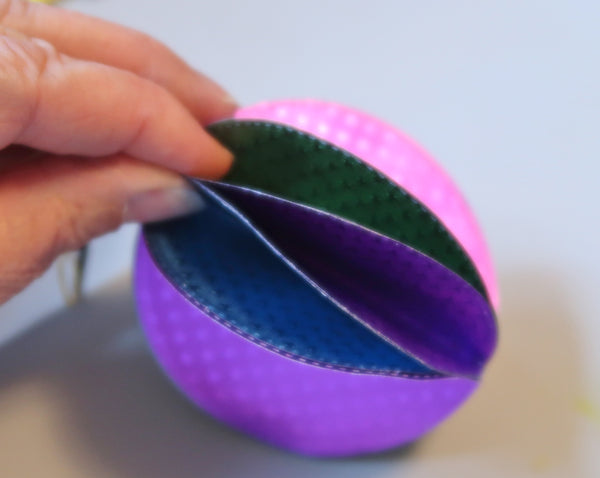
Step 8 - Move to the next circle. Place the adhesive dot on the opposite end and adhere the circle together. This will create the second segment as shown.
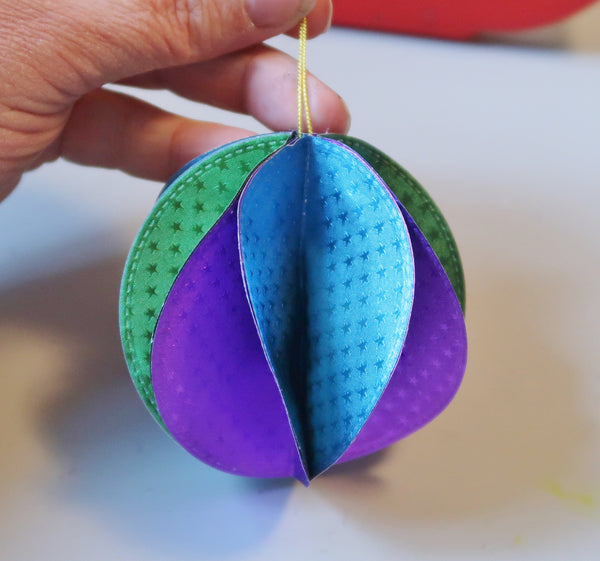
Step 9 - Continue gluing alternating ends of the circles together until all of them have been made into individual segments.
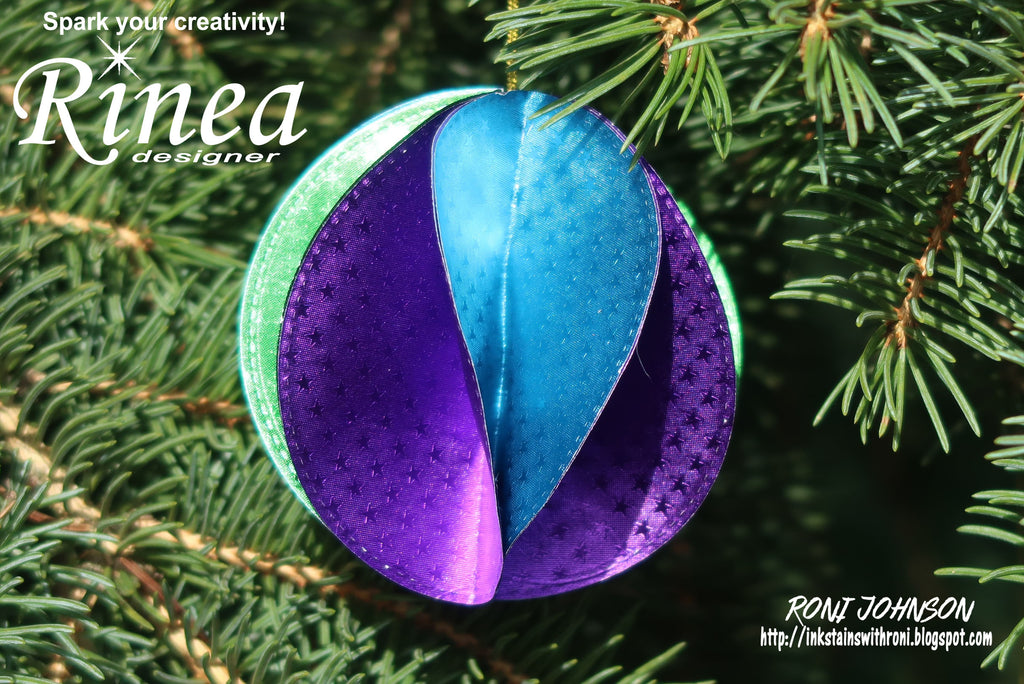
You have now completed your first segmented ornament and it is ready to grace your tree or mantlepiece or anywhere you'd like to add a bit of holiday magic.
Supplies:
Rinea Foiled Paper - Peacock Foiled Paper Variety Pack, Love Foiled Paper Variety Pack, Pastels Foiled Paper Variety Pack, Frosted Foiled Paper Variety Pack, Jolly Foiled Paper Variety Pack
My Favorite Thing - Stitched Circles Die
Gold Stretch Cord
Adhesive
