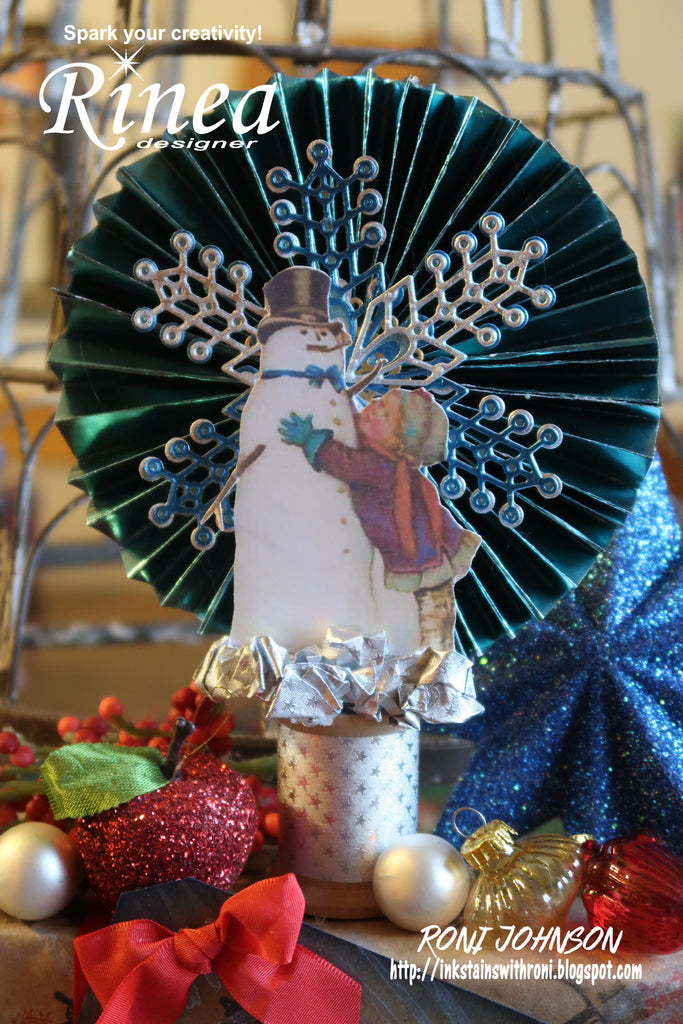
Create Winter Spool Art with Roni


Winter here in the states is upon us so I thought it would be fun to create a bit of art to embrace and brighten the season.
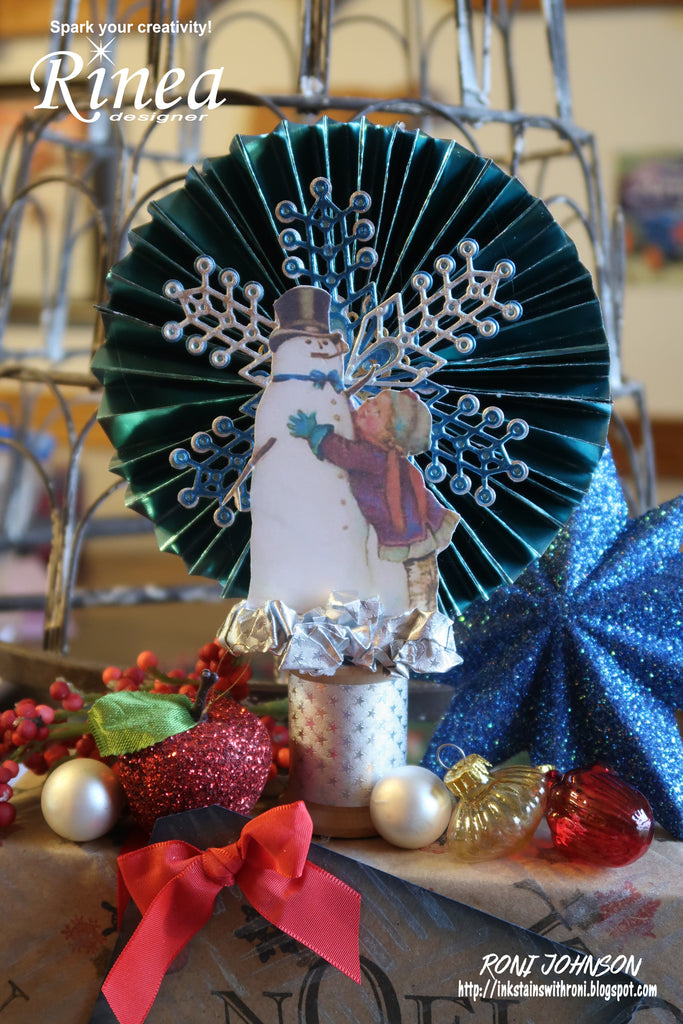
This is really such a fun and versatile design that can be personalized for any holiday or occasion by simply switching out the snowman for a different collage image and using various colors of Rinea Foiled Papers to match your theme.
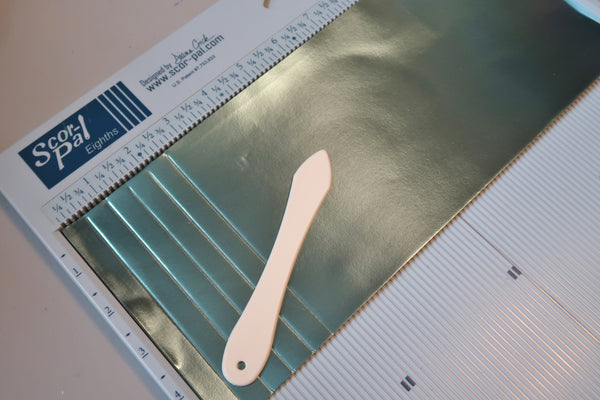
Step 1 - Cut 2 sheets of Turquoise/Gold Glossy Foiled Paper 5" x 12".
Step 2 - Score each sheet every 1/2". The Scor-Pal makes this a breeze as you can score both sheets at the same time.
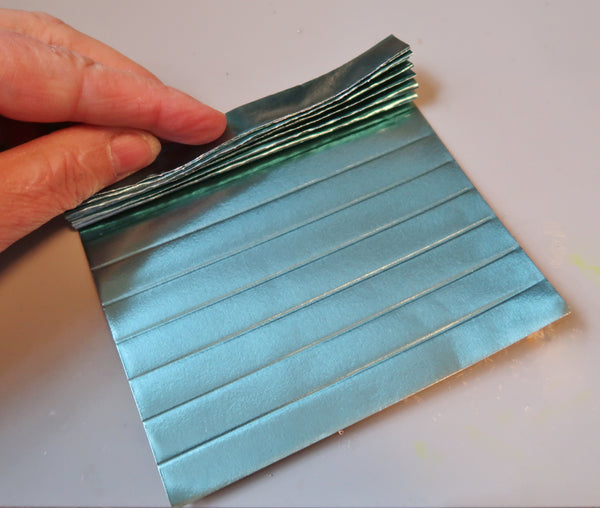
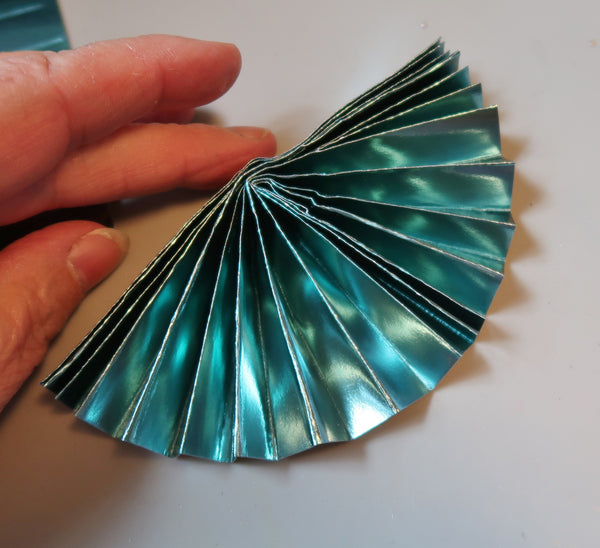
Step 3 - Fold the foiled paper along the score lines creating an accordion-folded piece.
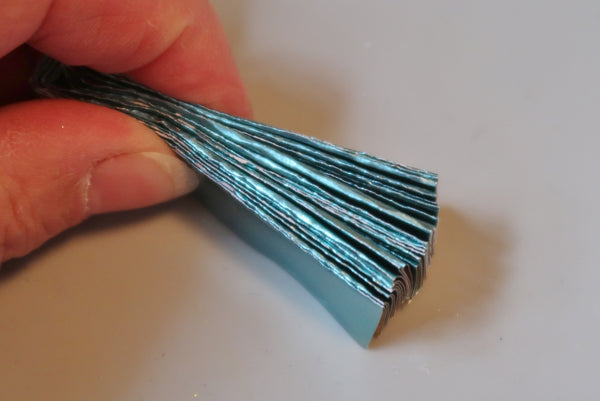
Step 4 - Fold the accordion in half to create a fan, adhere to the center folds together.
Step 5 - Create a fan using the second accordion folded piece.
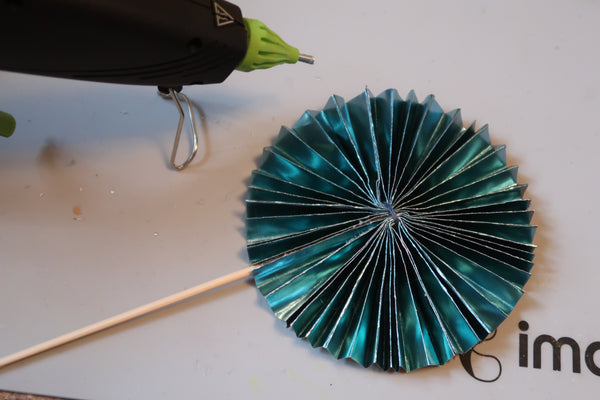
Step 6 - Attach both fans together by gluing one side of the fan to the other to create a rosette - leave one side of the rosette open in preparation for the next step.
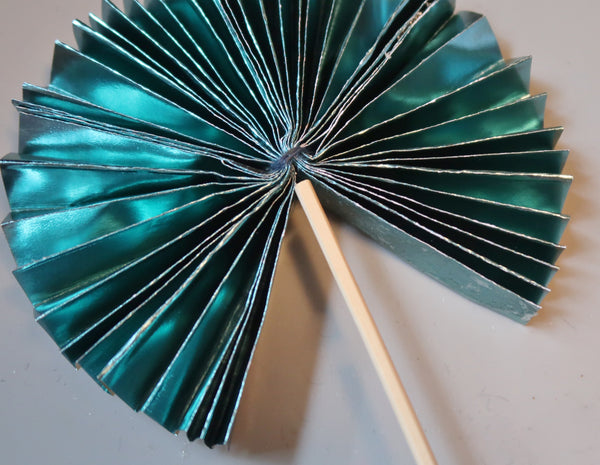
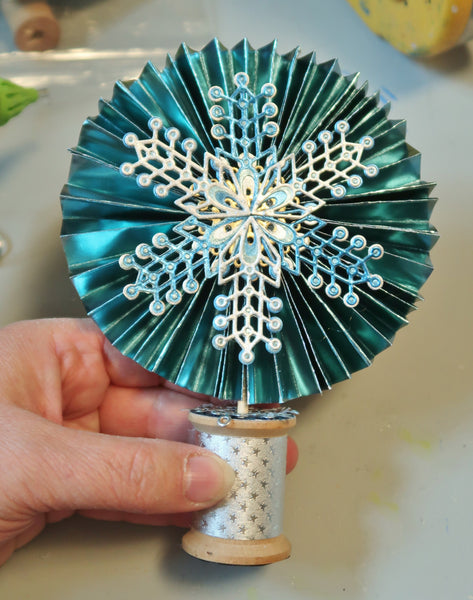
Step 7 - Insert a wooden skewer into the rosette.
Step 8 - Use a hot glue gun to affix both sides of the rosette to the skewer.
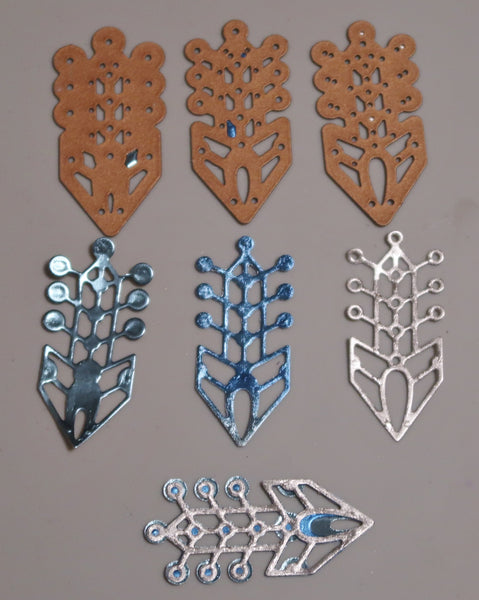
Step 9 - Die-cut a single large snowflake or die-cut and assemble pieces to make a large snowflake. I used Kaleidoscope Snowflake from Spellbinders to create a layered snowflake.
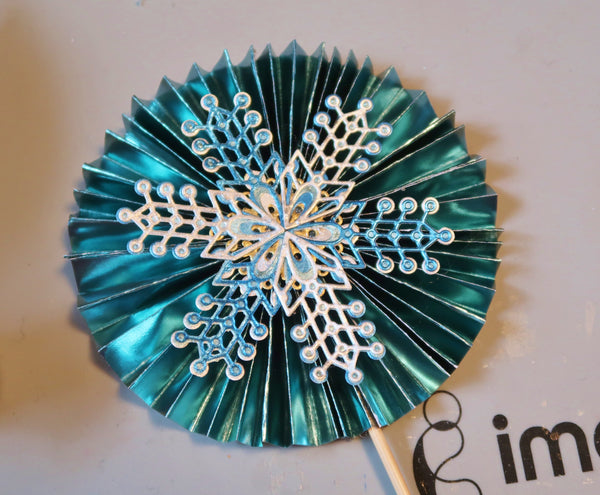
Step 10 - Adhere the snowflake (or snowflake segments) to the rosette using hot glue.
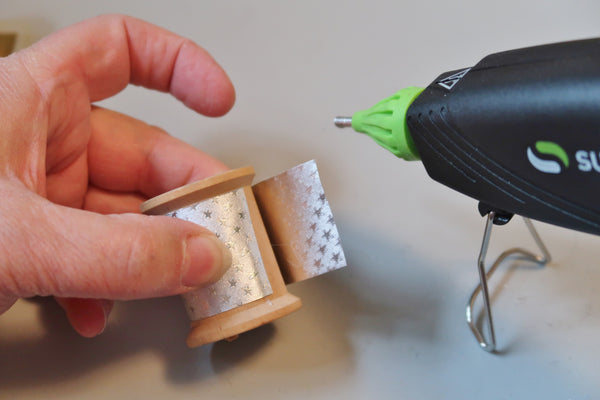
Step 11 - Wrap a piece of the foiled paper around the center of the spool and glue it in place.
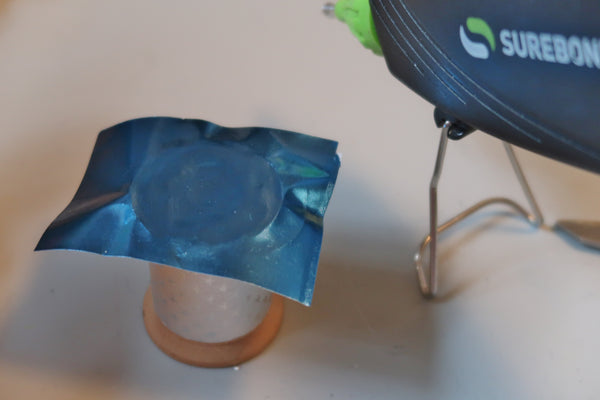
Step 12 - If your spool doesn't have a nifty label showing you can adhere a piece of foiled paper to both ends of the spool to add a bit of color.
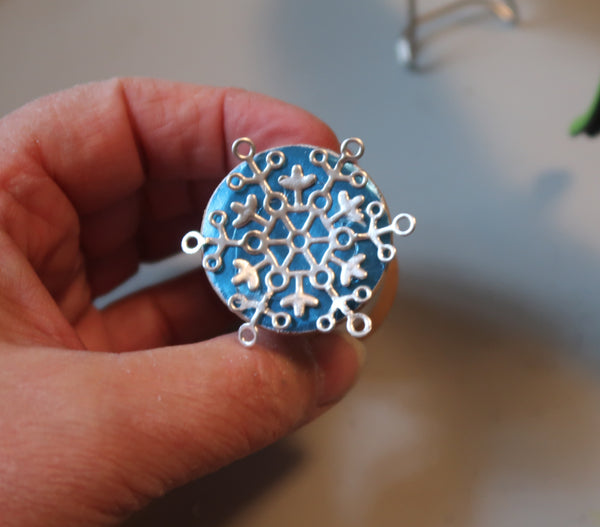
Step 13 (optional) - I added a snowflake to the top of the spool for a bit of extra decoration. Not necessary but it does add a little something.
Step 14 - Cut wooden skewer to the desired size.
Step 15 - Poke a hole in the foiled paper covering the top of the spool; fill the hole with hot glue and insert the rosette skewer. Hold the rosette in place until the glue cools off a bit.
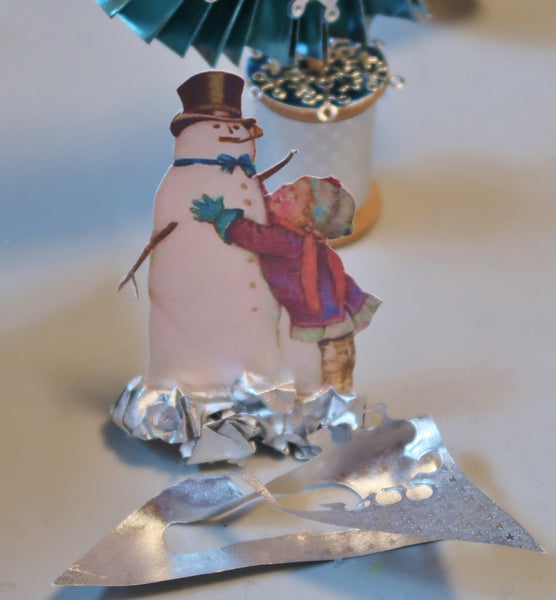
Step 16 - Print desired collage imagine on heavy cardstock, fussy cut the image leaving a 1/2" foot on the bottom to be folded under to create a stand for the image.
Step 17 - To enhance the feeling of the snowy scene, crumble leftover bits of silver foiled paper to create a small snowbank at the bottom of the image.
Step 18 - Glue the collage image to the top of the spool in front of the rosette.

Supplies:
Rinea - Frosted Foiled Paper Variety Pack
Gecko Galz - Frosty Collage Sheet
Spellbinders - Kaleidoscope Snowflake
Wood Spool, Skewer
Hot Glue Gun