Creating Fun Halloween Decor
by Diana Soling

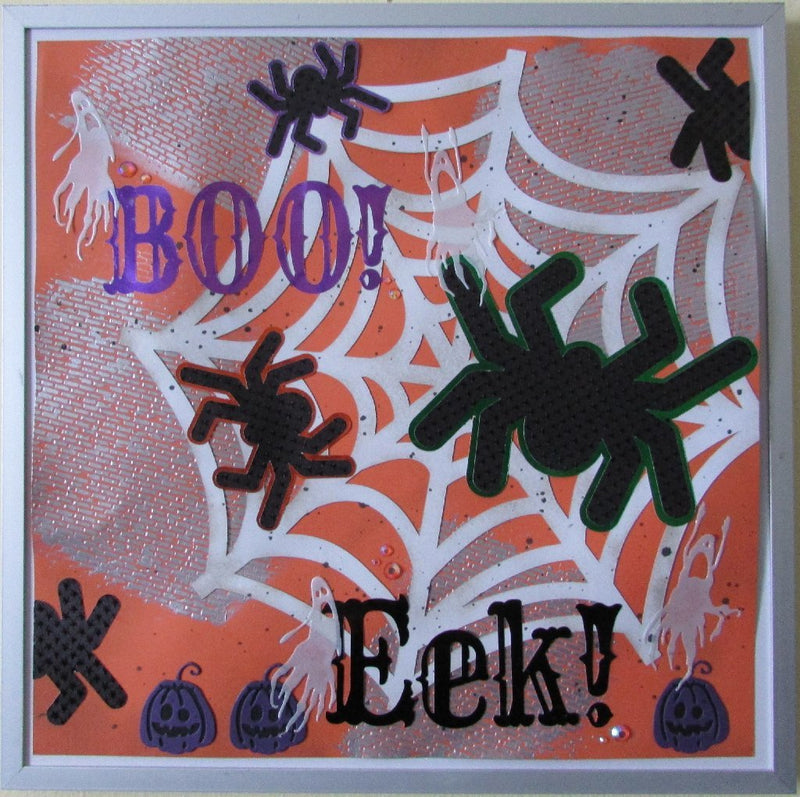
Hi everyone, Diana here with a fun Halloween wall decor piece to share. It took me a bit to truly figure out where I wanted to go but once I got moving it all came together.

Directions:
1) Using embossing paste spread it through your chosen stencil and create your background. I used a brick stencil and silver embossing paste.
2) Cut our your design either with dies or a cut machine. I used my Cricut to cut out the large web, spiders, and words. I then used dies from Tim Hotlz for the pumpkins and ghosts.

3) Once all your die cuts are cut start by adhering your layering pieces (spiders and pumpkins)

4) Take a blending brush and pumice stone distress ink and "distress" your spider web.Start off the image and using circular motions add the ink slowly. This will help you from getting harsh lines.

5) Now your ready to start adhering your different elements to your base page. Place the spiderweb slightly to the right. Then start adhering your spiders, pumpkins, ghosts, and sentiments. I used a T-ruler to help line my words so they were straight.


6) All that's left to do is add any embellishments you'd like. I added some nuvo crystal gems for a little more sparkle.
Here are a couple more close up shots:


Thanks for hanging out with me today! I hope you'll give this a try and get crafty!
SUPPLIES:
silver embossing paste, brick stencil, Nuvo crystal gems, Cricut, Tim Holtz dies, pumice stone distress ink, blender tool, purple, black and orange cardstock.