Designing with Rinea Foiled Paper by Martha

Hello everyone, Martha Lucia here to share another model of flower created with the 3D Rolled Star Wafer Thin Dies and Rinea Foiled Paper Foil. Designing with Rinea Foiled Paper is a real pleasure because you can mold with the paper and give different forms to your designs.
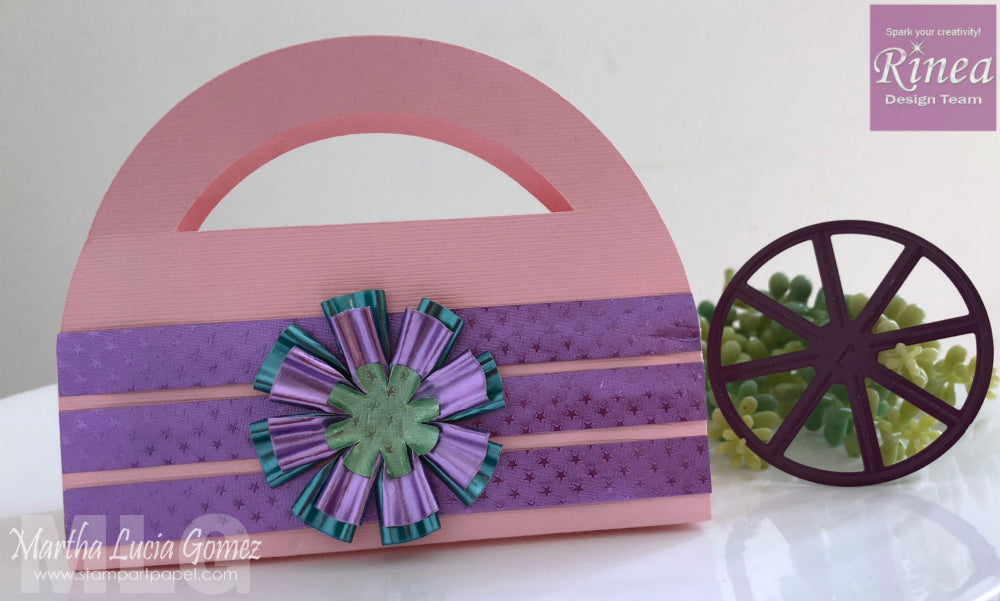
This month we are using these 3D Rolled Star die cuts to show you how to make more that one star and I decided to make flowers. Take a look at this decorated gift bag that I made:

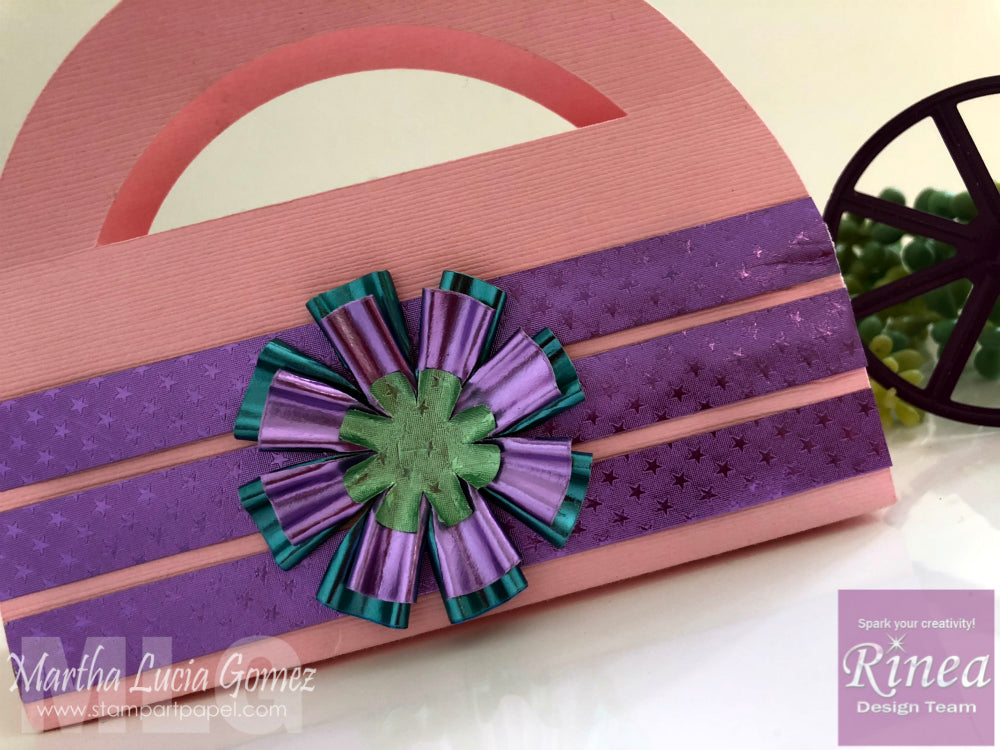
I made the bag using a Cricut design and textured cardstock in pretty pink. After assembling the bag I decorated the front with three strips of Lavender/Lavender Starstruck Rinea Foiled Paper. I pasted the strips using Quick Craft Glue from Helmar. Then I took the small die cut included on the 3D Rolled Star Die Cut Set to cut the layers of my flower.

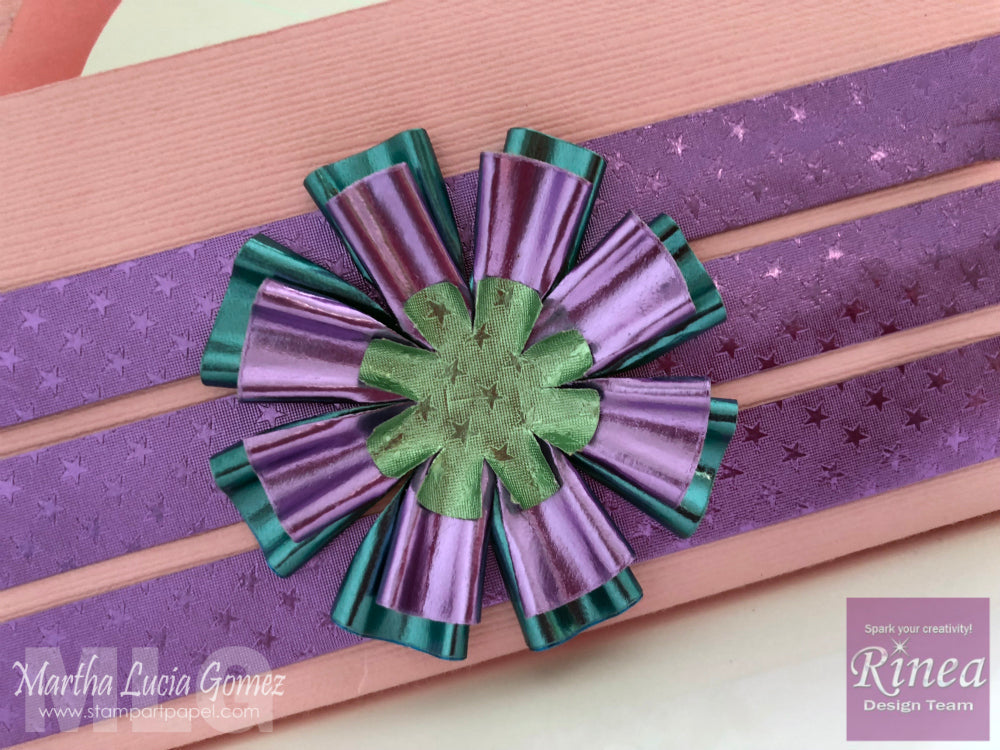
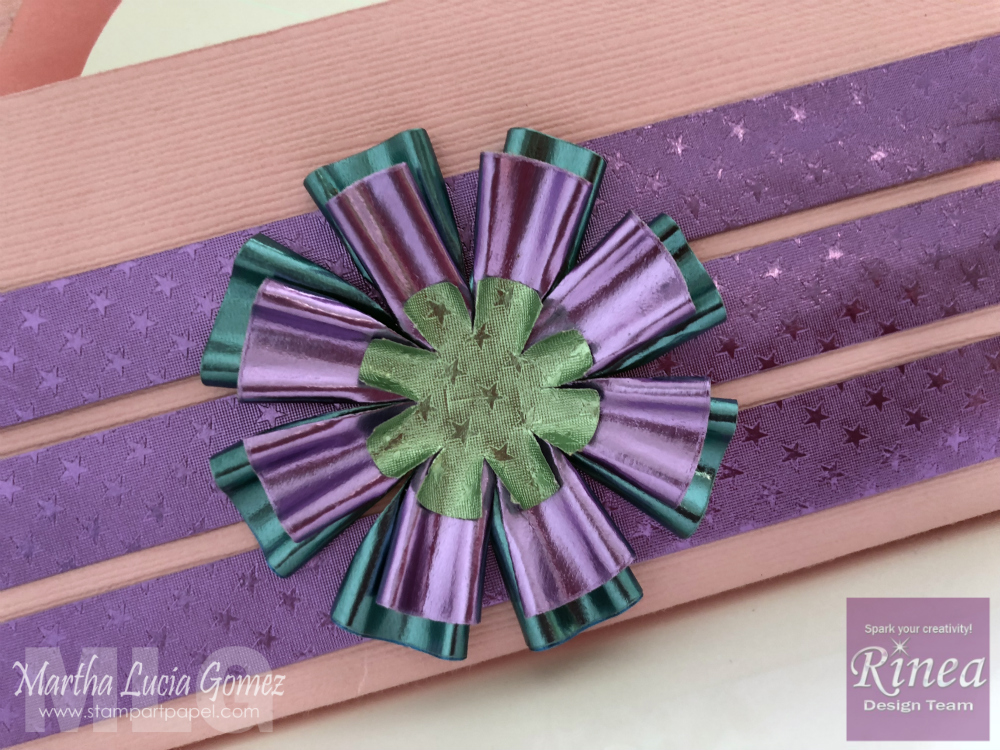
I cut the first layer of the flower using Turquoise/Gold Glossy Rinea Foiled Paper, it is the large layer of the flower, then I used Lavander/Gold Glossy Rinea Foiled Paper and the last one is Jade/Jade Starstruck Rinea Foiled Paper. I love this color coordination and how I can mix these textures.
I used the small die cut included on the 3D Rolled Star die cut set, and maybe you are asking how I cut the layers of the flowers if they are different sizes. Easy! I just put my circle on the big shot and centered the die cut over the circle and past it through the big shot.
To create the flower, I used at the same time 3 different round wooden sticks with different sizes and create an accordion on each petal, keeping the color up and the gold down. Then I pasted the layer on the center with a glue dots.


I hope my project inspires you and give an idea to use your 3D Rolled Star in a different way. With these dies you can create the 3D Rolled Star in different sizes and amazing flowers, it is only inspiration for you because I am sure that your creativity is unlimited.
Thank you for stopping by and see you soon!
