How To Create A Frosty Shaker Card Using Ghost Ink by Monika Graefling-Gladysiak

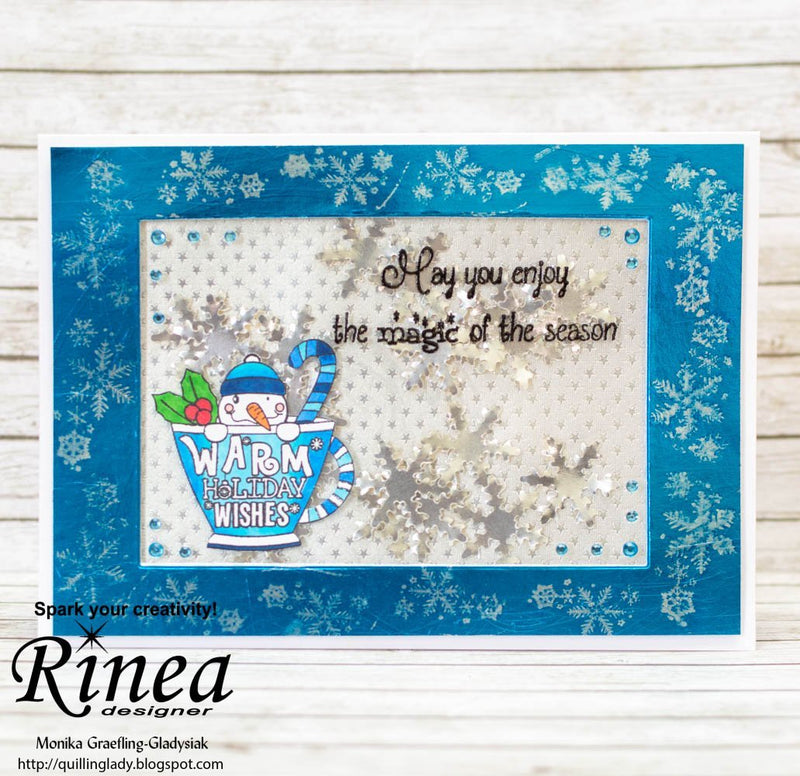
Hello everyone! I hope you have a wonderful day. It's Monika today creating a Frosty Shaker Card using Rinea Foiled Papers and Crackerbox & Suzy Stamps.
We are going to use Rinea foiled paper: Silver, Silver Starstruck, Sapphire; Ghost Ink 2.0, sentiment stamp from Crackerbox & Suzy stamps, Snowman Cup stamp by Crackerbox & Suzy Stamps, Snowflake stamps from Crackerbox & Suzy Stamps, snowflake punch, a rectangle cutting die, small blue gems, alcohol markers, Wink-Of-Stella glitter pen, black StazOn ink, acetate, black embossing powder, Versa Mark ink, anti-static bag, scissors, white card, card base (12.5cm x 17.5 cm), double sided tape, liquid glue.

Step 1:
Stamp the Snowman Cup on white card using black StazOn ink and colour it in with alcohol markers, fussy cut the image, add Wink-Of-Stella glitter ink onto white writing.
Adhere the Sapphire foiled paper onto card using double sided tape and cut it to the size 12cm x 17 cm, die cut the rectangle inside. Use Ghost Ink 2.0 and stamp the snowflakes on the blue frame, use a tissue to reveal the white colour.

Step 2:
Use the anti-static bag on acetate, stamp the sentiment using Versa Mark ink and heat emboss using black embossing powder.
Adhere the acetate to the back of the frame using double sided tape.

Step 3:
Adhere Silver Starstruck measuring 11.5 cm x 16.5 cm onto a card base. Use a snowflake punch to create small Silver snowflakes for the shaker card.

Step 4:
Adhere the blue frame with the acetate, use double sided foam pads for dimensions, put the silver snowflakes inside, stick the Snowman Cup using liquid glue on the acetate, add small blue gems in the corners.

Step 5: