How to Create a Thanksgiving Card and Place Setting Card by Annie Collins

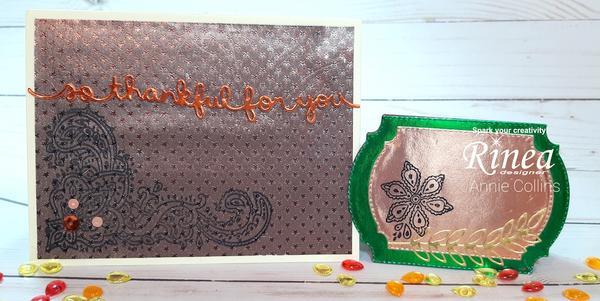
Hello Crafty Friends - Annie here with a fun and easy Thanksgiving card and place setting card.
All month long we are collaborating with Joy Clair Designs to bring you loads of inspiring projects.

Materials Used:
Lawn Fawn Dies: So Thankful For You Sentiment
Recollections Brand 110# Cardstock: White, Brown and Orange
Recollections Brand 65# Cardstock: Cream
Art Glitter Glue
Doodles Paper Playground Sparkle Blends: Autumn Harvest
EK Success Scoreboard
Bone Folder
Let's get started.
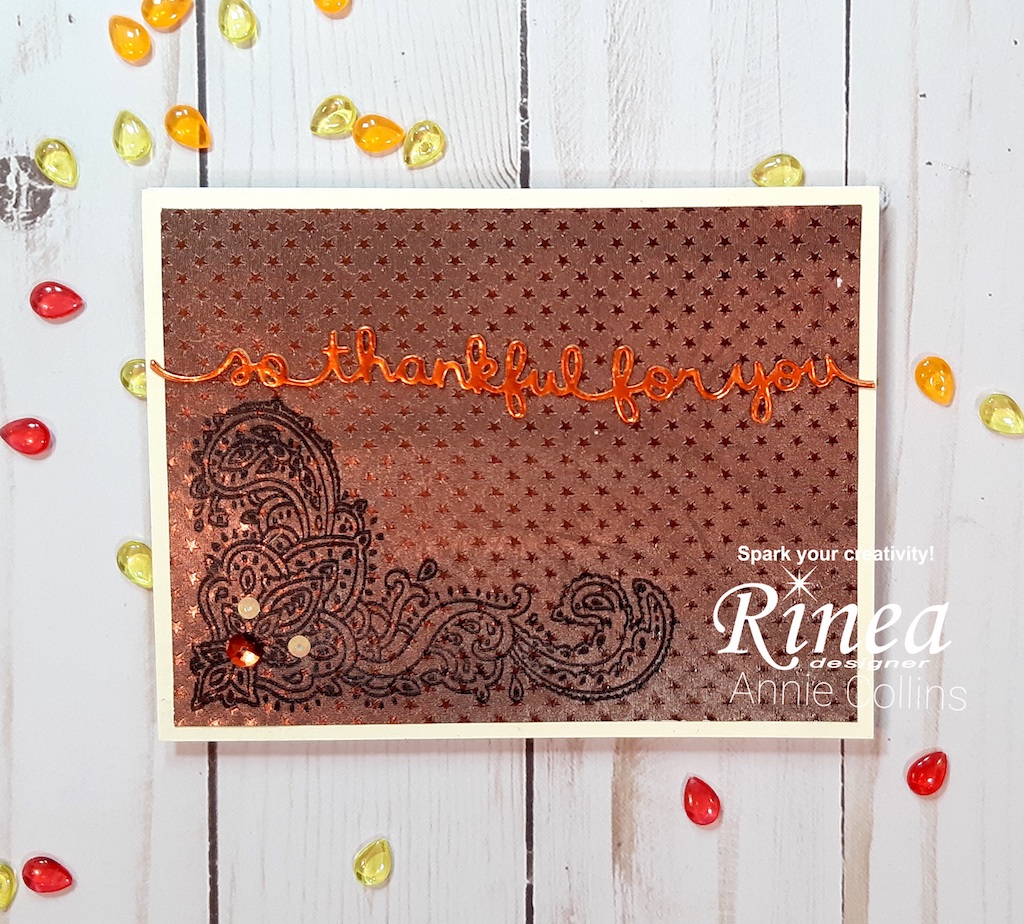
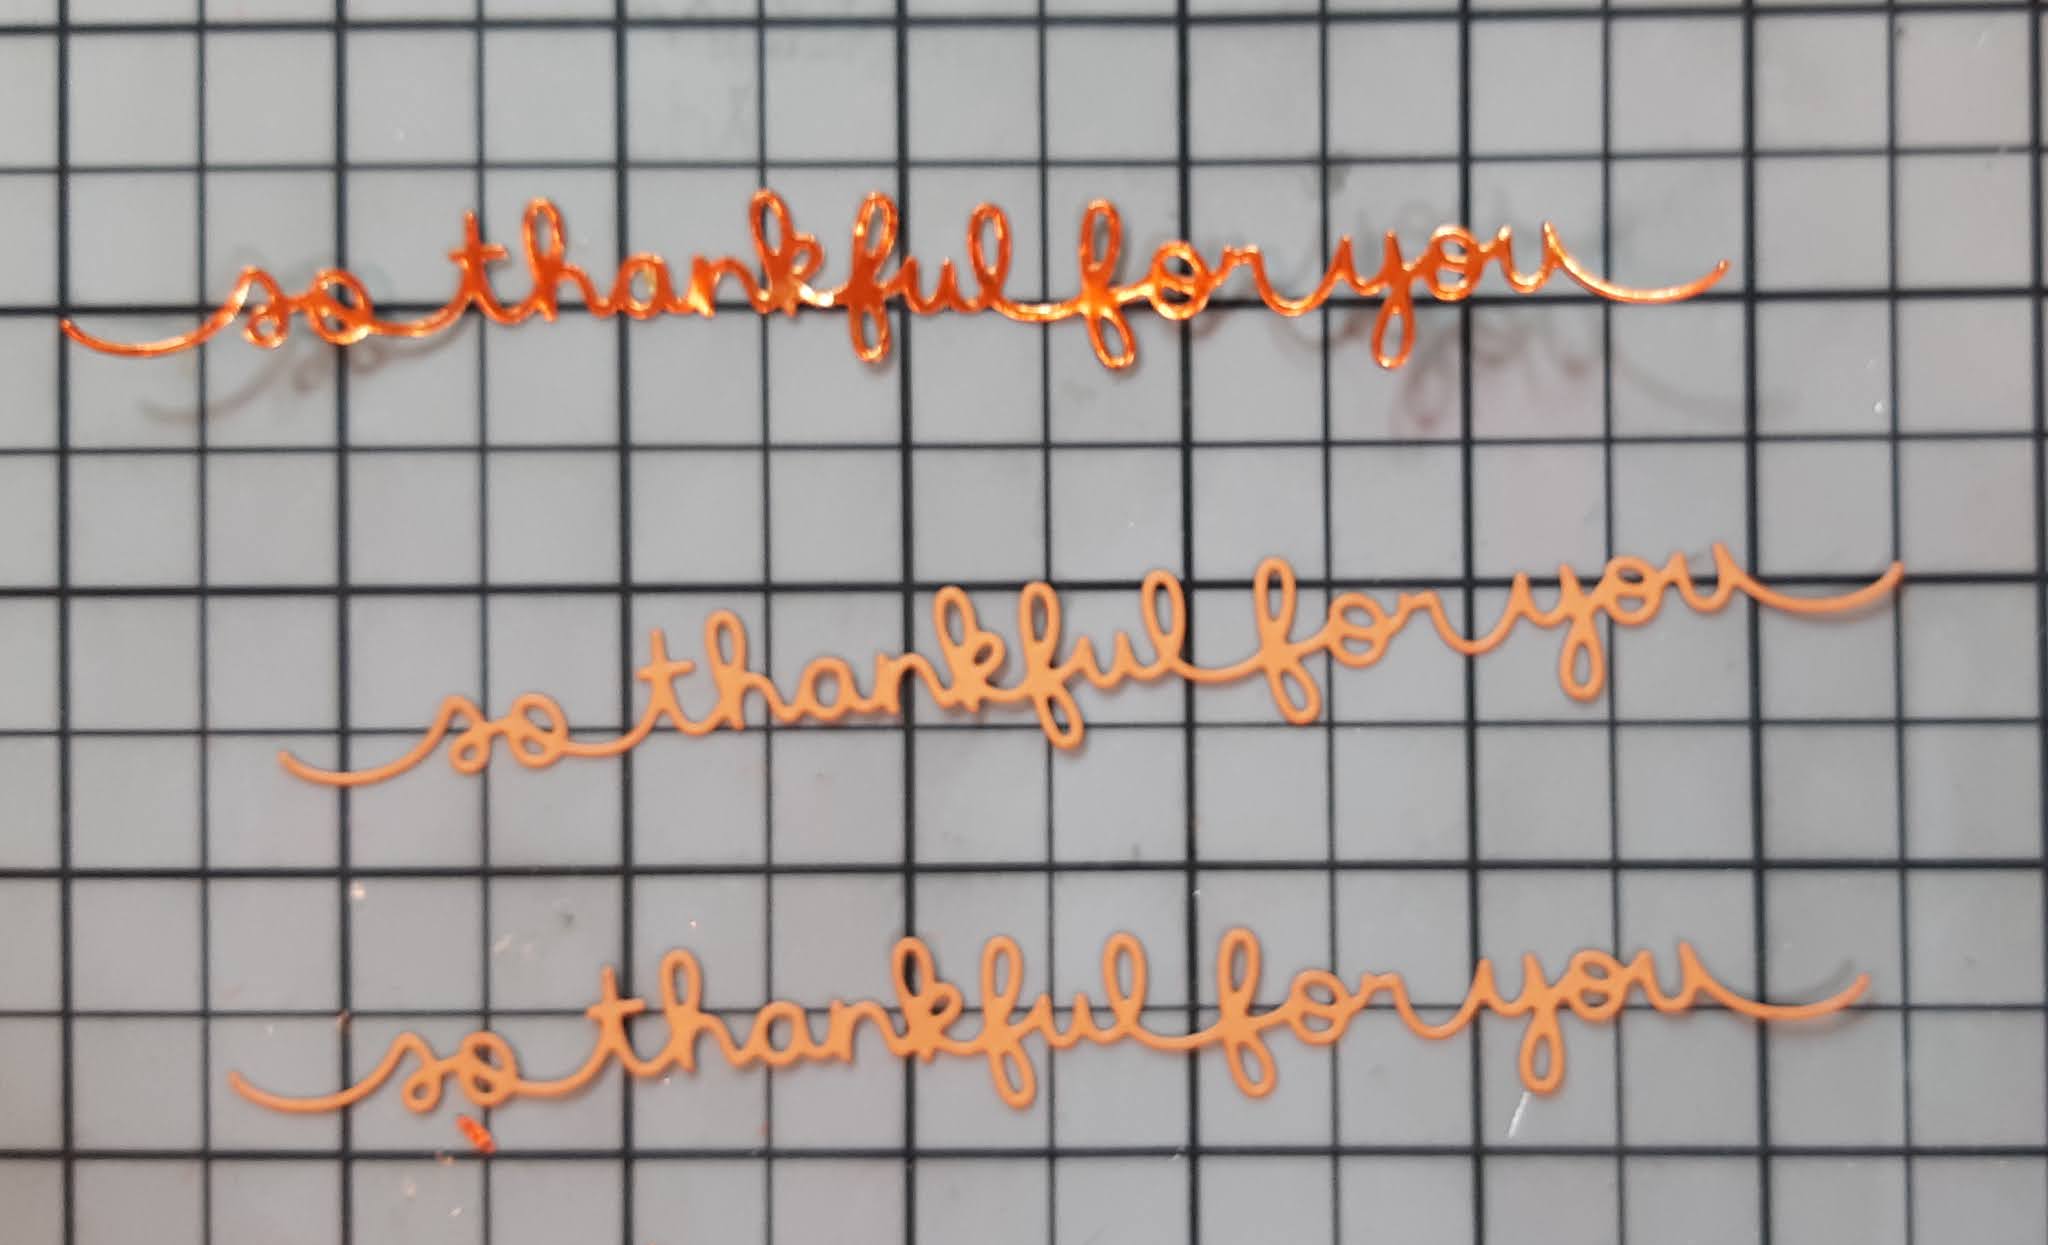
I start by trimming the Rinea Foil Paper: Starstruck Mocha/Mocha to 4"x 5-1/4", I trim the Cream cardstock to 4-1/4"x 5-1/2". I die cut the sentiment 3 times. Once from the Rinea Foil Paper: Glossy Marigold/Gold and 2 times from the Orange cardstock. I die cut 3 Frantic Stamper Precision Die- Stitched Labels, 1 from the Rinea Foil Paper: Glossy Emerald/Gold and 2 from the Brown cardstock. Then, I die cut another label a size smaller from the

So Thankful for You Card

I adhered the 3 die cut sentiments together.
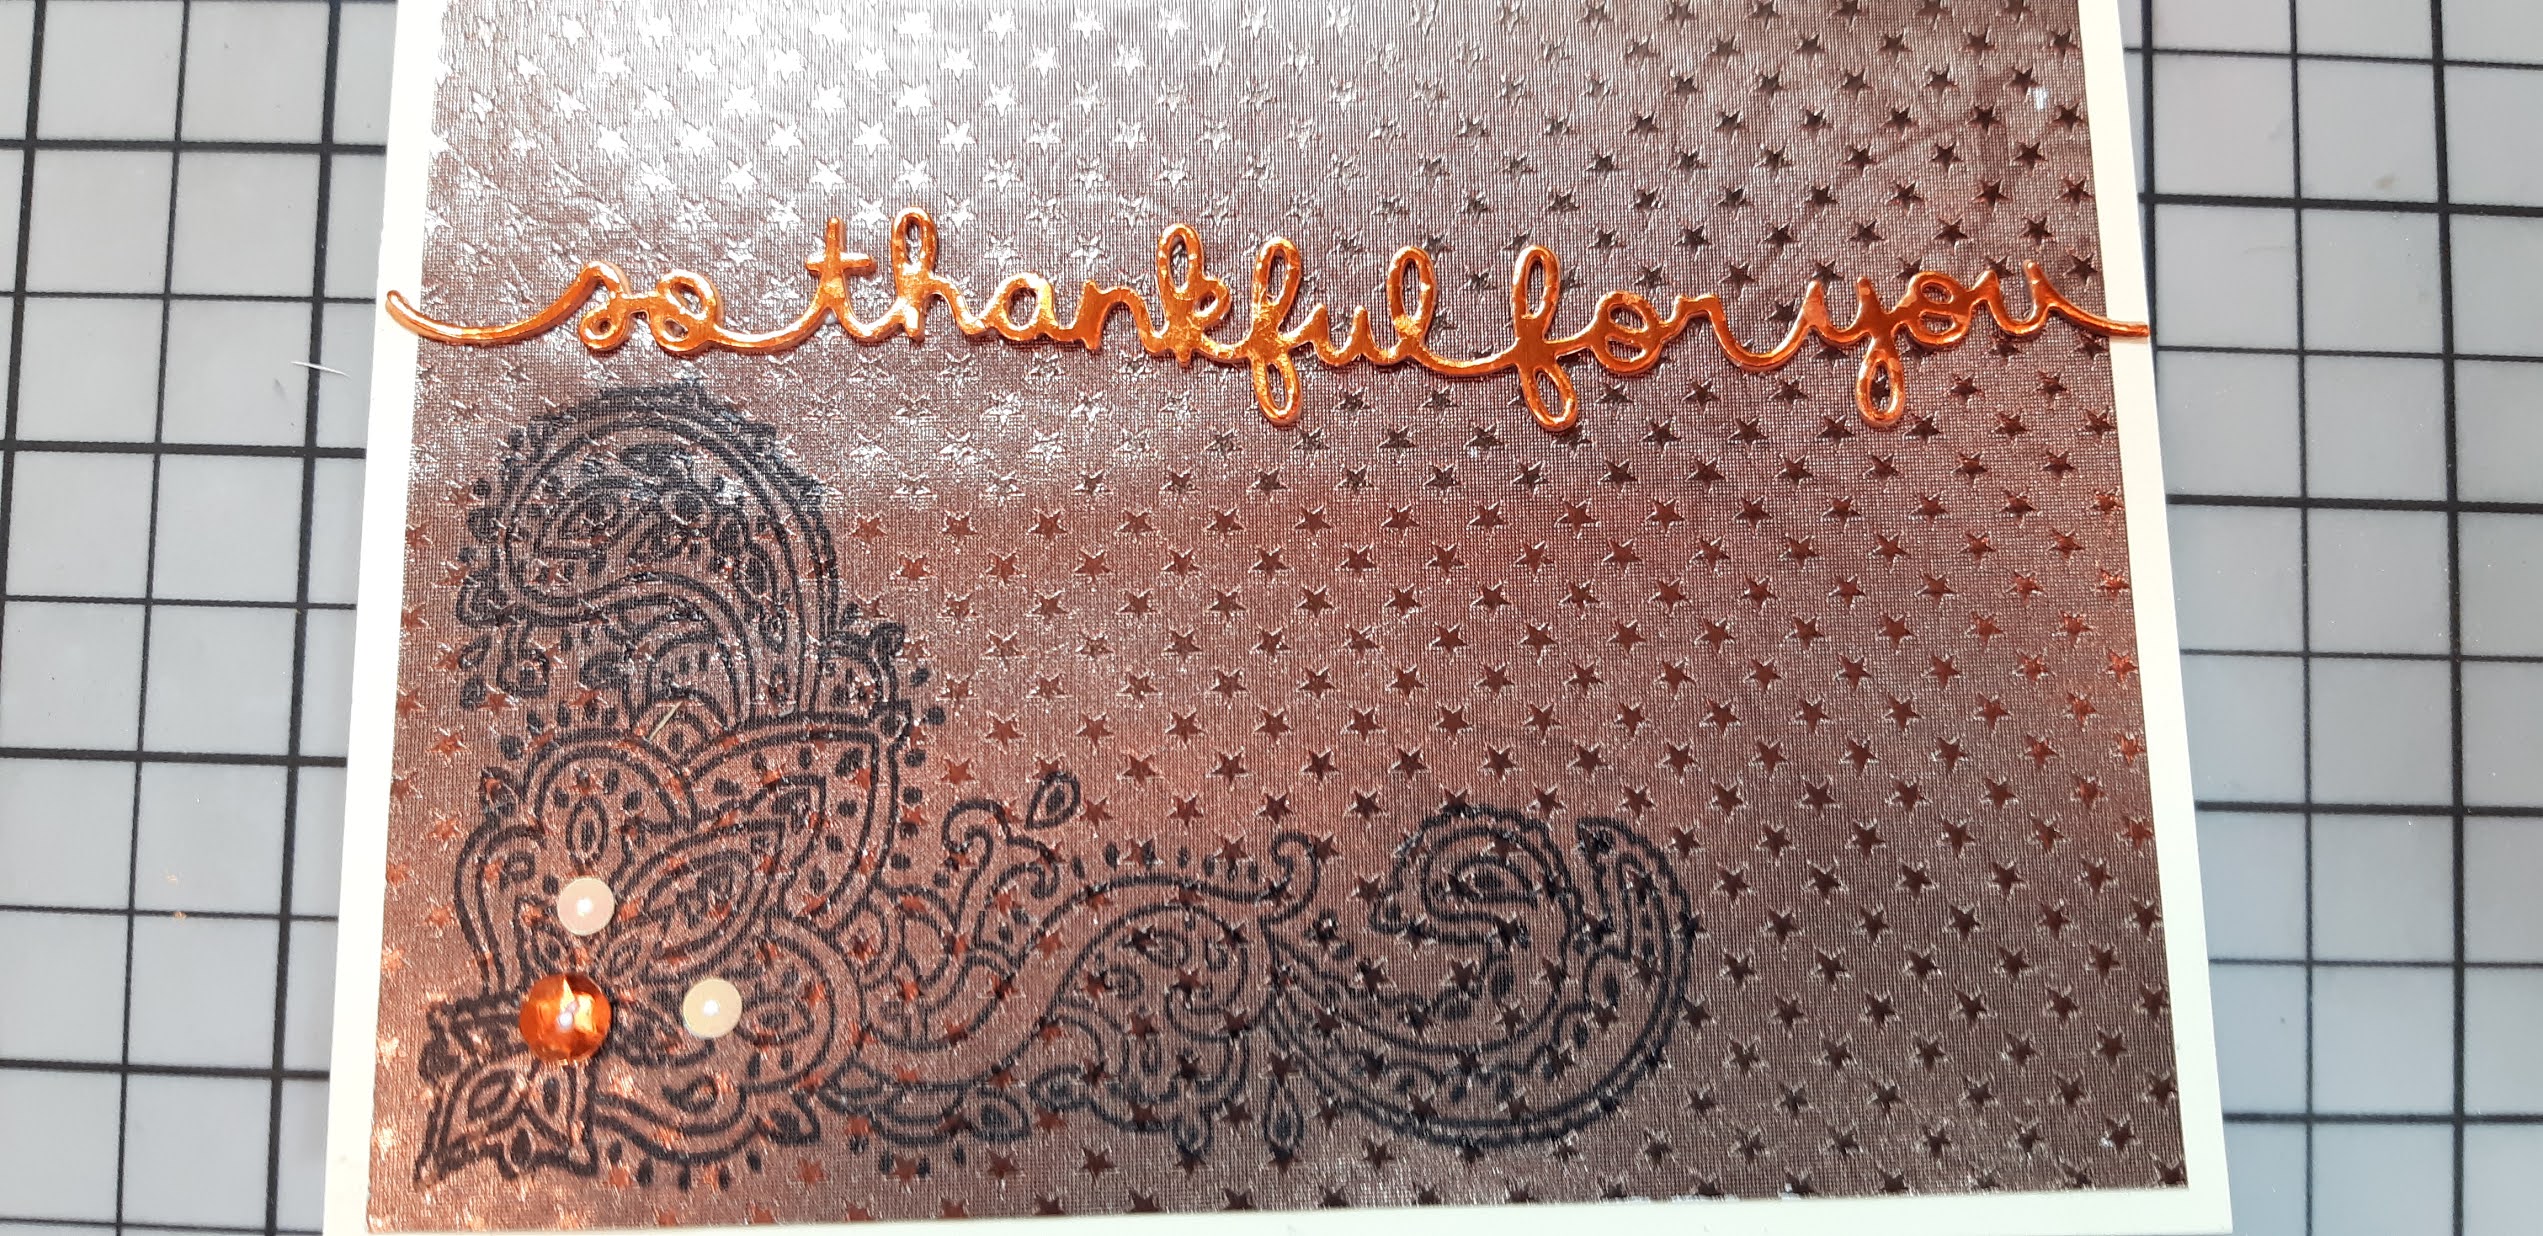
Next, I stamp the corner of the Rinea Foil Paper: Starstruck Mocha/Mocha using Stazon Jet Black Ink. I repeat it until I have a nice dark image. Then, I adhere the stamped Rinea Foil Paper: Starstruck Mocha/Mocha to the layering cream cardstock. I adhere the card panel onto the card base. I then adhere the sentiment onto the card. I adhere 3 sequins onto the stamped corner.

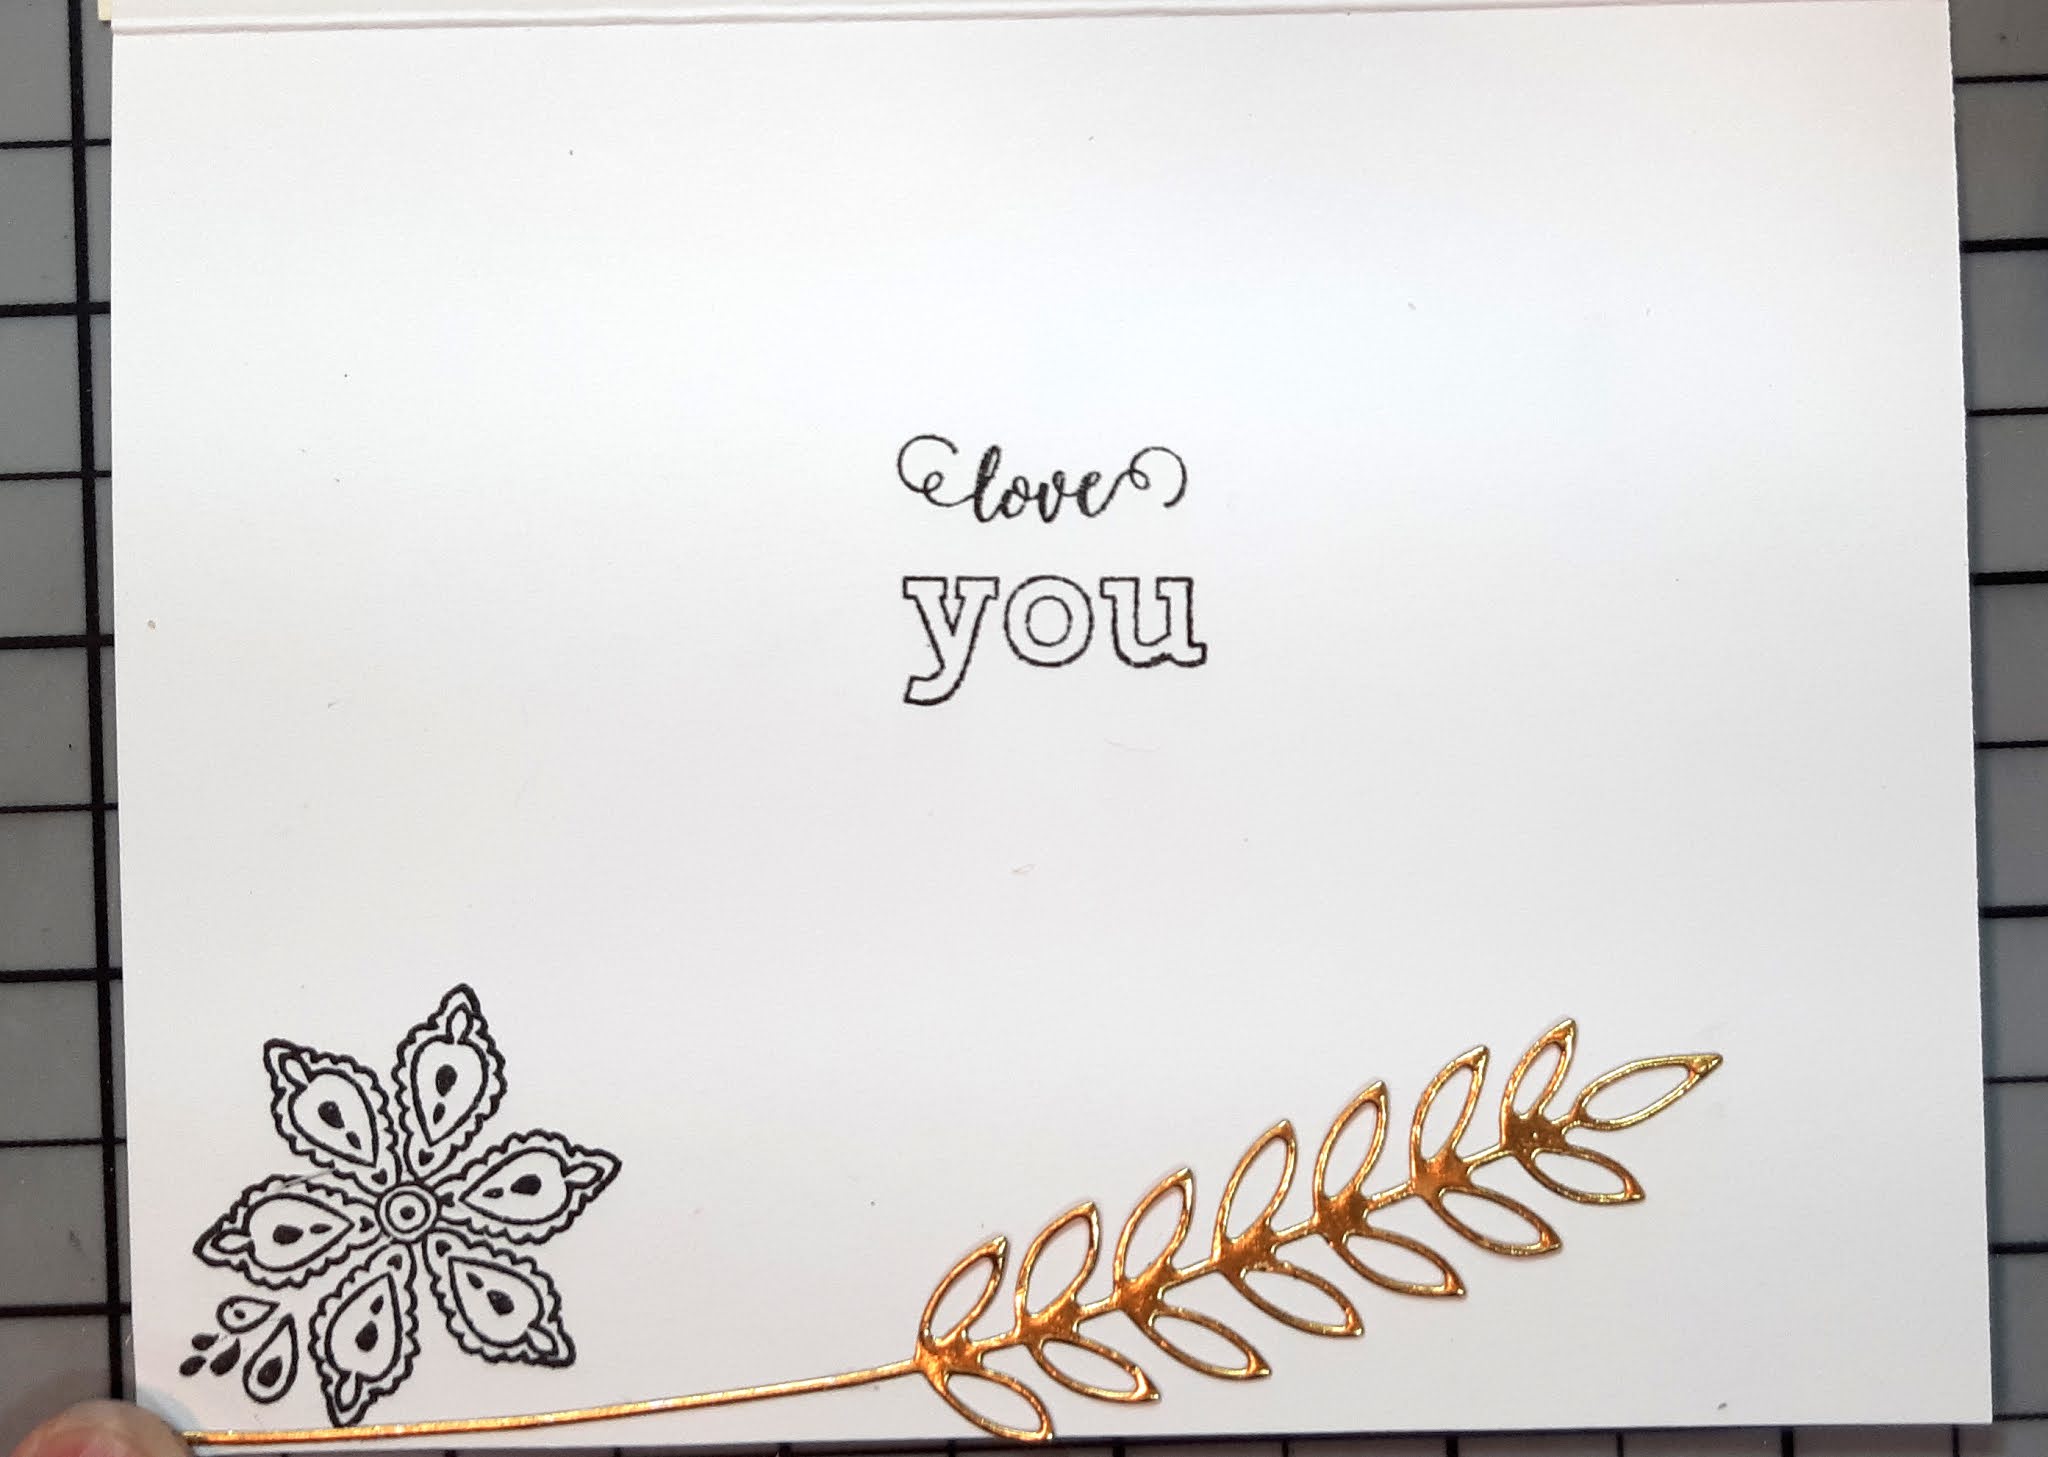
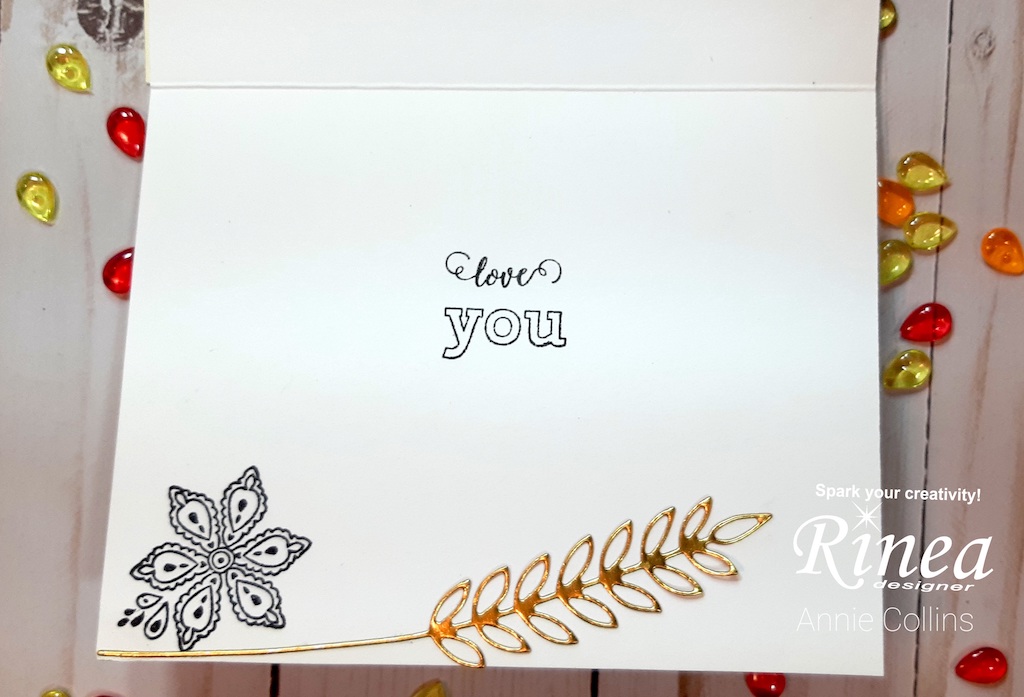
Then, I stamp a another sentiment inside card along with an image from
Next, I adhere a die cut leaf that was cut from the
Now, the card is complete!

Place Setting Card

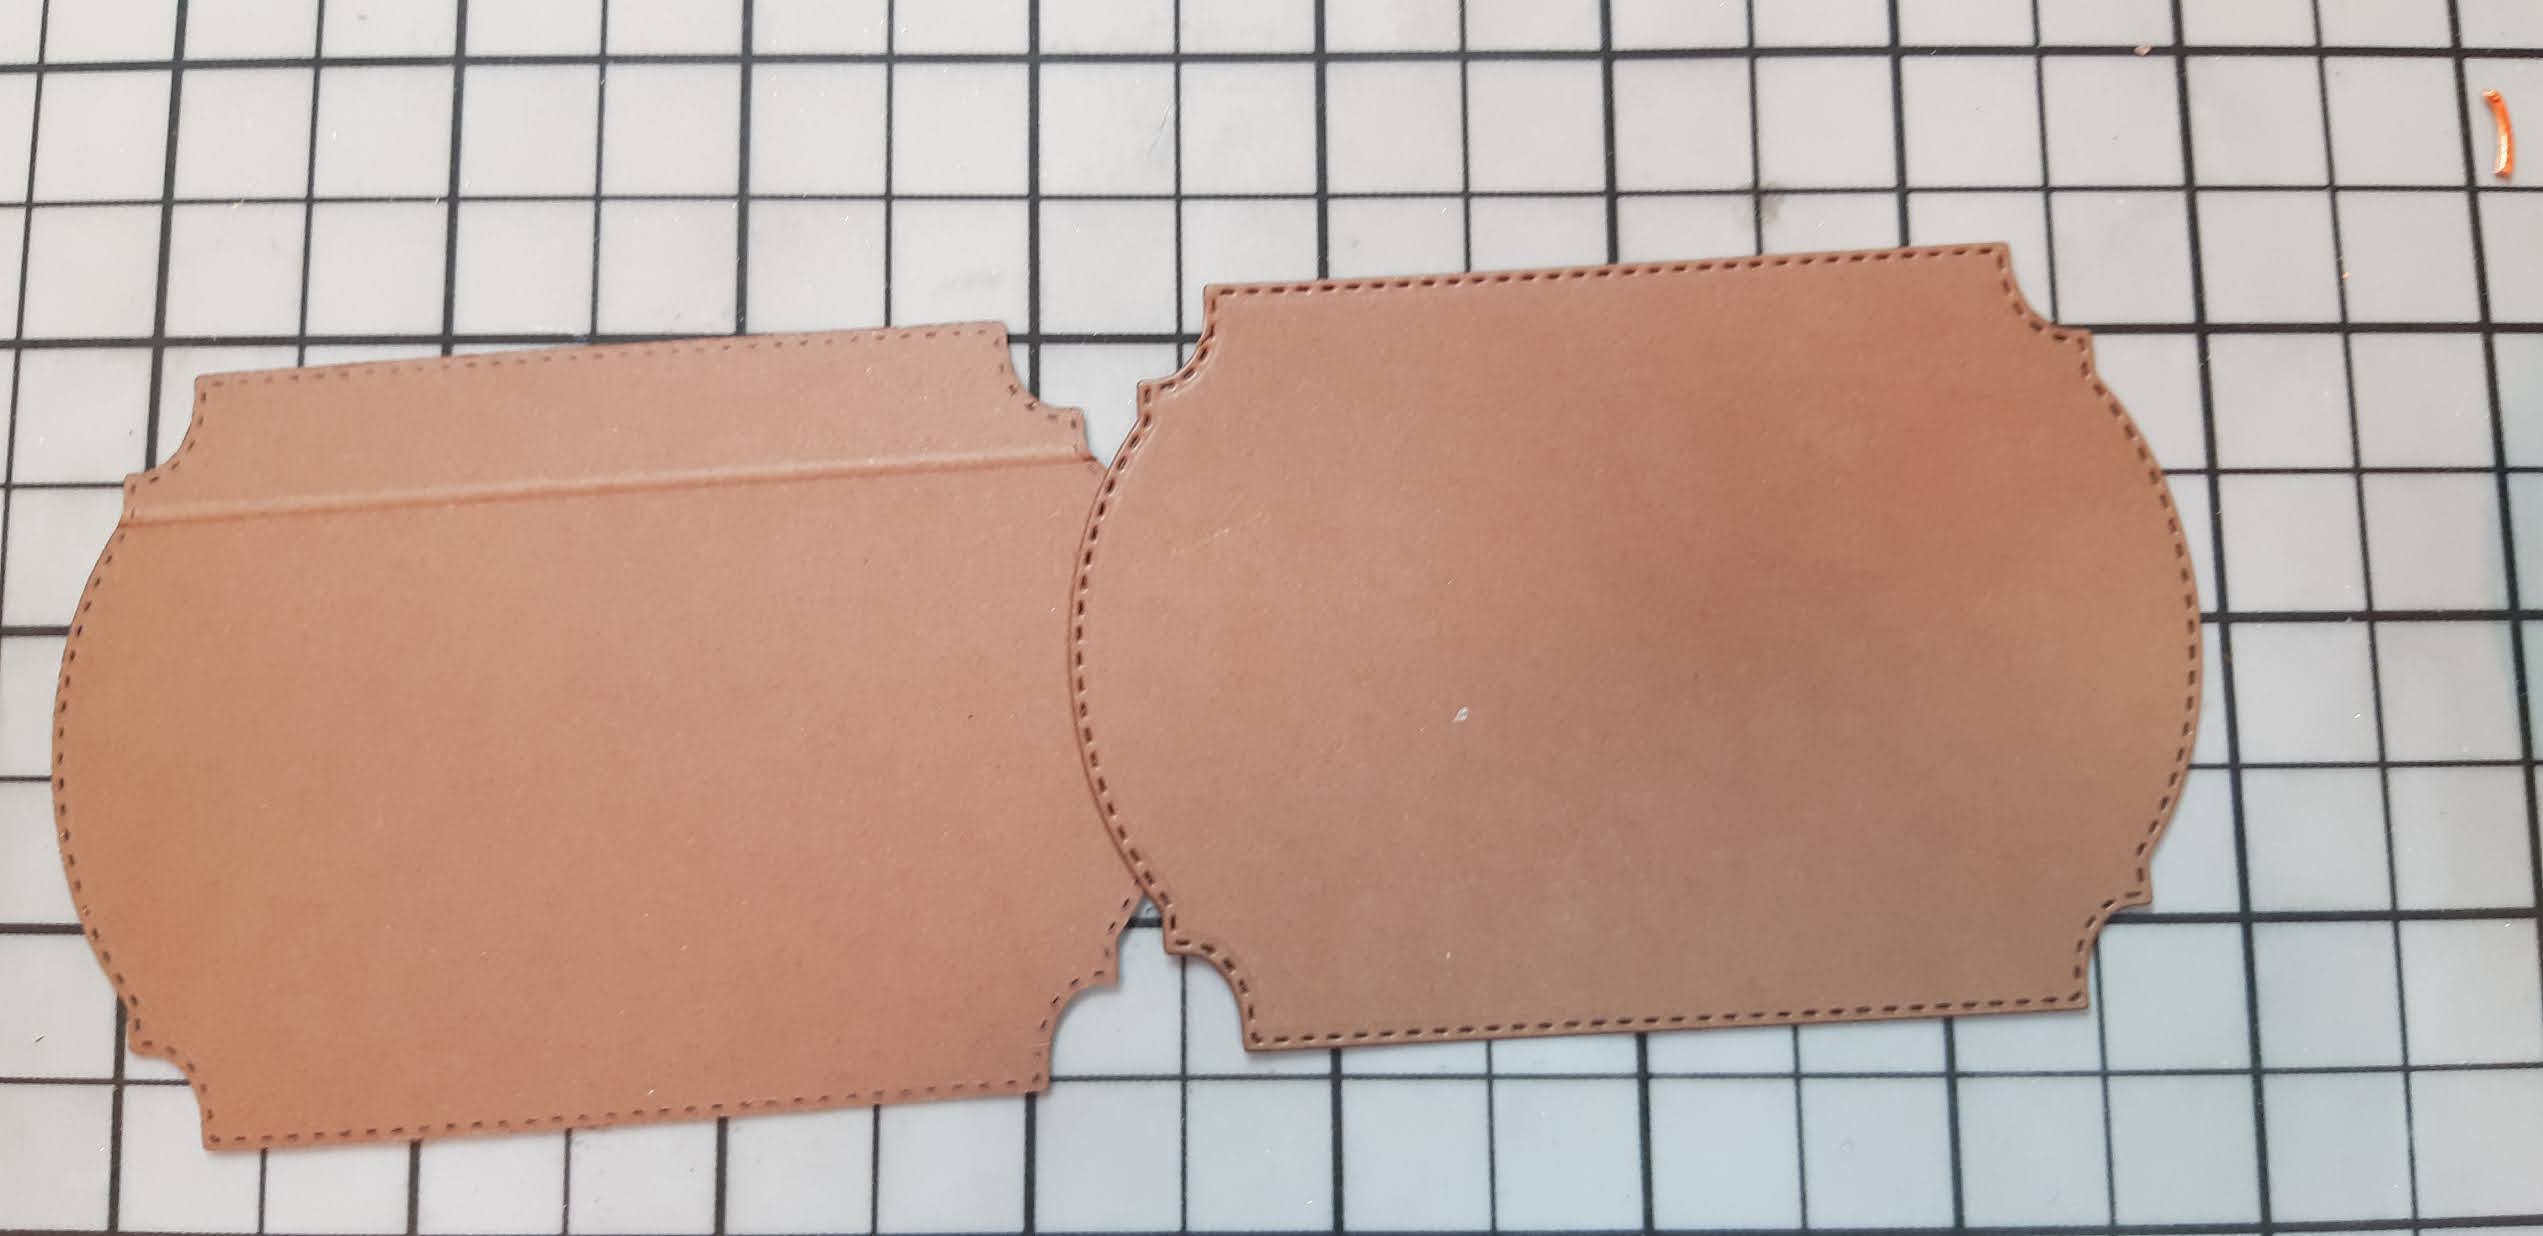
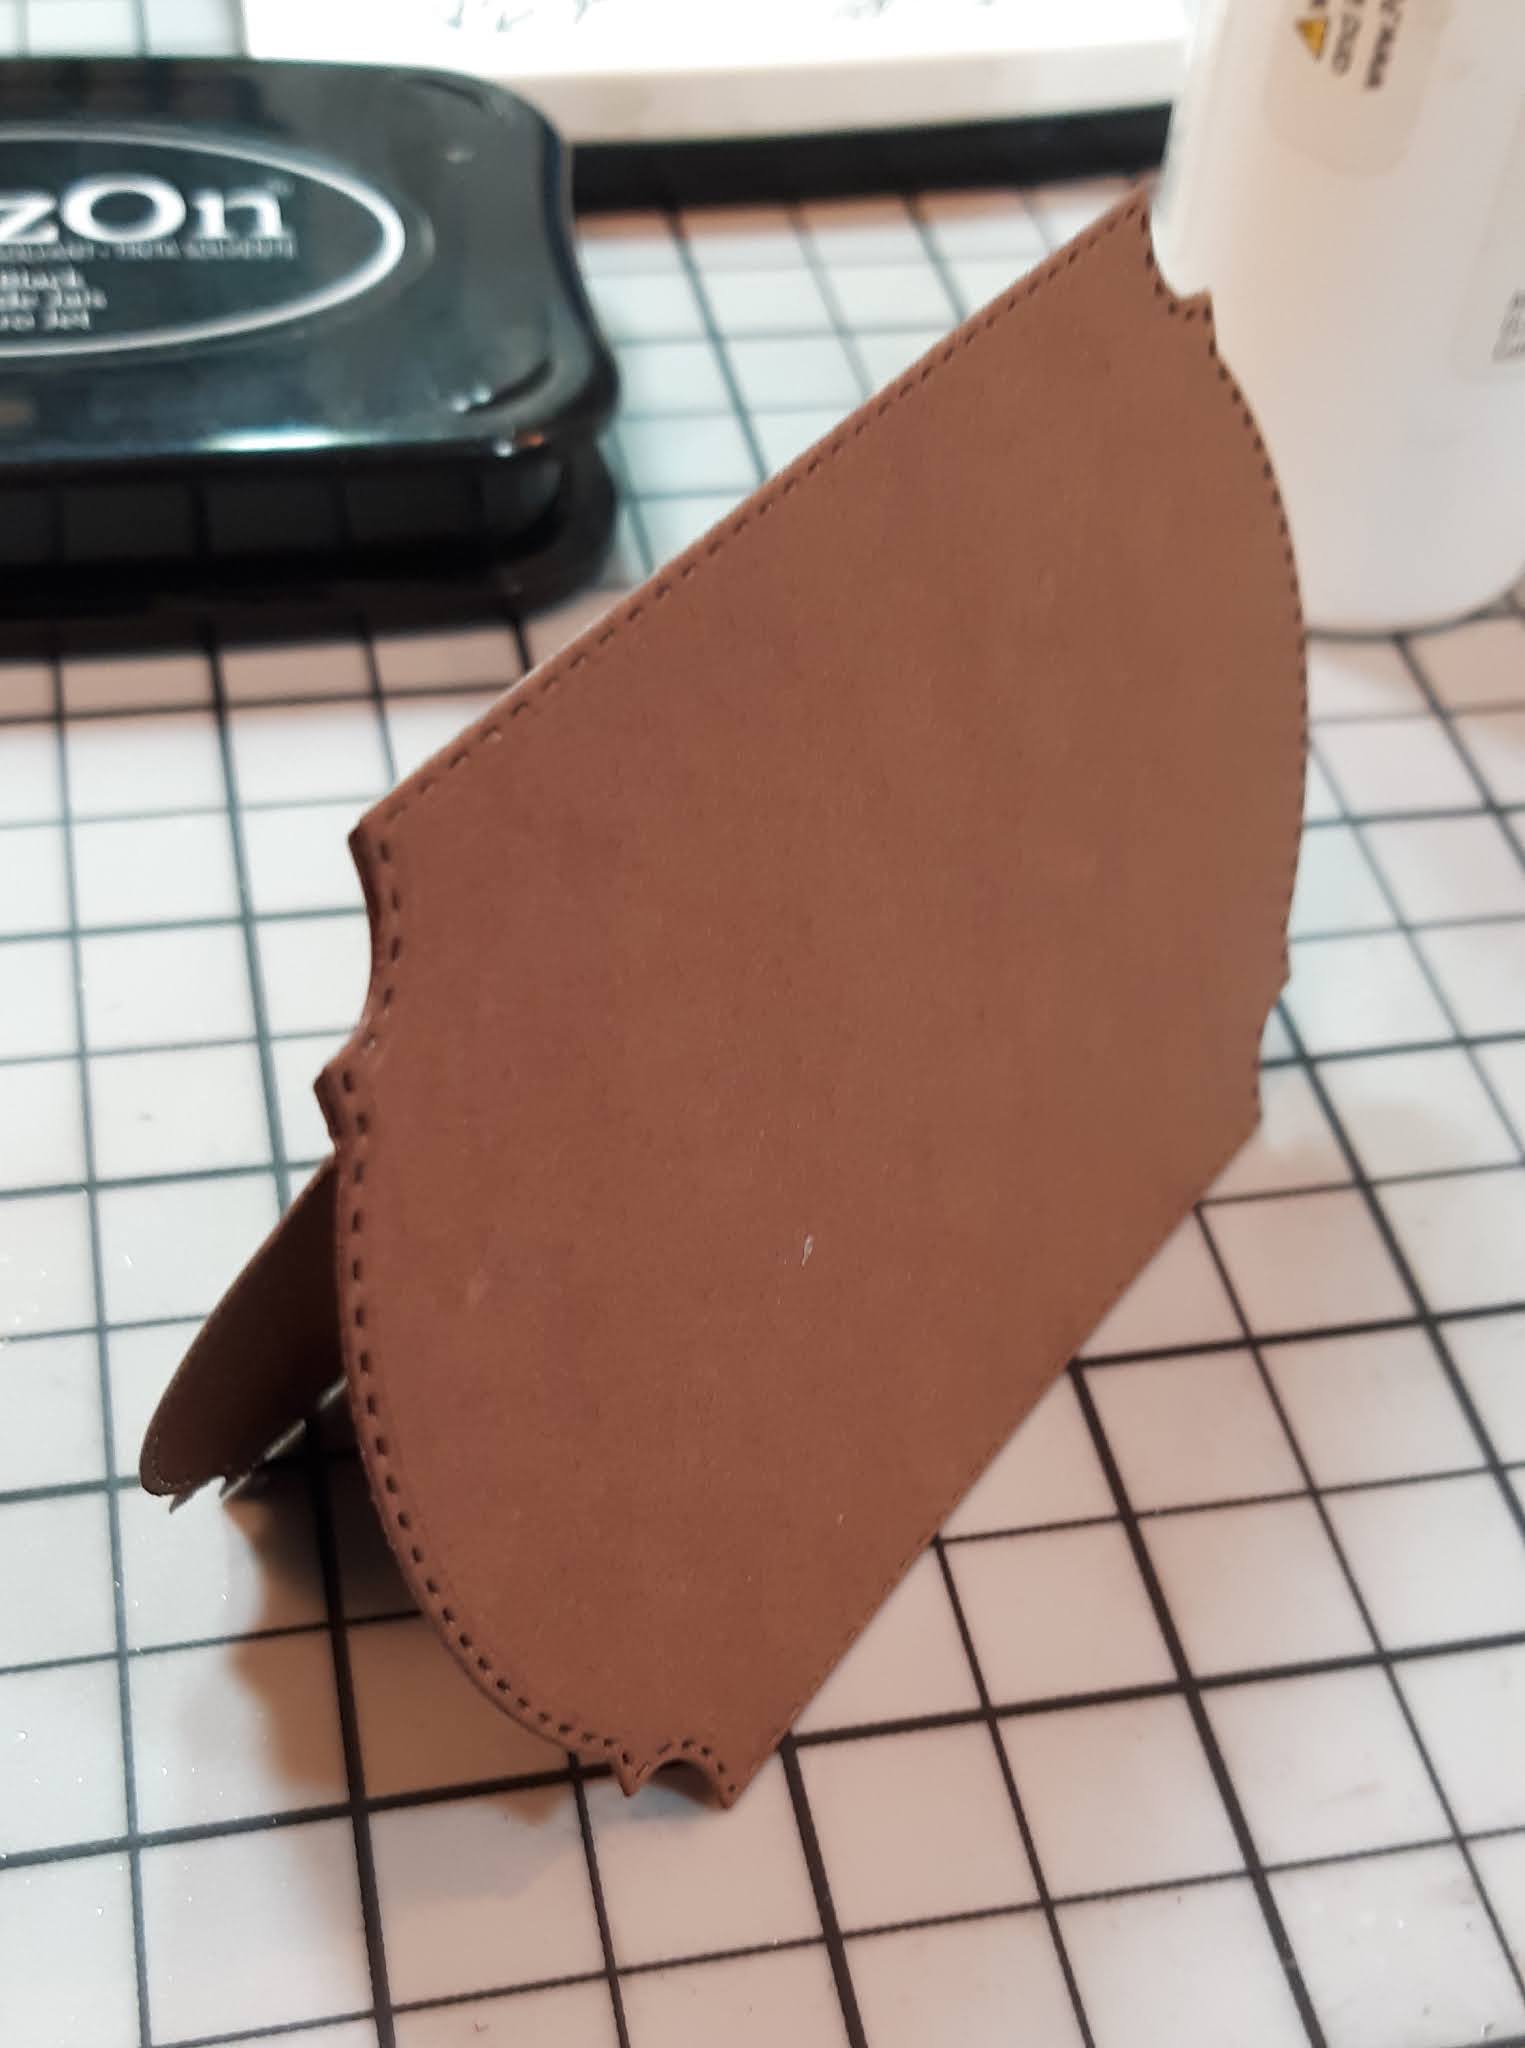
I start by scoring one of the Brown stitched labels at 1" from the edge. Then, reinforce the score with the bone folder. This will create a tab. Next, place some adhesive onto the tab and press the other Brown label to it. Creating a card.


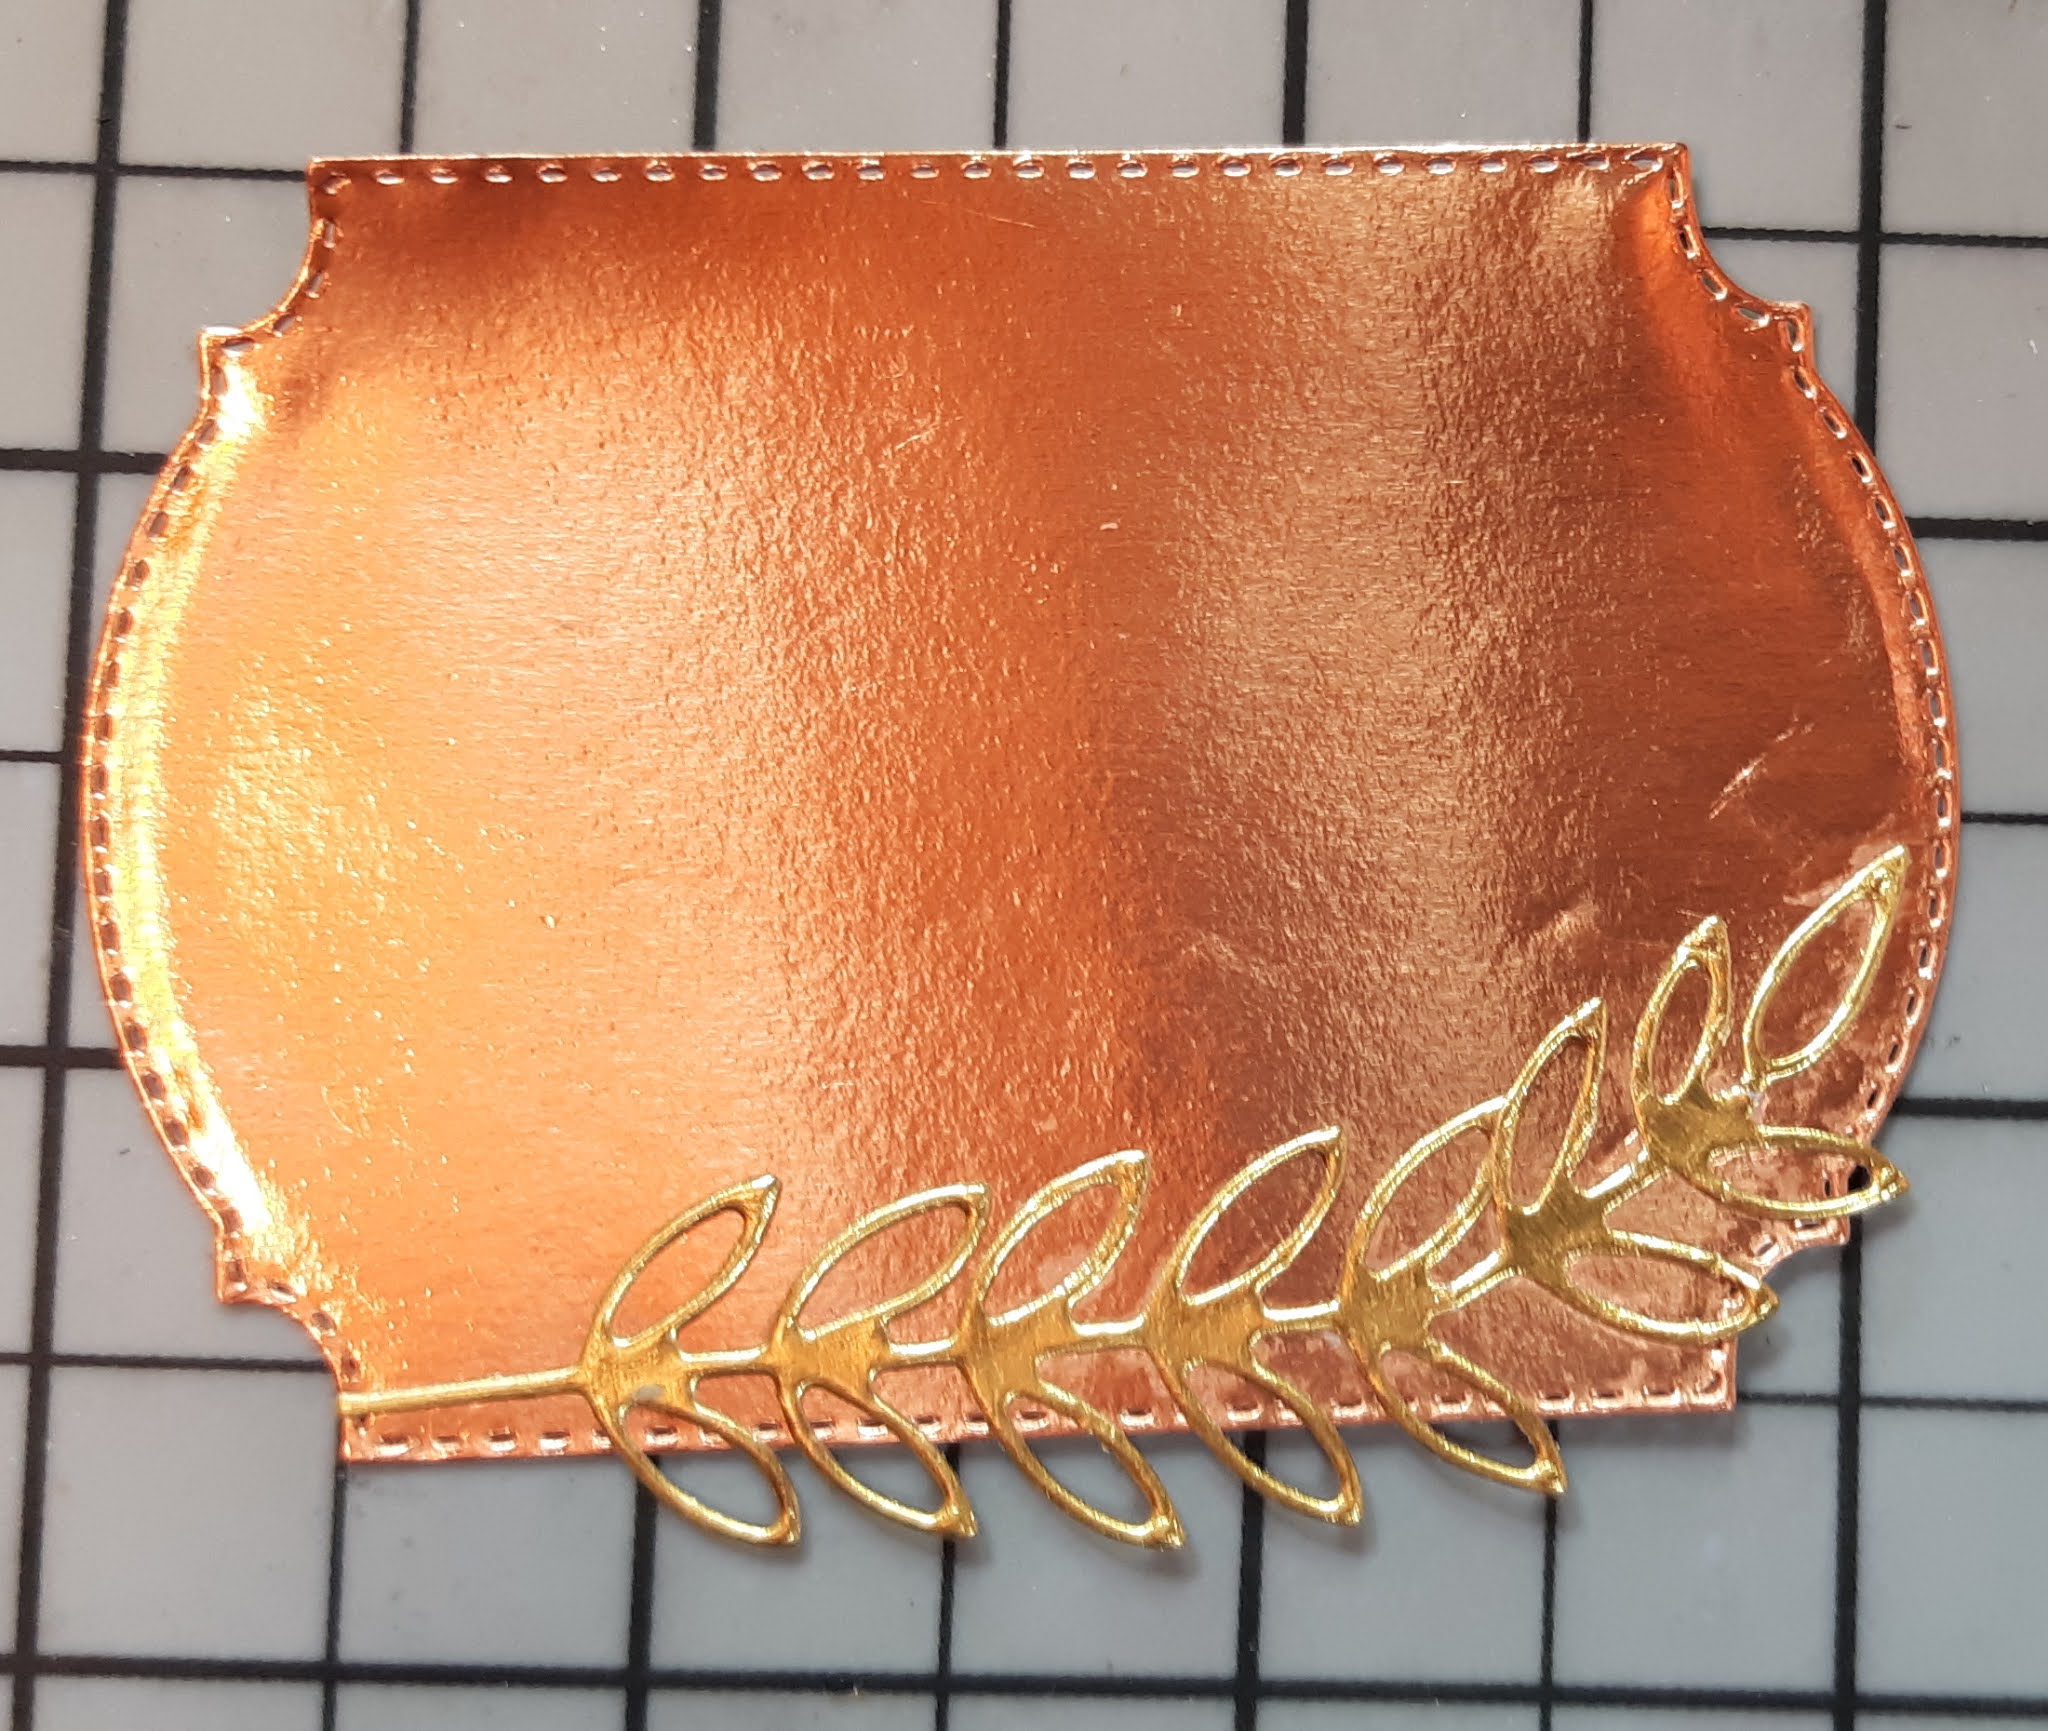
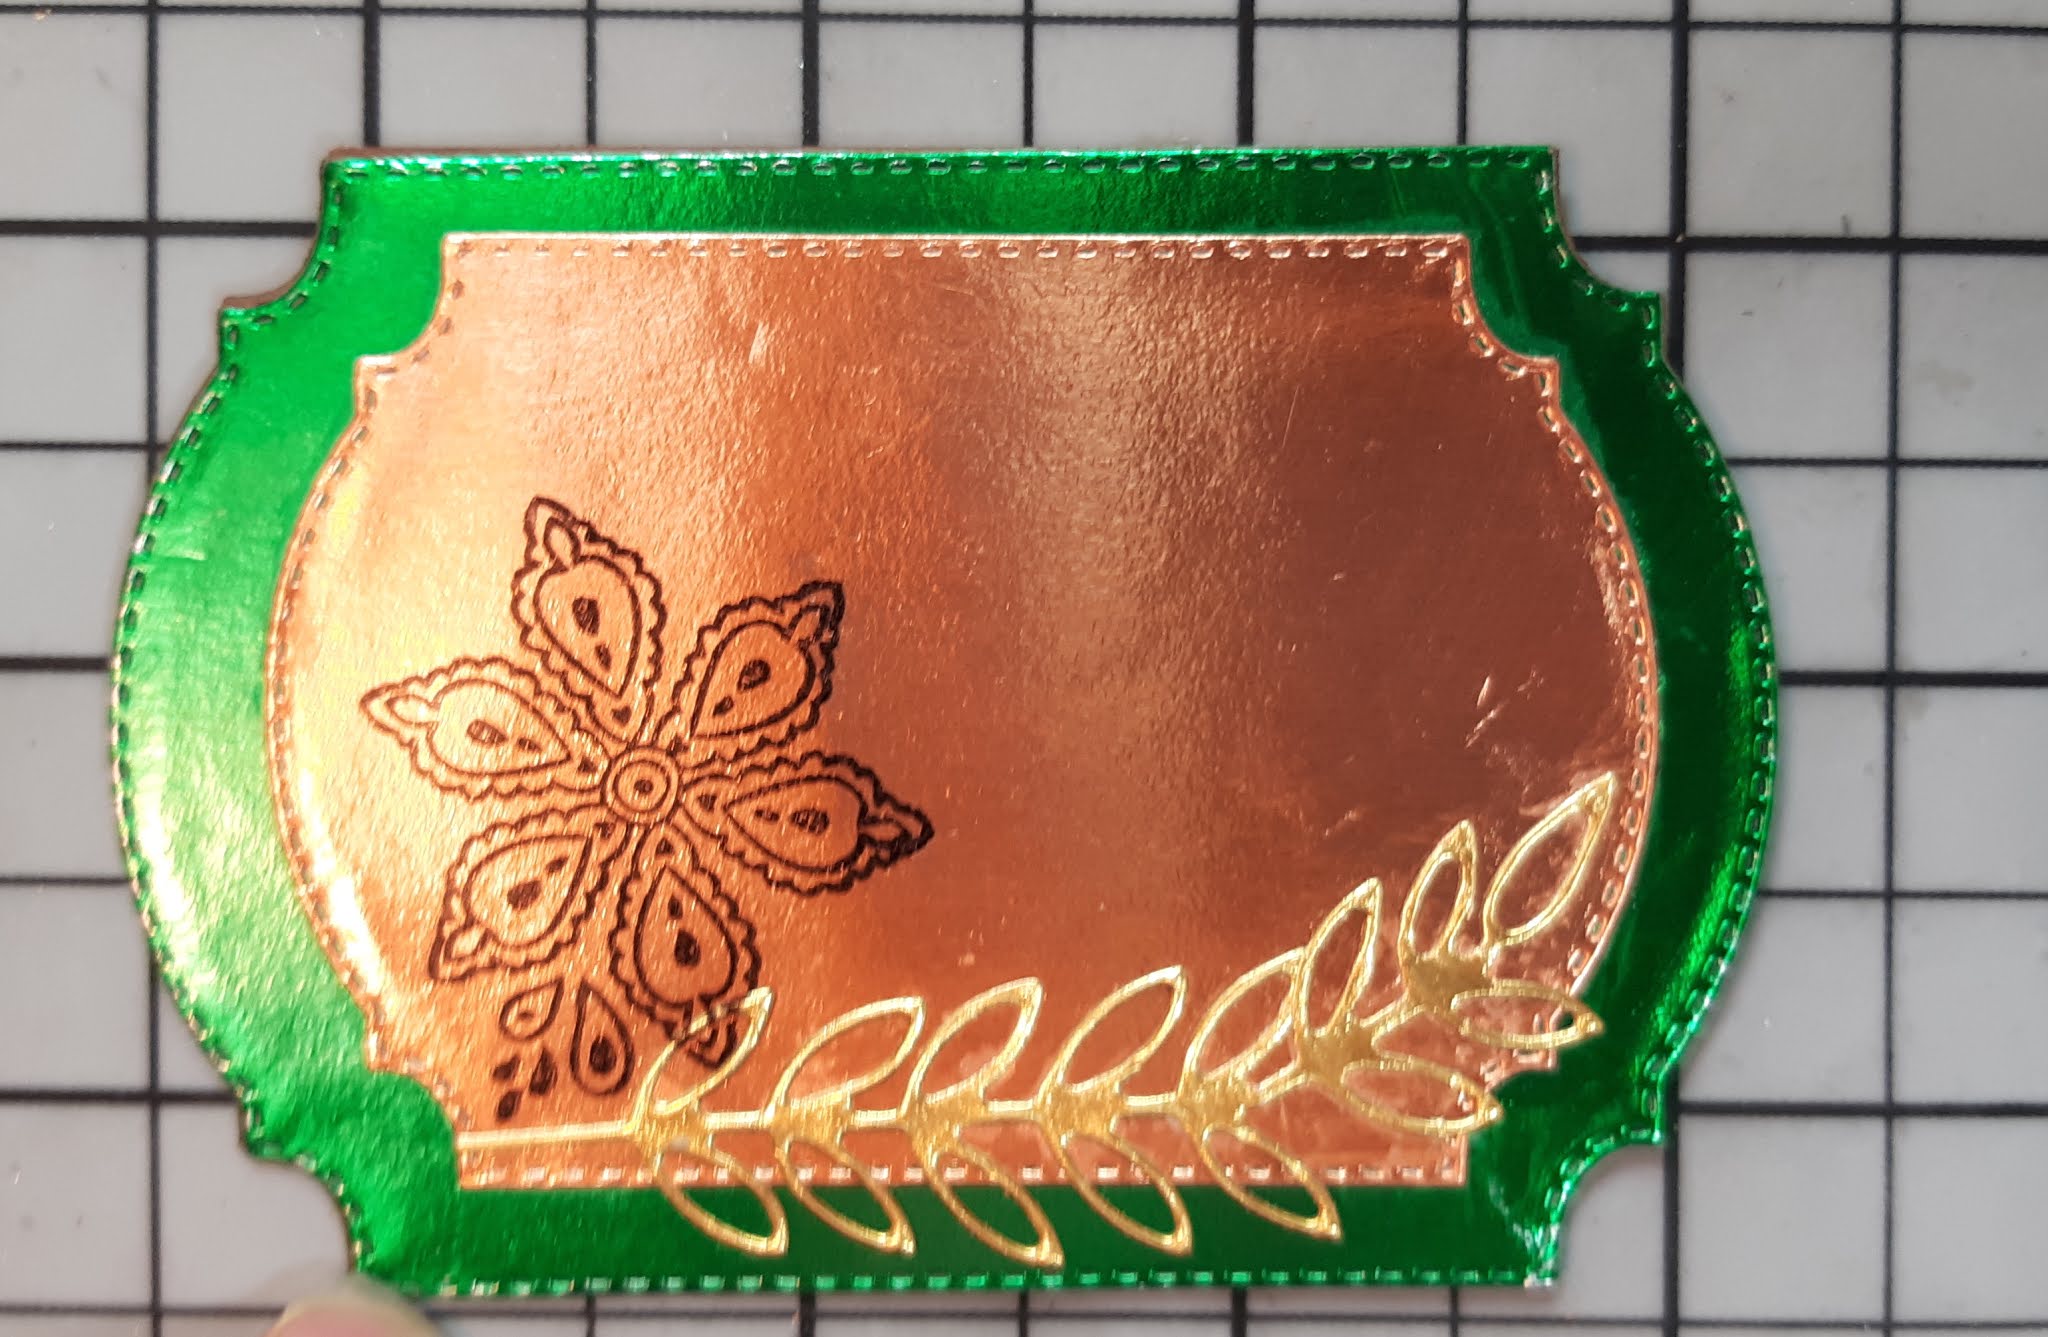
Next, adhere the Rinea Foil Paper: Glossy Emerald/Gold stitched label onto the place card base. Set it aside. Then, adhere the adhere a die cut leaf that was cut from the Rinea Foil Paper: Glossy Gold/Gold to the bottom of the of the
stitched Rinea Foil Paper: Glossy Copper/Gold label. Next, place the small floral image onto the Rinea Clear Round Block and ink it up with some Stazon Ink in Jet Black. Stamp the image in left side corner.

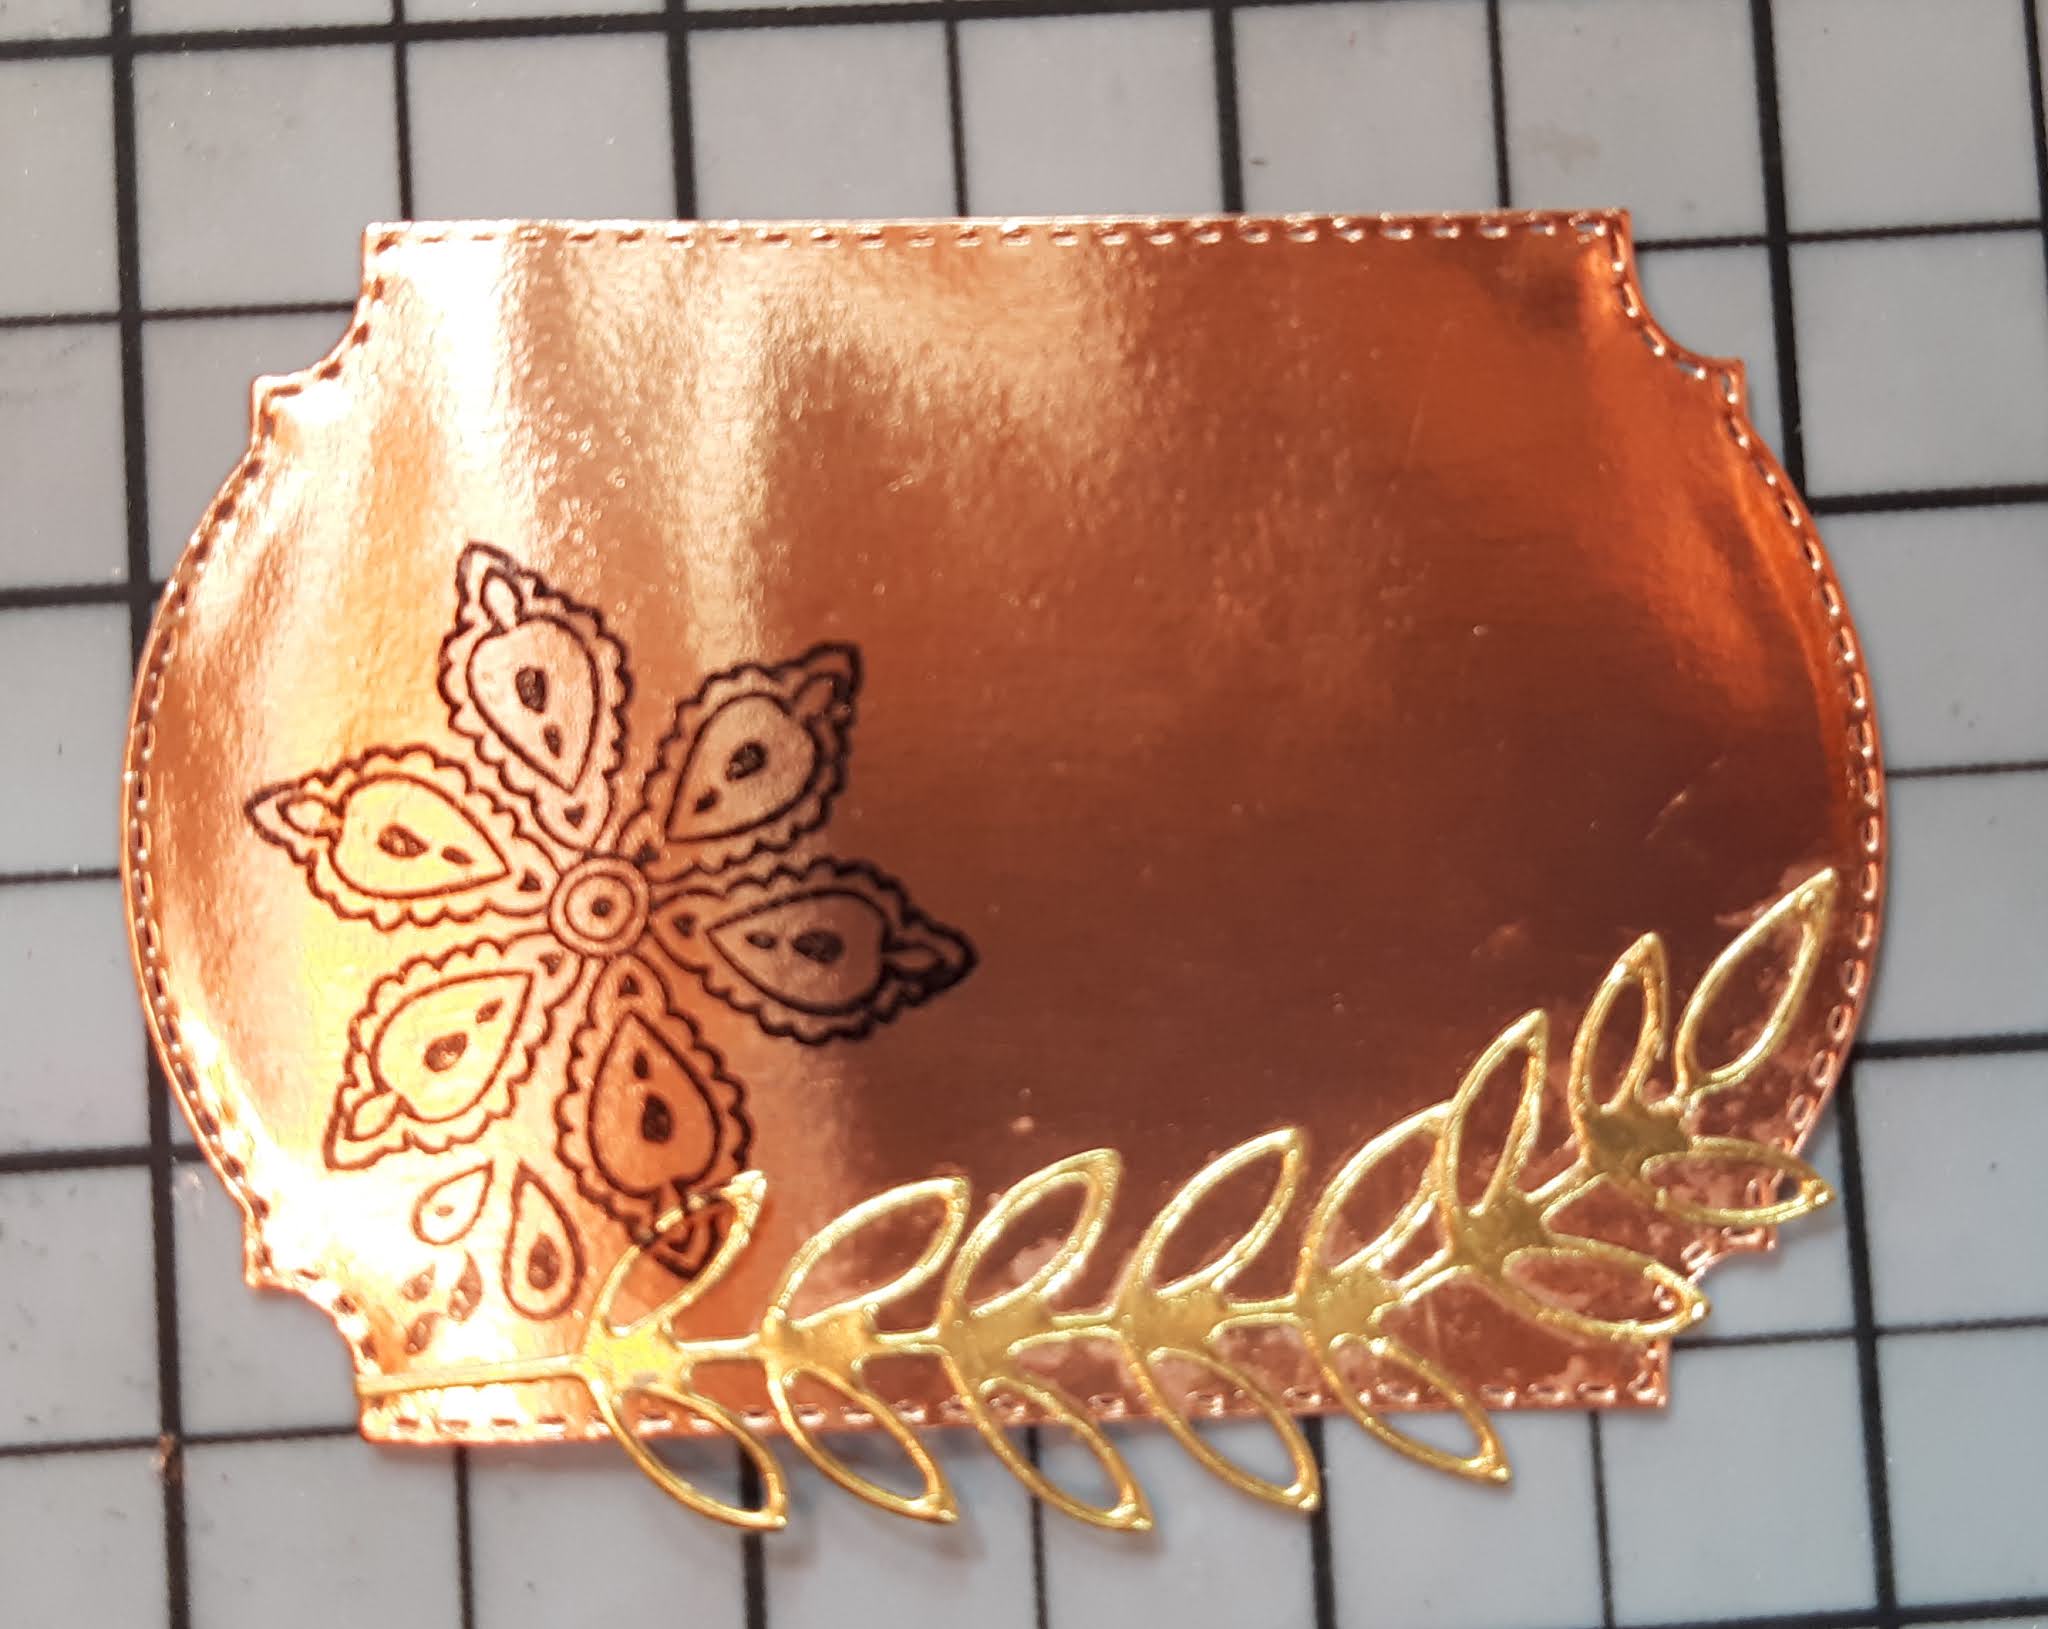
Then, adhere the stitched Rinea Foil Paper: Glossy Copper/Gold label onto the place card setting base.
Now, the Place Setting Card is complete!

Thank you for stopping by the blog today. I hope you found some inspiration!