How To Make A Fall Card With A Coordinating Gift Bag
by Steph Ackerman

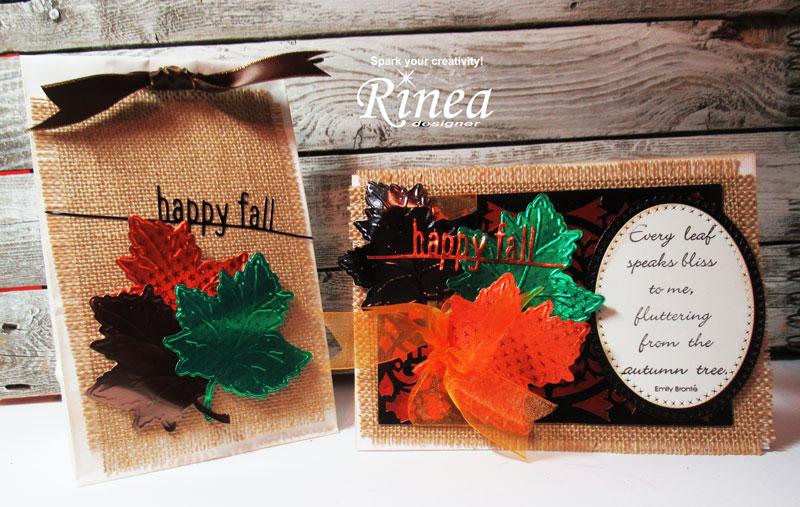


Because I was going with a fall theme, I adhered the die cut panel to burlap. Then I frayed the edges.

Using an old Cuttlebug die and embossing folder, leaves were die cut and embossed from Ebony/Gold Glossy Foiled Paper, Marigold/Marigold Starstruck and Emerald/Emerald Starstruck. These foils die cut and emboss beautifully!

Once the burlap panel was adhered to the card, the leaves were adhered to the left side of the card with foam adhesives for dimension.

A phrase was stamped in black ink, die cut and then matted with an oval that was die cut from Ebony/Gold Glossy Foiled Paper.

Happy Fall was die cut from Marigold/Gold Glossy Foiled Paper and placed across the leaves and the phrase was added to the right side.

As I had die cut some extra leaves, I created a coordinating gift bag.
Another panel of burlap was frayed then adhered to a gift bag. Leaves, die cut and embossed using Ebony/Gold Glossy Foiled Paper, Emerald/Emerald Starstruck, and Marigold/Marigold Starstruck were placed atop the burlap panel with foam adhesives for dimension.

Happy Fall was also die cut from Ebony/Gold Glossy Foiled Paper and adhered above the leaves. The bag was filled with assorted candies, then tied closed with ribbon.
Who wouldn't love receiving this gift set?
Thanks for stopping by.
Steph