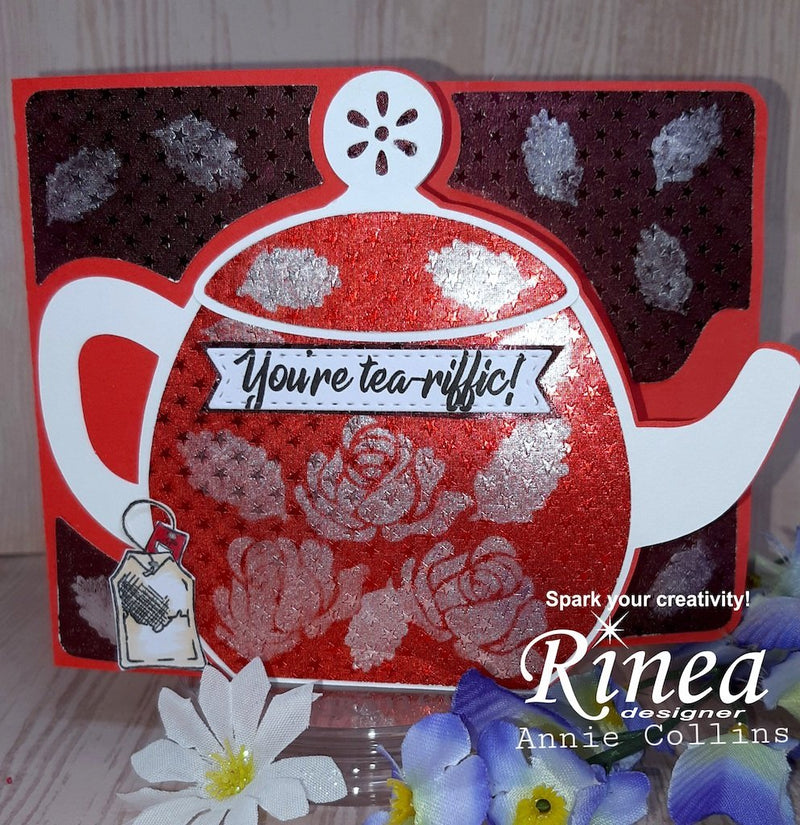
How to Make a Tea Pot Card with Tea Bag Holder
by Annie Collins

Hello Crafty Friends - Annie here with a fun and comforting card.
With the colder months just around the corner, I thought it would be nice to
have a few cards for those friends and family that enjoy some hot tea.


Materials Used:
SumMore Fun Stamp: Sundri's High Tea
Papertrey Ink Stamp: Rosies Posies
MFT Brand Die: Fishtale Sentiment
Copic Marker: E33 & R23
Tsukineko Memento Ink: Tuxedo black
Tsukineko Versafine Ink: Onyx Black
Imagine Crafts: Tear it Tape
Art Glitter Glue
Crafter's: Foam Adhesive
Recollections Brand 65lb cardstock: Red and White
Brother: Scan N Cut Electric Machine
Let's get started!
I gather all the supplies for the card.
I cut all the pieces of the Simply Crafty SVG: Tea Pot Card
with my Brother: Scan N Cut Electric Machine.
I used the Rinea Foiled Paper: Ruby Red/Ruby Red Starstruck for the main parts of the teapot and the Rinea Foiled Paper: Merlot/Merlot Starstruck for the background.

Then, I stamped the roses and leaves onto the
and Rinea Clear round Stamping Block. I allowed the Rinea Ghost Ink 2.0 to sit for about a minute and then wiped it off revealing the silver undertone of the Rinea Foiled Paper.


Next, I gathered the rest of the pieces of the card and started assembling.

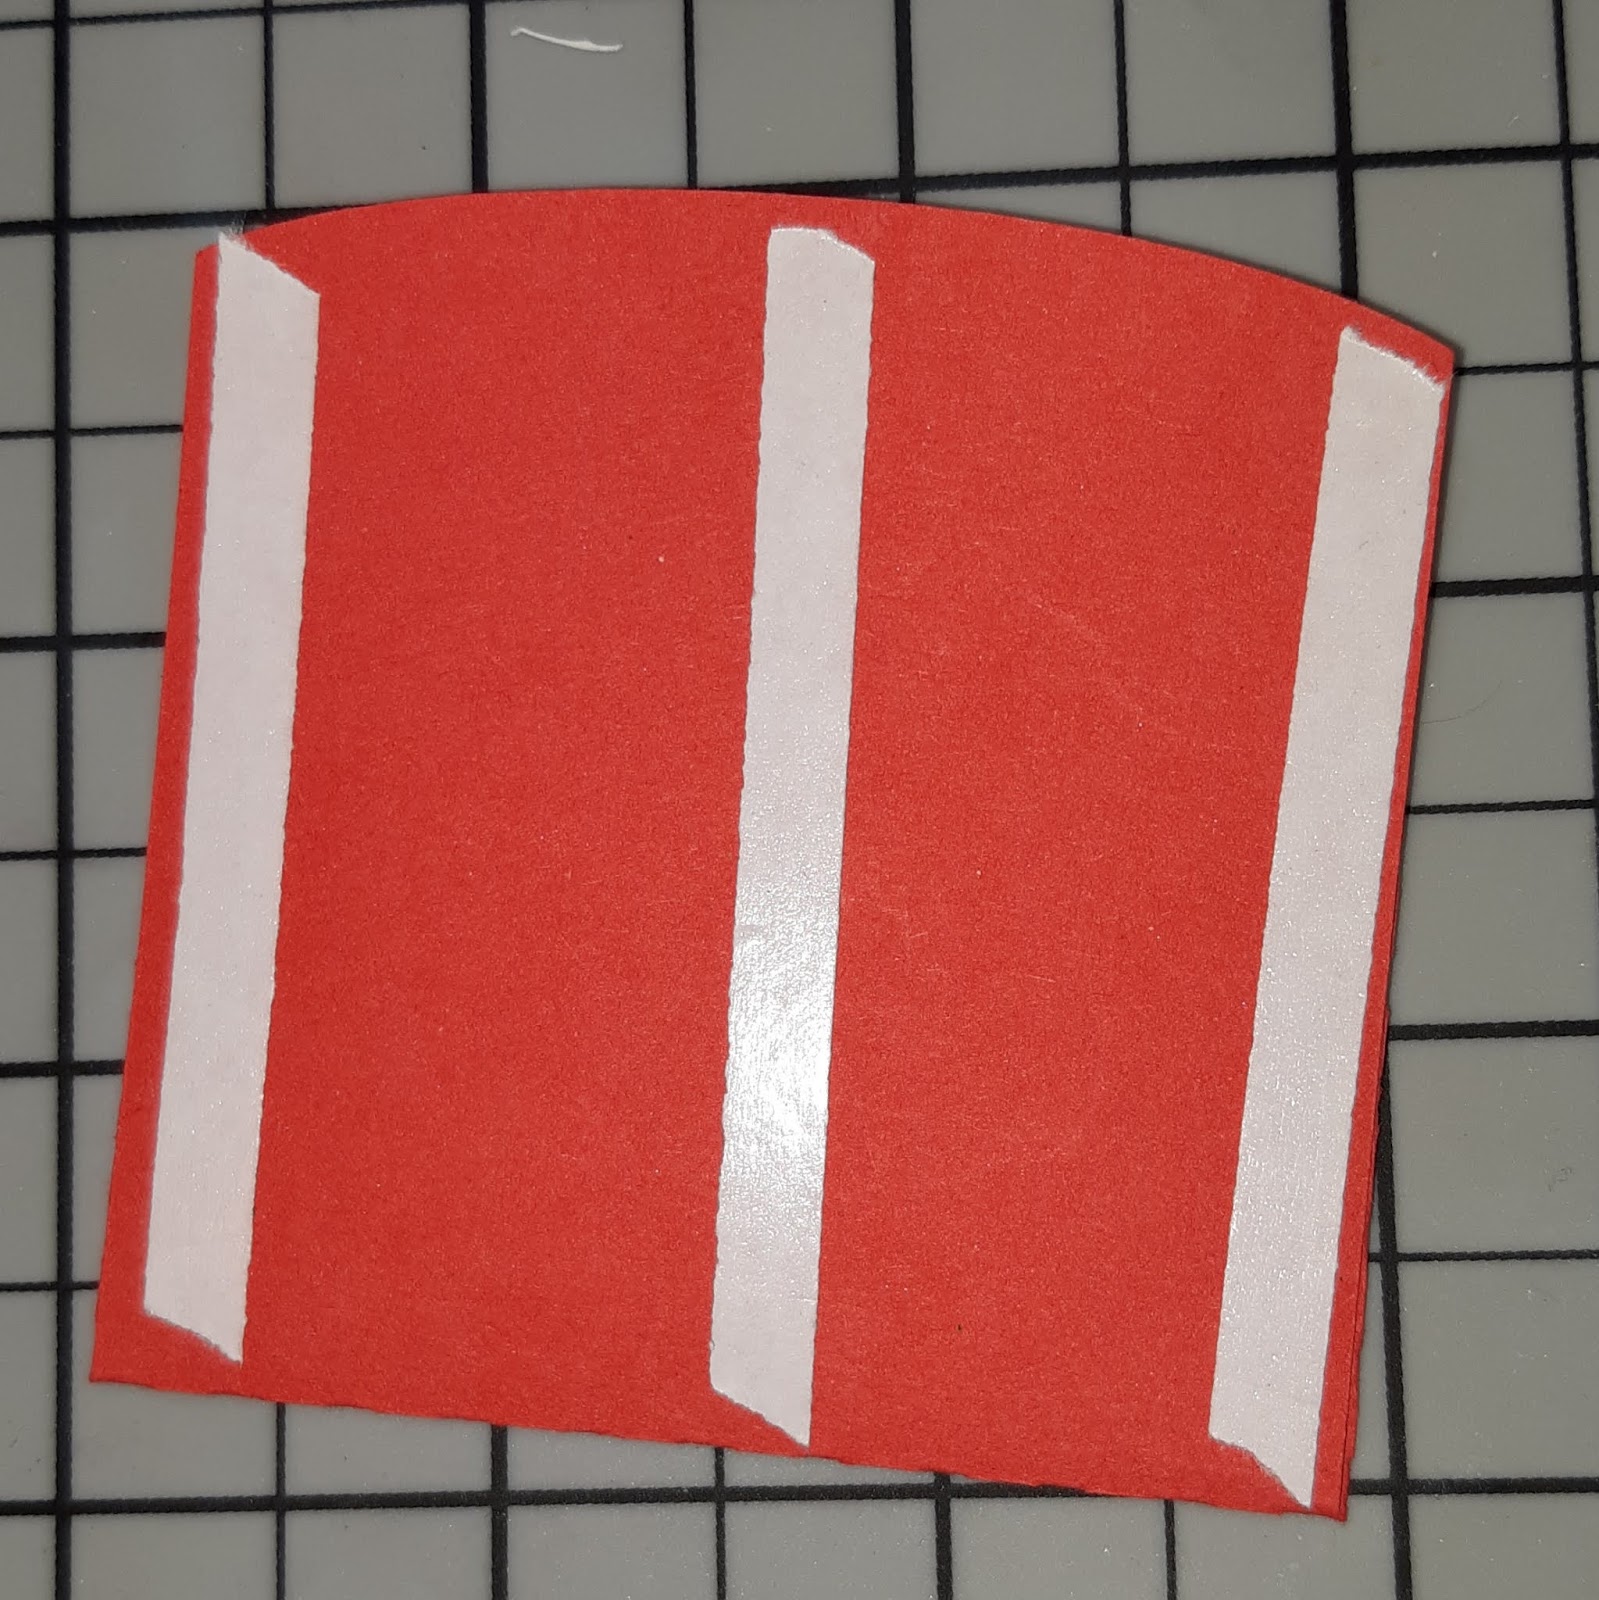
I started with the tea holder. I put some tear tape onto the two flaps of the holder. (this is like those little library pockets that we used to have in our books back in the day) I then removed the backing to the tape and pressed the flap onto the tall part of the holder. I flipped the holder around and place 3 strips of tear tape on to the back of the holder. Then, I adhered it to the inside of the card.


Next, I took the card base and adhered to the white teapot panel onto the base. Making sure align it so I would have a bit of the red all around the pot.


Then, I adhered to the round Rinea Foiled Paper: Merlot/Merlot Starstruck to the back of the pot lid. I then flip it over and adhered the Rinea Foiled Paper: Ruby Red/Ruby Red Starstruck panel onto the a to the lid. Again making sure to align it so I would have a bit of the white lid showing. I set it aside.


I then adhered the Rinea Foiled Paper: Ruby Red/Ruby Red Starstruck pot bottom panel onto the card base. Again making sure to align it so I would have a bit of the white lid showing. Next, I adhered to the lid to the pot on the card base.


Then, I adhered to the Rinea Foiled Paper: Merlot/Merlot Starstruck background corners to the card base. Again making sure to align it so I would have a bit of the red base showing

I then stamped the tea base and sentiment onto white cardstock.
I colored the tea bag with Copic Markers E33 and R23.
Next, I adhered the tea bag to the left-hand bottom of the card and the sentiment onto the center of the pot with some foam adhesive.
The last part is to place a tea bag into the holder on the inside of the card.


Now your card is complete!


Thank you for stopping by the blog today. I hope you found some inspiration!