How To Make A Wedding Home Decor Frame By Monika Graefling-Gladysiak

Hello everyone! I hope you have a wonderful day. It's Monika today creating a Wedding Home Decor Frame using Rinea Foiled Papers.

We are going to use Rinea Foiled Paper: Arctic, kraft card, liquid glue, red liner tape, 3D gel glue or hot glue, score board, dot tool, scissors, Distress Oxide ink: walnut stain, ink blending tool, Alphabet and Number cutting dies ( I used Tonic Studios: 'Cirrous' Upper Case, Lower Case, Numbers) and a nesting die to create a small element.

Step 1:
From kraft card cut a square 20cmx20cm and 4 panels measuring 8cm x20cm. Score the rectangles at: 1cm, 3cm, 5cm and 7cm. Die cut the element using a nesting die of your choice.
Also on two rectangles score 2 cm up to the 3 cm score line on the other side, check the photos below.


Step 2:
From all the rectangles, cut off small triangles on one of the sides and put red liner tape.

Step 3:
Adhere two rectangles on the back panel, line them up with the side of the frame.

Step 4:
With the two rectangles with the extra score line cut along the score line and then diagonally. Check the photo below.

Step 5:
Adhere the sides on the back panel, make sure to line them up, then use liquid glue or red liner tape and adhere the frame to the back panel.


Step 6:
Use scissors and Rinea Arctic foiled paper to create rose petals, fold the foiled paper 4 times and create 5 petals of the same size. Also, use a scrap piece of paper, scrunch it and create a small ball, it will go inside your rose. Then, use small pieces of red liner tape and start adhering the petals from the smallest one around the paper ball to cover it.


Step 7:
Use Distress Oxide ink (or any brown ink) and ink blending tool to distress the edges of the frame and small panel.


Step 8:
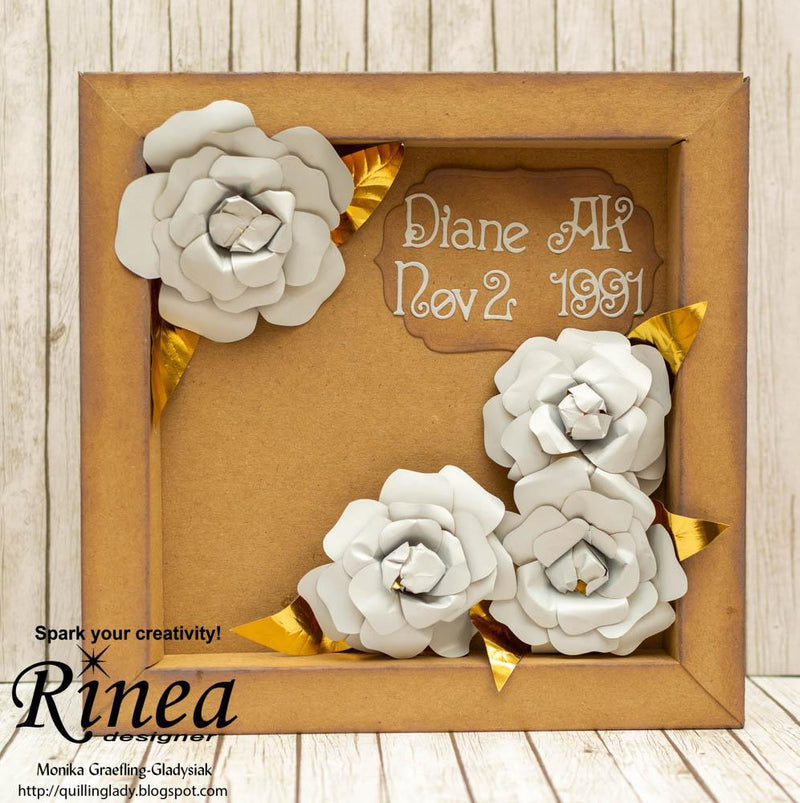
Use any alphabet and number cutting dies for the names and date of the wedding and die cut them from the Arctic Rinea foiled paper. Adhere them on the small panel you created with the nesting die.

Step 9:
Use the back of Arctic Rinea foiled paper which is gold and using scissors cut small leaves, to give them more dimension use a dot tool to create details.

Step 10:
Adhere all the elements inside the frame using a 3D gel glue or hot glue. You can also attach a string on the back of the frame so you can hang it on the wall.

Step 11:
Admire your creation and you have a perfect wedding home decor gift.

Have a wonderful day and happy crafting!