How To Make a Wine Tag and Card
by LeeAnn McKinney


Hello friends and fellow crafters, LeeAnn here with a cute Wine Tag and Card I made for an upcoming gift.
Products used for this project:
Imagine Crafts Tear It Tape
Die Cuts and More Dies (Wine Bottle Tag, Cheers, Bottle and Glasses
Vellum
White Cardstock
Darice Embossing Folder
Tonic Paper Trimmer
How I made these projects:
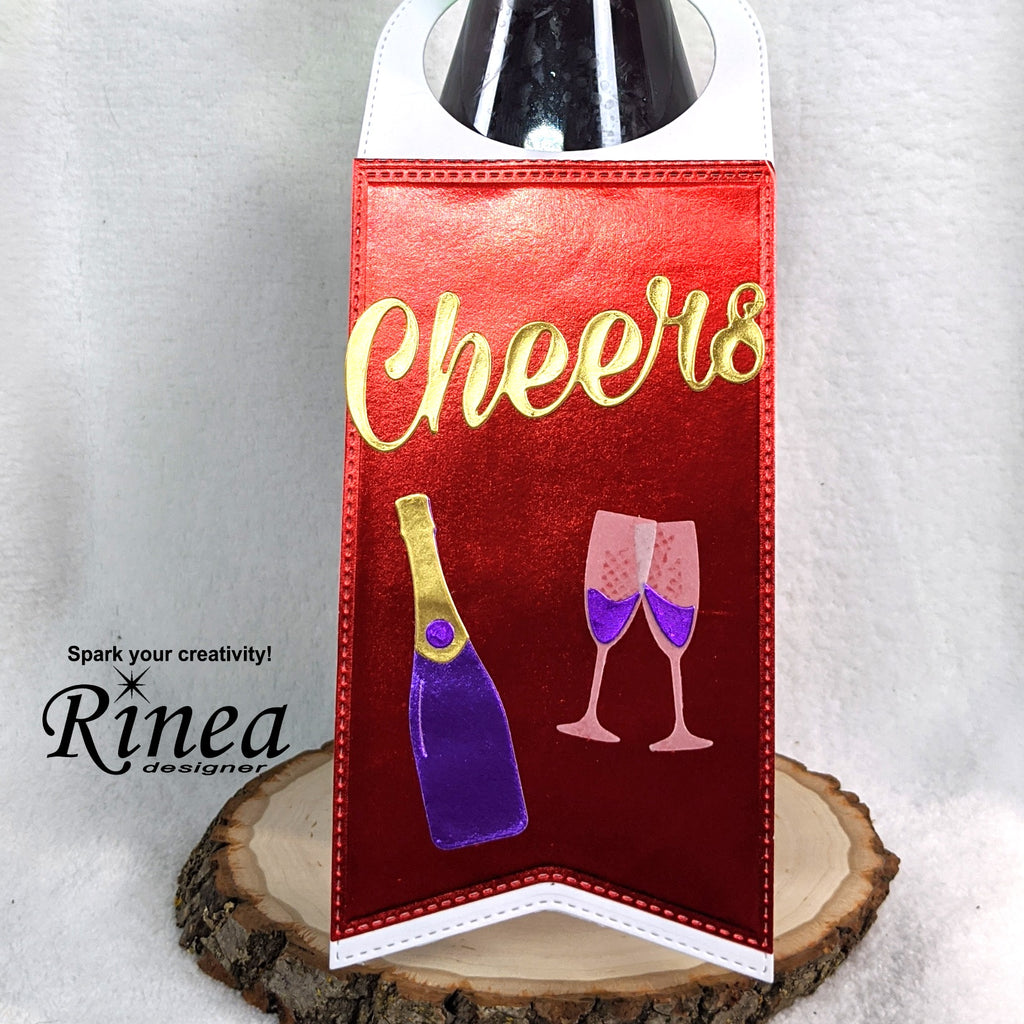
1. For the Tag I started with a panel of Glossy Ruby Foiled Paper, and the tag die. Ran them through my Vagabond. I also ran Glossy Violet with the Bottle and Flue dies. I used the reverse side of the Glossy Violet for the top of the bottle.

2.I layered the Glossy Ruby on the Cardstock tag, using I then added the Cheers Sentiment, Wine Bottle and Flutes. Perfect tag for a gift. The holidays are coming, and I know a lot of people that enjoy wine.
BONUS PROJECT!!!

For the Card I used Glossy Merlot Foiled Paper and some dies, ran them through my Vagabond for the sentiment frame. I used my paper trimmer to cut the backer panel for my card.

I ran my white cardstock through the Vagabond with the Darice Embossing Folder. I also ran Glossy Merlot Foiled Paper through using the same embossing folder adding several extra layers of cardstock to make it really thick to cut through the foiled paper. I trimmed out the pieces of "wine" and adhered them within the glasses on the white embossed panel.
I printed the sentiment from a digital stamp set, and framed it out with the Glossy Merlot Cardstock. Adhered that to the card using foam adhesive and my card was complete.
Thank you for stopping by the blog today. I hope you found some inspiration! Please be sure to stop by the Rinea Shop to pick up some of our Wonderful Foiled Paper