Charity here from
Scrappin' Chaos with a tutorial on how to make beautiful, mini banners for a mirror. This is my first post for Rinea and I am absolutely thrilled to be working with this foiled paper. I hope to bring you out-of-the-box ideas that spark your own creativity. I would be ECSTATIC if you would show me your take on my projects.
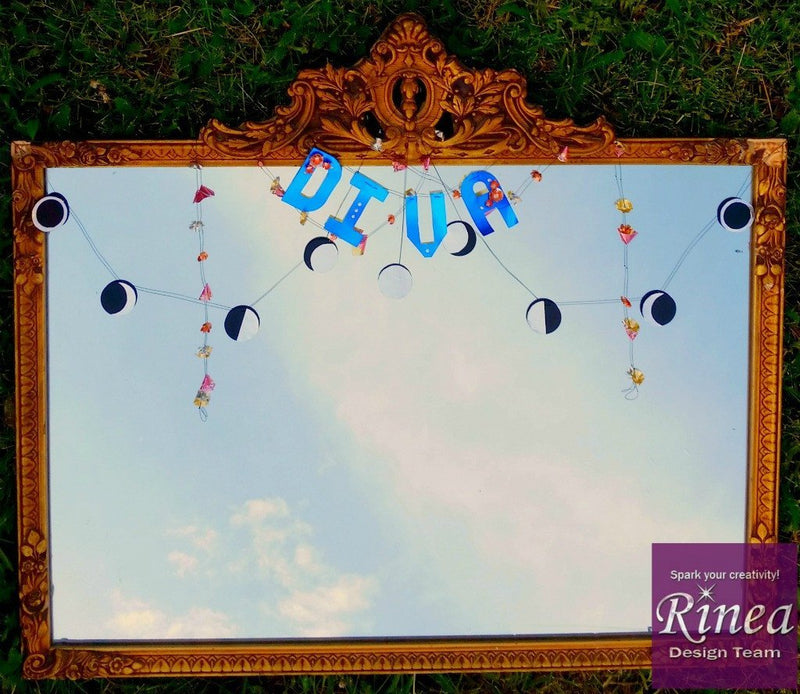
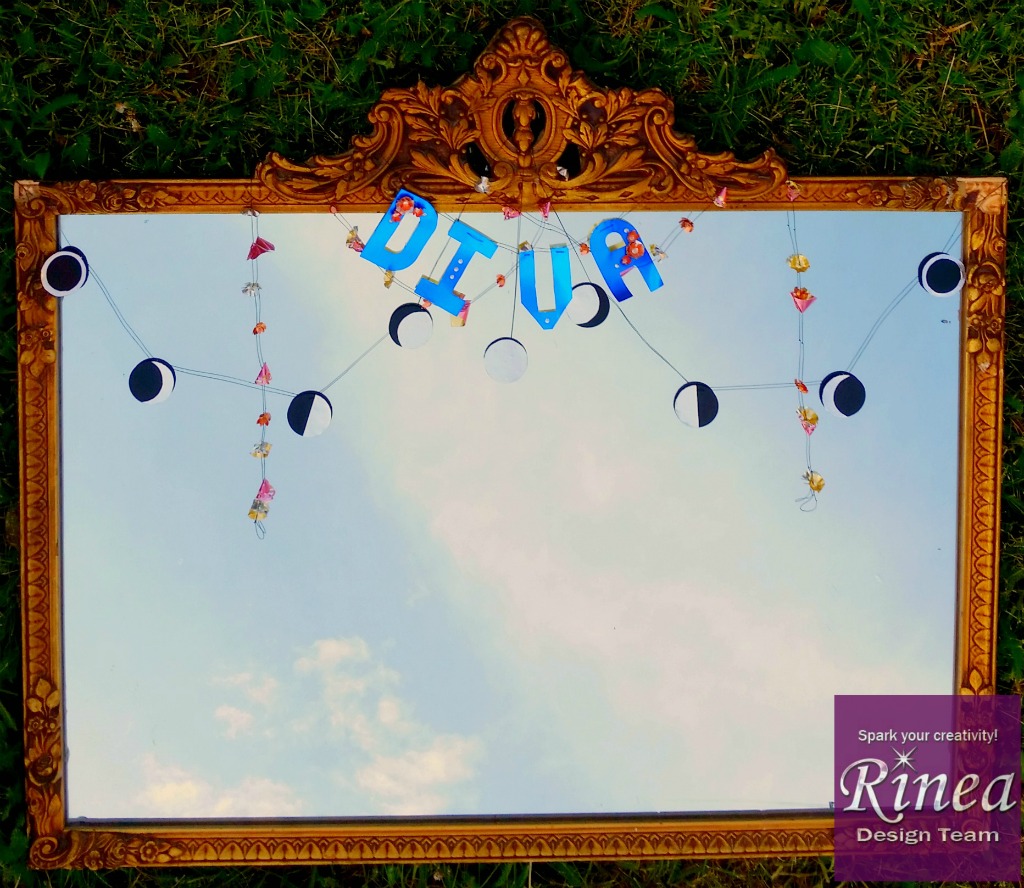
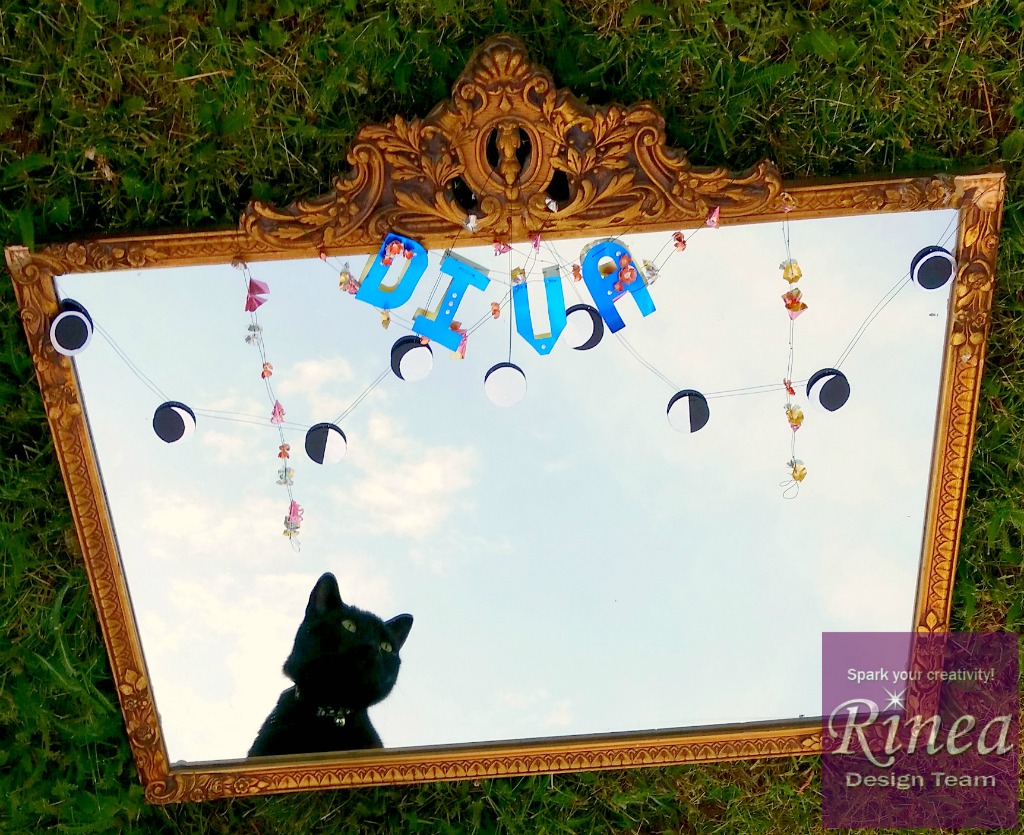
Because the mirror is in a dark corner in my house it is used to add light rather than reflect a face. The banner draped over the front doesn't frustrate anyone's view. Having been constructed of foiled paper, this banner also helps with my light issues. It just keeps on giving.
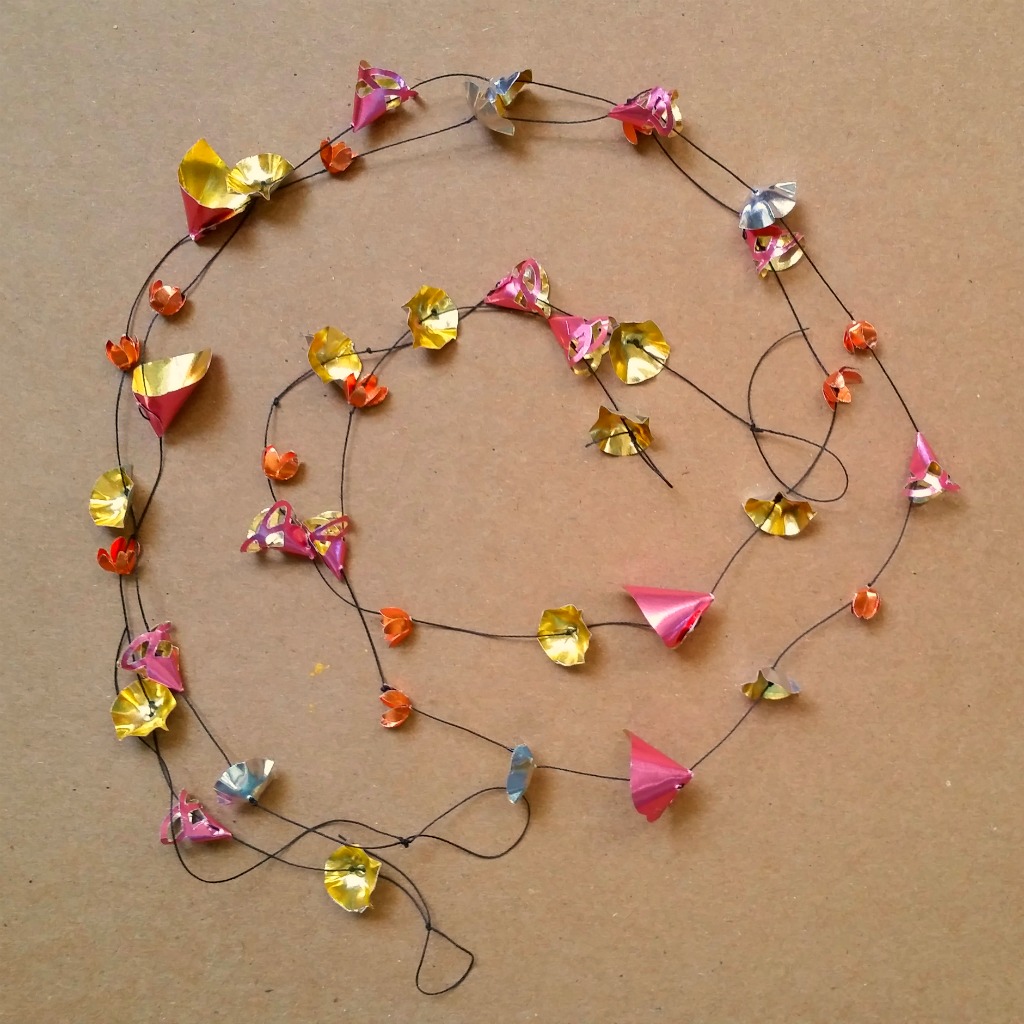
The first banner is made in two pieces then joined at the back of the mirror. It loops through the center of the carving and around the ends. It is constructed of Foiled Paper Beads. Each bead is a punched shape that is curved and then strung on coat thread. I knotted the thread at one-inch intervals, stringing beads and knotting again.
The medallions I cut in half folded into cones. For the hearts, I overlapped the rounded portions toward the center. Both are made from
Blush Glossy Foiled Paper. To hold them together I took one stitch at the seam in the back as I strung them.
The circles and flowers I placed on a foam pad and pressed at the center with a marker or paint brush end. My pressing foam is an old mouse pad flipped over. The circles are
Silver/Gold Glossy Foil and the flowers are
Copper Glossy Foil.
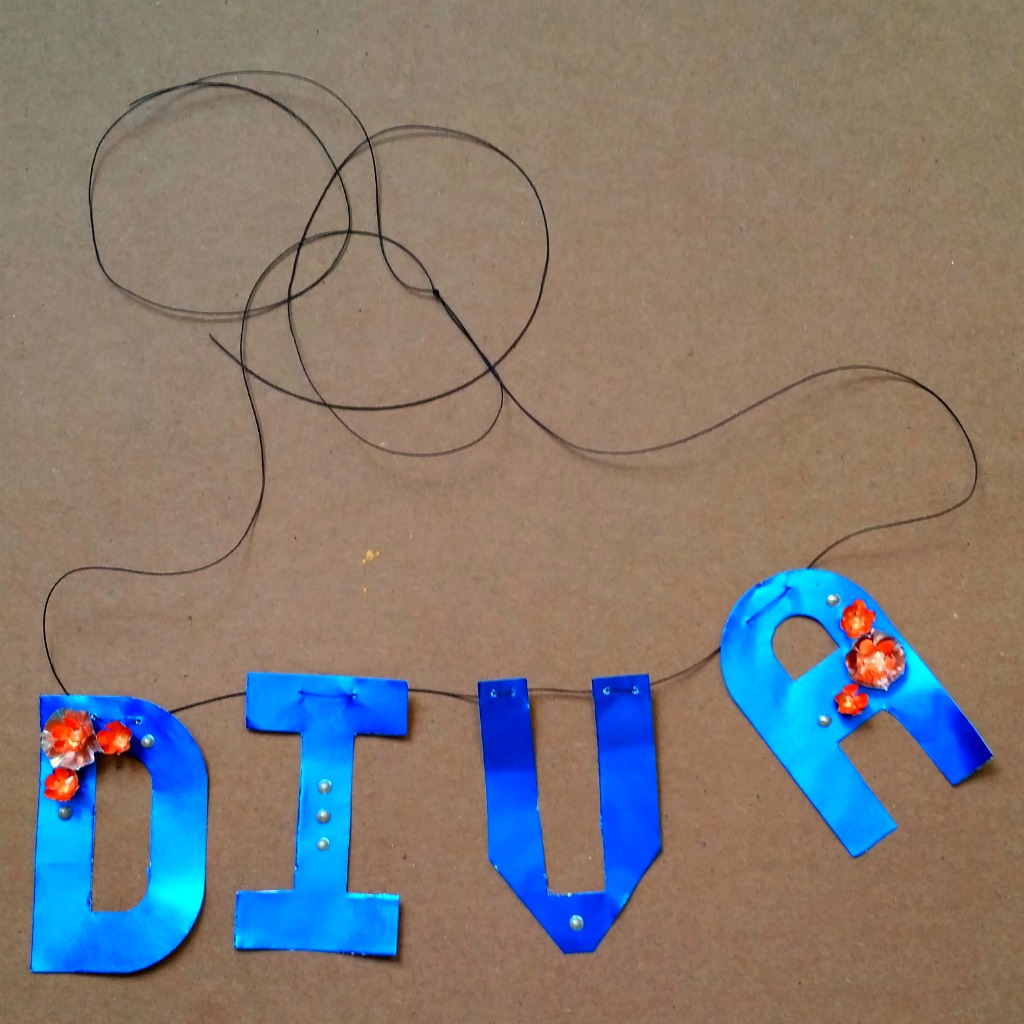
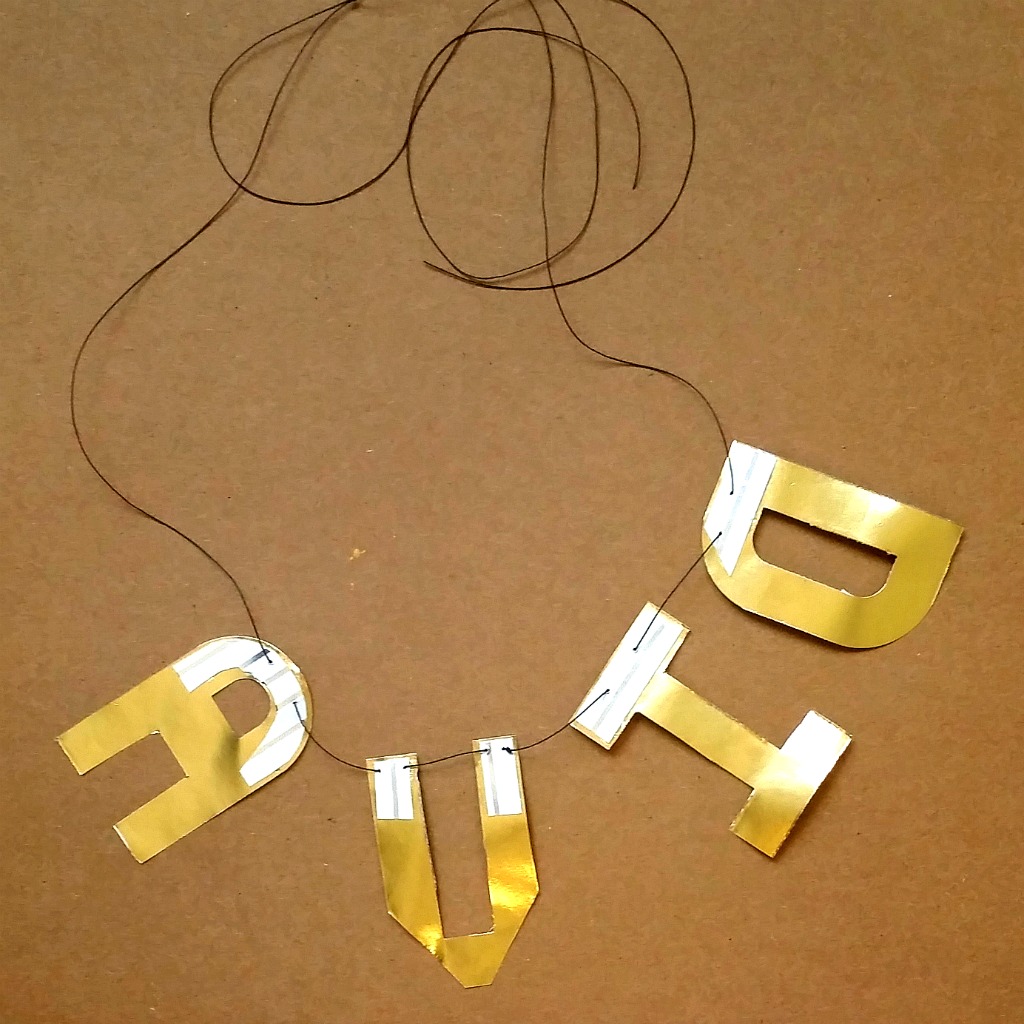
My second banner says Diva and is draped around the central carving on the frame. The letters were created with
Rinea Sapphire Glossy Paper from the
Jewels Variety Pack and were cut with a punch board.
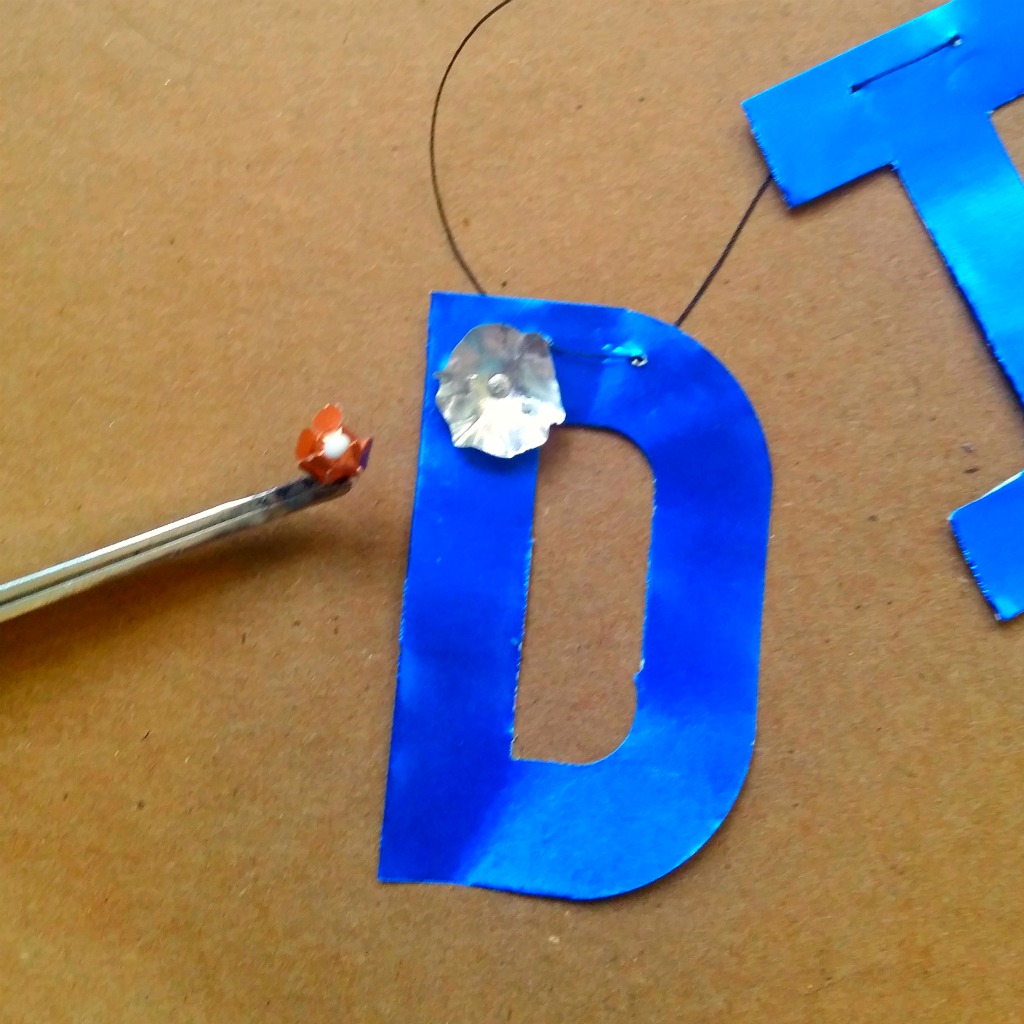
To strengthen the letters for stringing I added scrap cardstock to the back. The front of the letters I decorated with flowers and circles left over from the first banner.
I also added drops of opalescent puff paint around the flowers and at the centers of the letters.
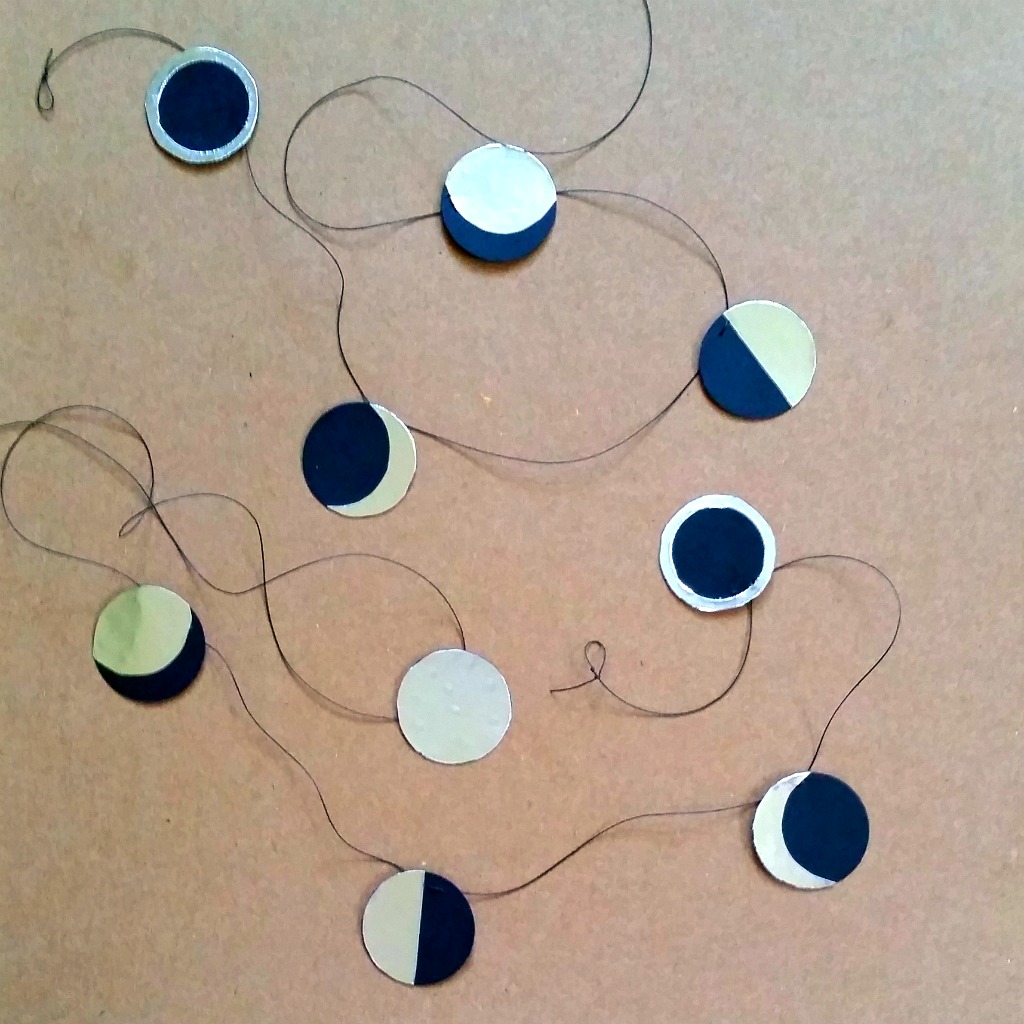
The third banner is a Moon Phase Strand. I punched 6 circles from the
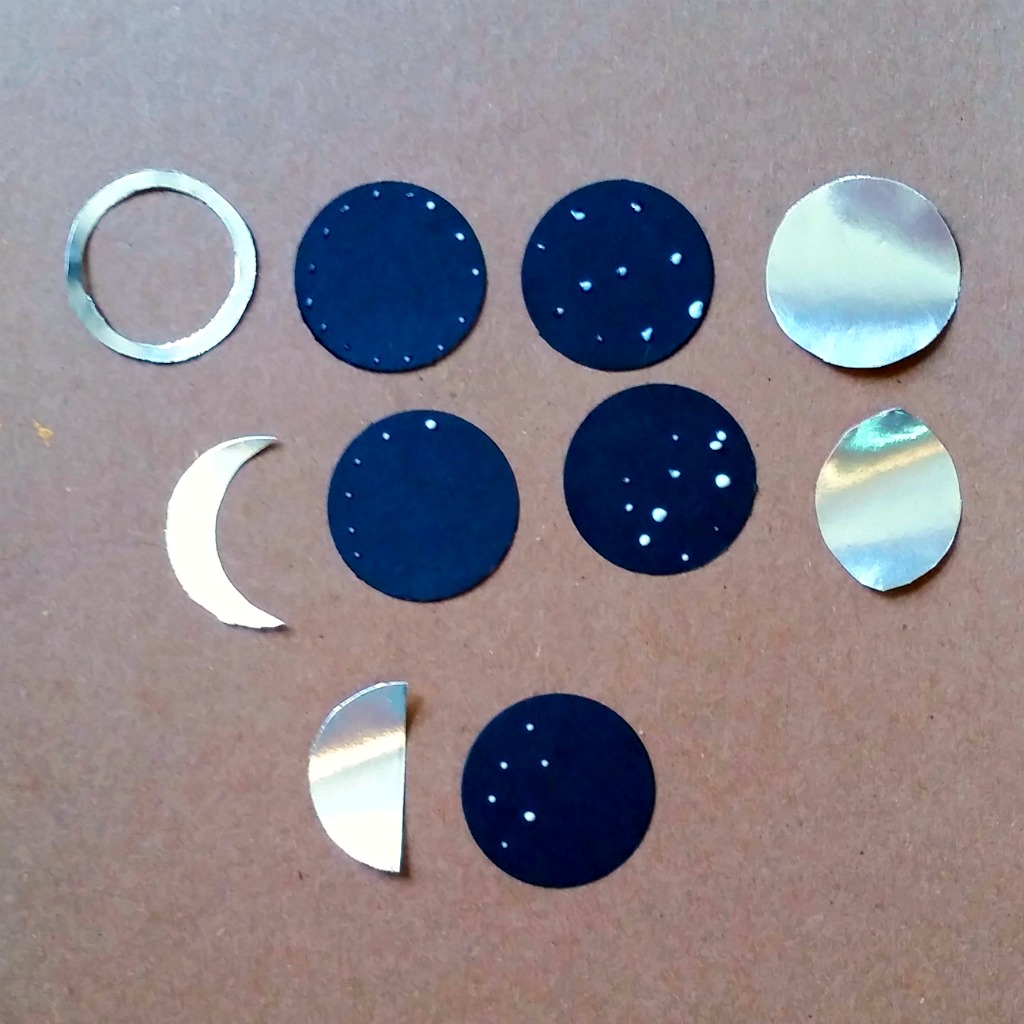
Silver/Gold Glossy Paper and 9 circles from black cardstock. The garland is constructed in two pieces and joined at the front of the mirror. The full moon phase hangs from the joining.
I punched a circle from scrap cardstock and used the negative to trace the crescent onto two of the circles. I carefully cut off the crescent and had both the gibbous and crescent phases from one circle.
The new moon is represented with a rim of foiled paper. I used a 1.25" punch and cut a 1" circle from the center. The moon phases and black circles are joined with tiny dots of adhesive.