How To Make Foiled Paper Into A Stunning Window

Charity here with a stunning window made from Rinea Foiled Paper. The vibrant colors offered by Rinea give the look of stained glass simply and quickly. If you'd like to make your own shimmering decor just follow the steps below.
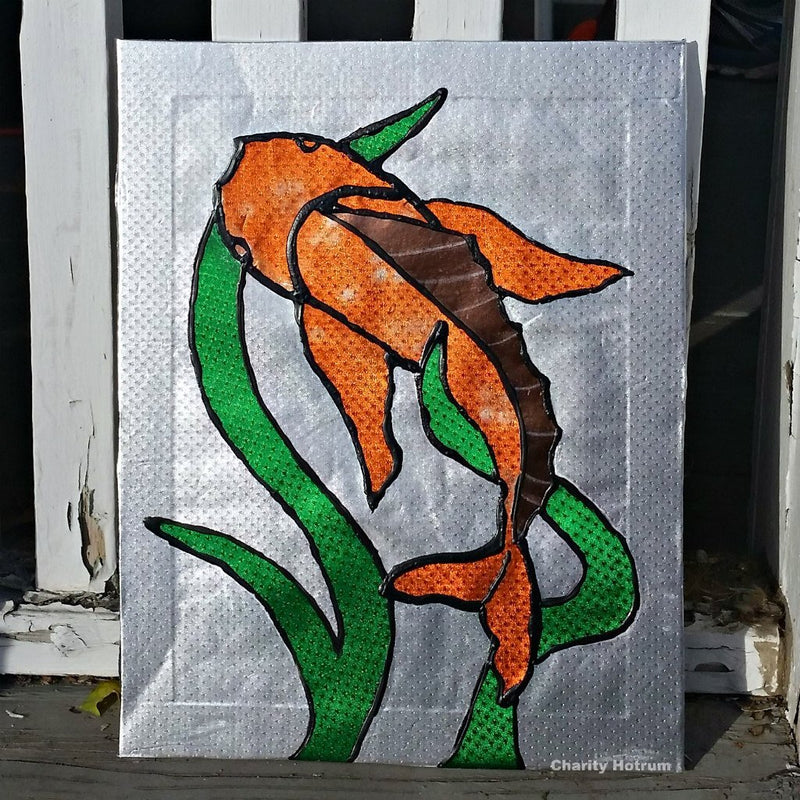
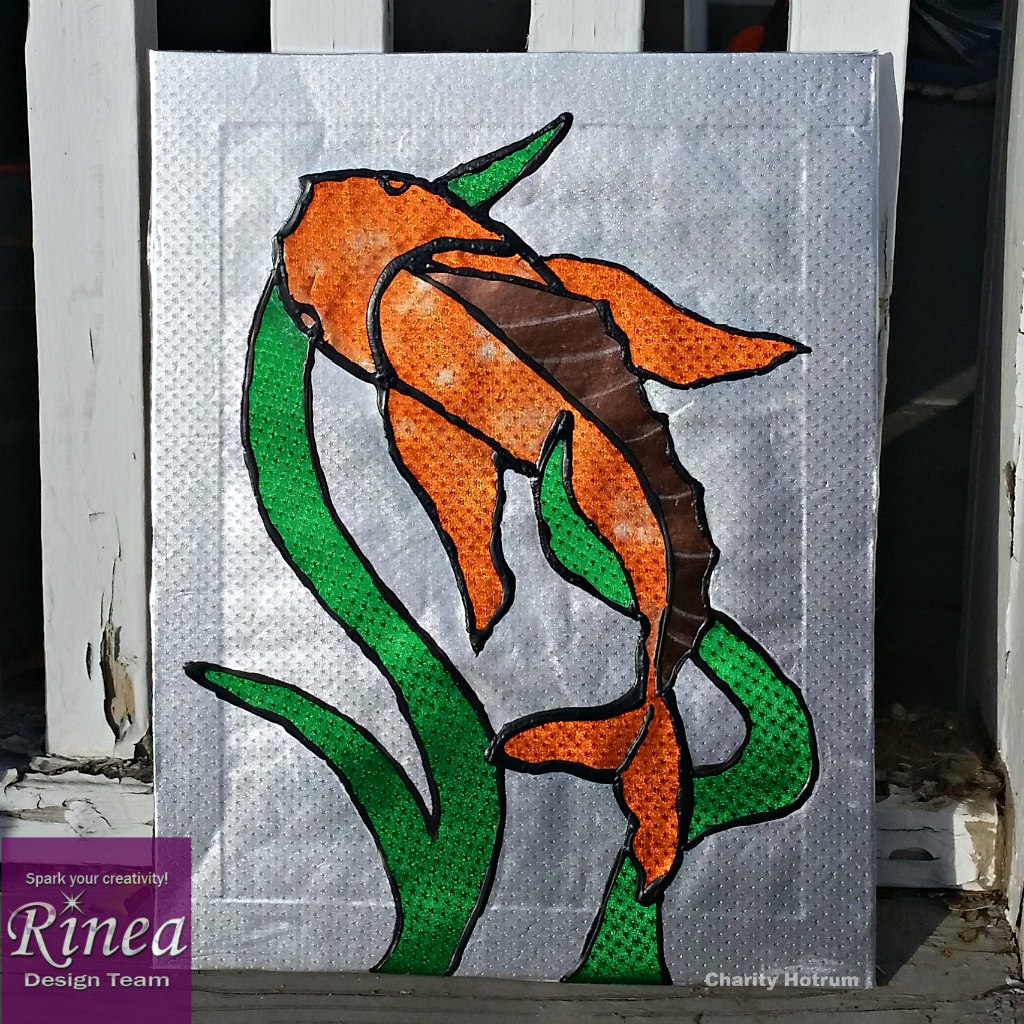
~ Foiled Koi Window ~
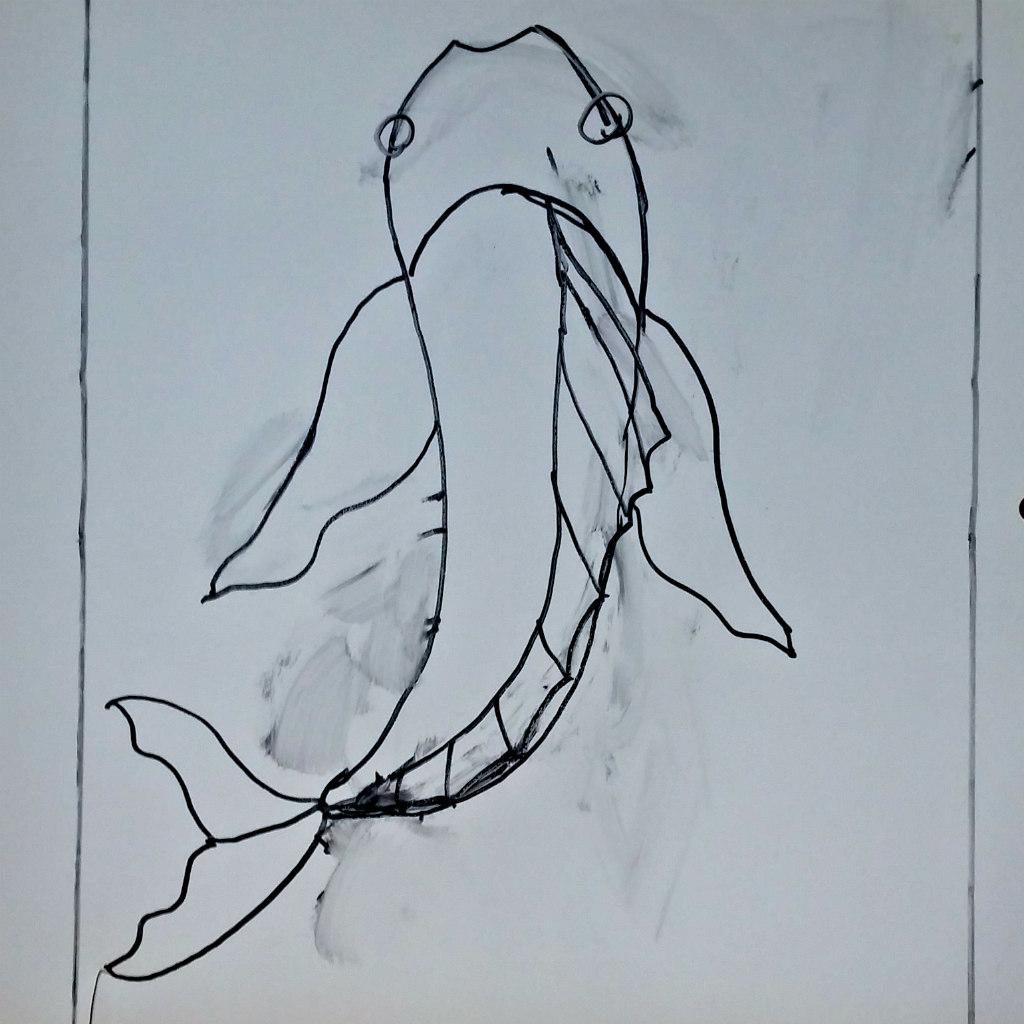
Step One: Print or draw a pattern for a stained glass window.
Choose a graceful image that can be broken into parts with simple lines. I chose a Koi fish. Pinterest and Google abound with free patterns for Stained Glass windows. I found it just as easy to draw my fish and seaweed on whiteboard paper. By using a dry-erase marker I could easily erase and re-draw till I got my lines just so.
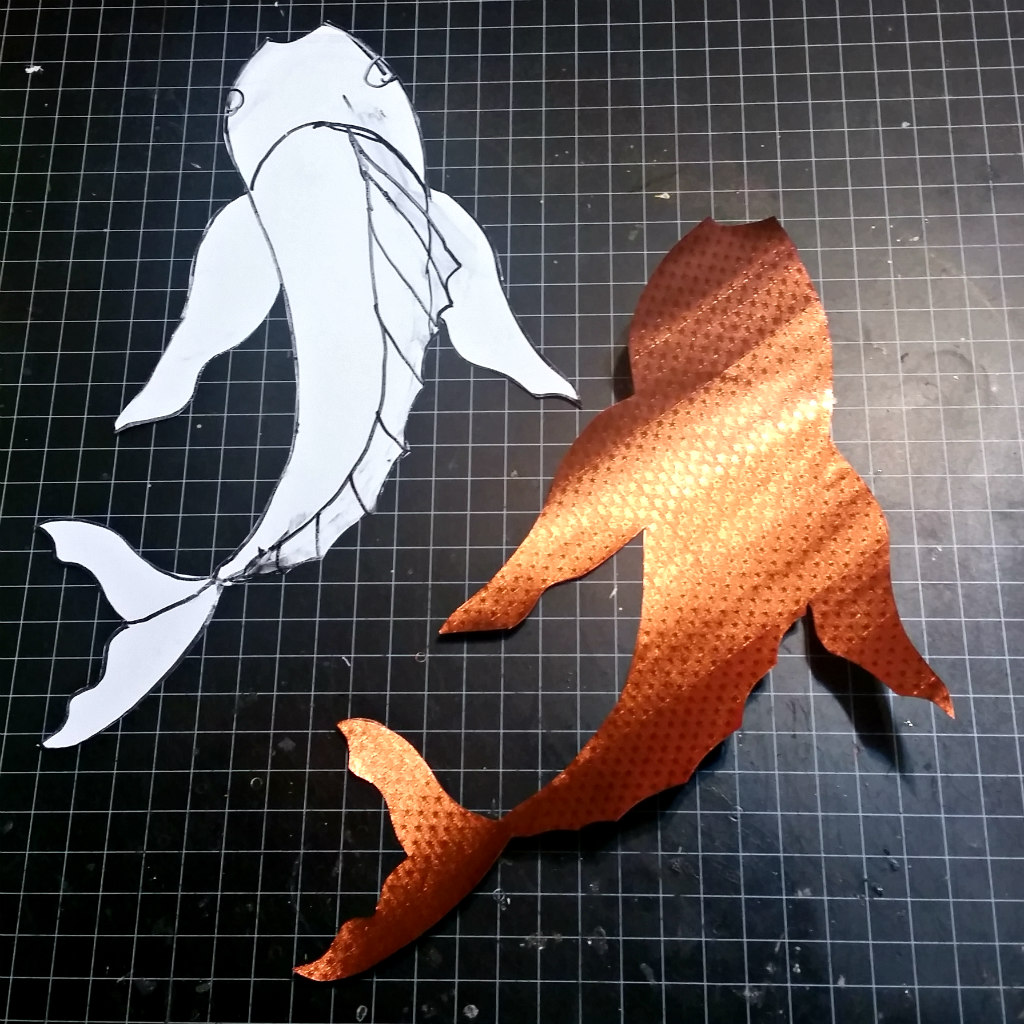
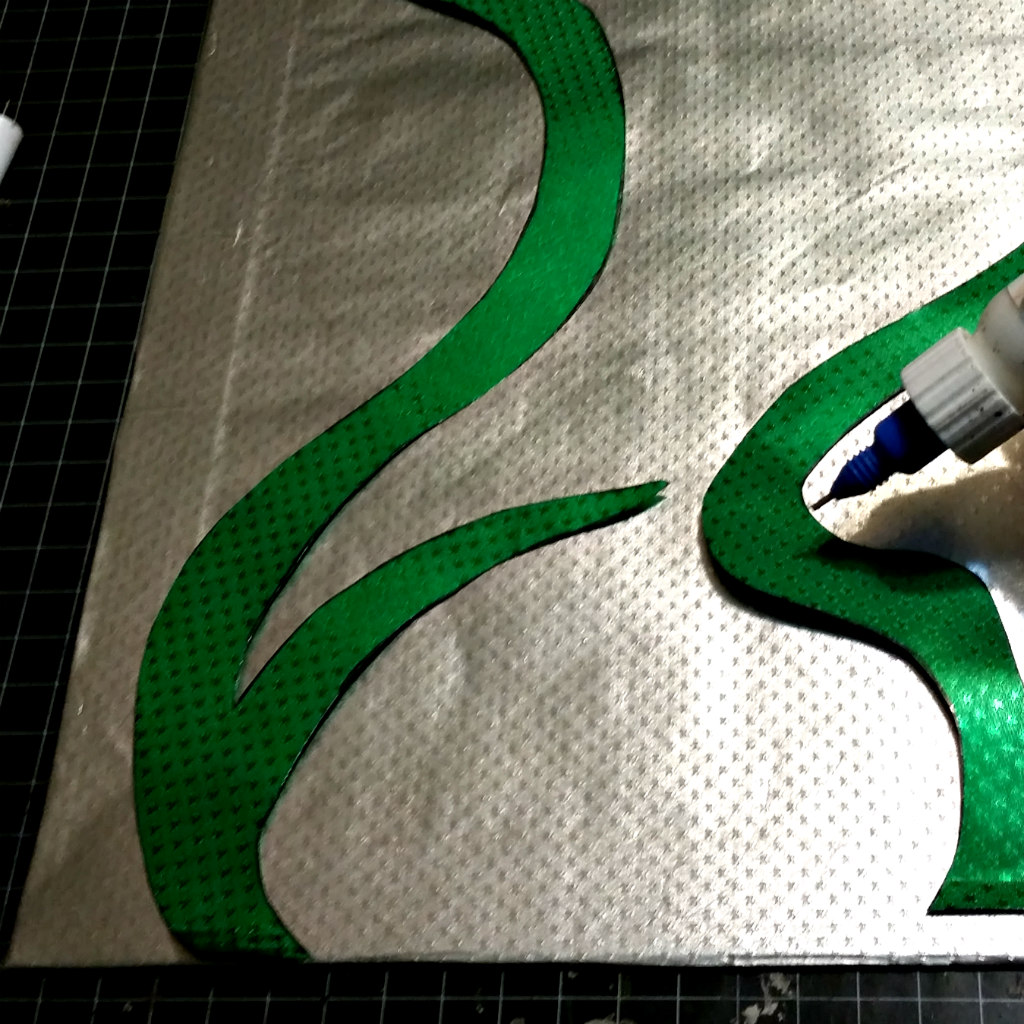
Step Two: Trace and Cut pattern from foiled paper.
I cut my Koi from Rinea Marigold Start Struck paper. The back fin is from Rinea Mocha Glossy paper and the sea weed strands are Rinea Emerald Star Struck paper. I added details to the fish and the fin with Rinea Ghost Ink. For the scattering of scales I used a quarter-foil stencil.
Step Three: Cut window paper and adhere to the backing.
My window is cut from a roll of Rinea Silver Star Struck paper. I used an 11"x14" piece of cardboard. I wanted my foil base to be rock solid AND I wanted to see the window frame without using lines or separate pieces. To get this look I used inch wide super sticky tape.
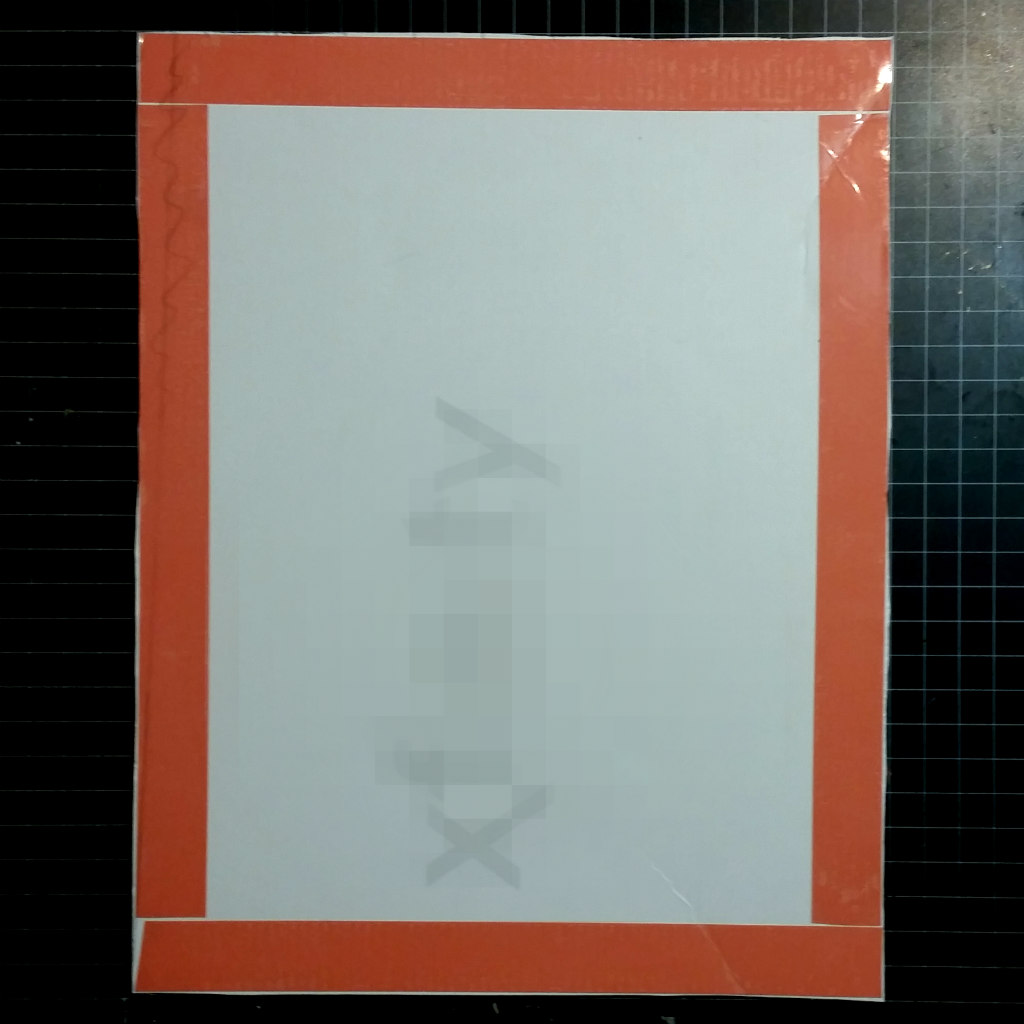
Getting the foiled paper onto the cardboard base without mistakes took steady hands and a good game plan. I cut my silver paper to 12"x15" size. With a 1/2 inch of playroom on each side I had a good chance of getting the cardboard covered even if it was a tad crooked. I rolled the foiled paper then laid it on the cardboard as straight as I could. I started at the top, rolling toward myself, and pressing the paper into the adhesive as I went. I folded the excess to the back of the cardboard.
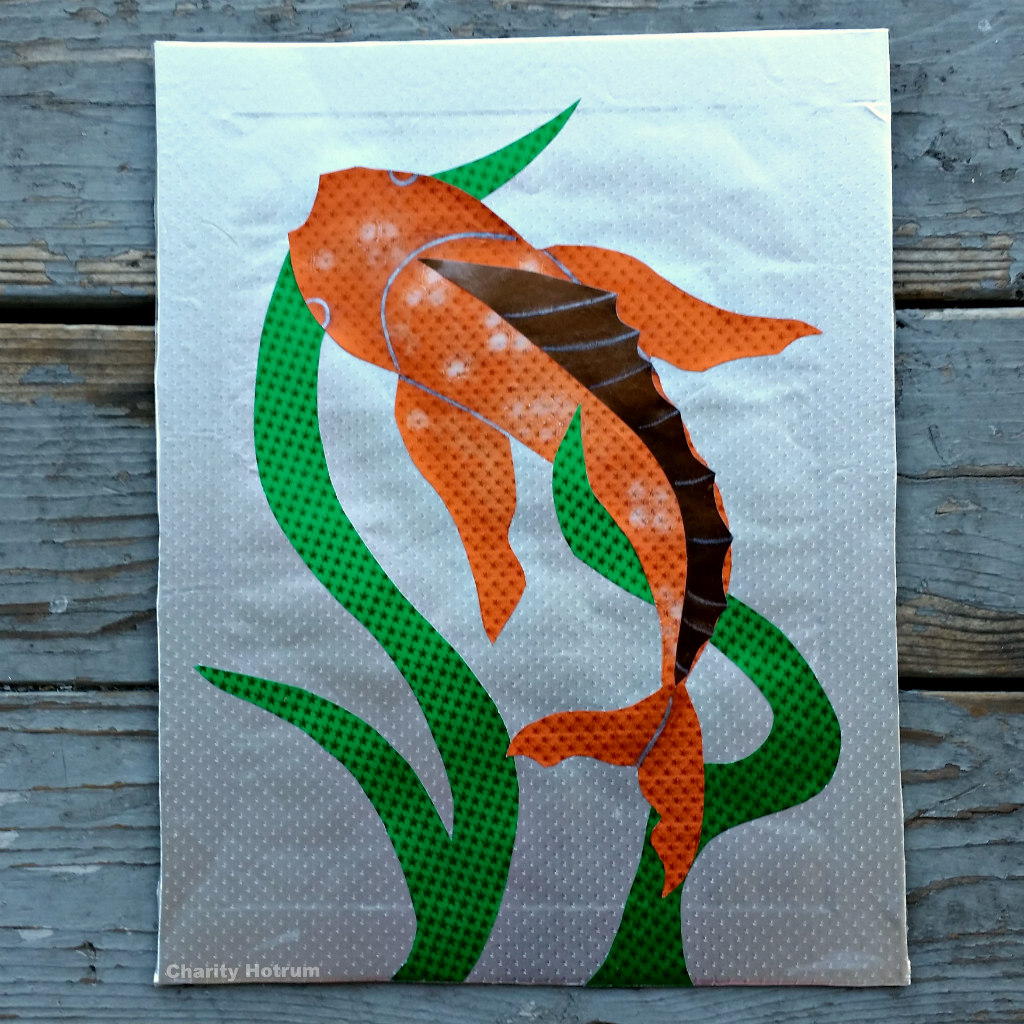
Step Four: Glue designs to window base.
Step Five: Mix 1 part black acrylic paint to 3 parts all purpose glue for window leading.
Elmer's Glue-All works best for this mixture and comes in a squeeze bottle. I did not leave enough room in my squeeze bottle to shake the mixture and had to use a bamboo skewer to mix it. This made the process more difficult then it had to me. Just an FYI.
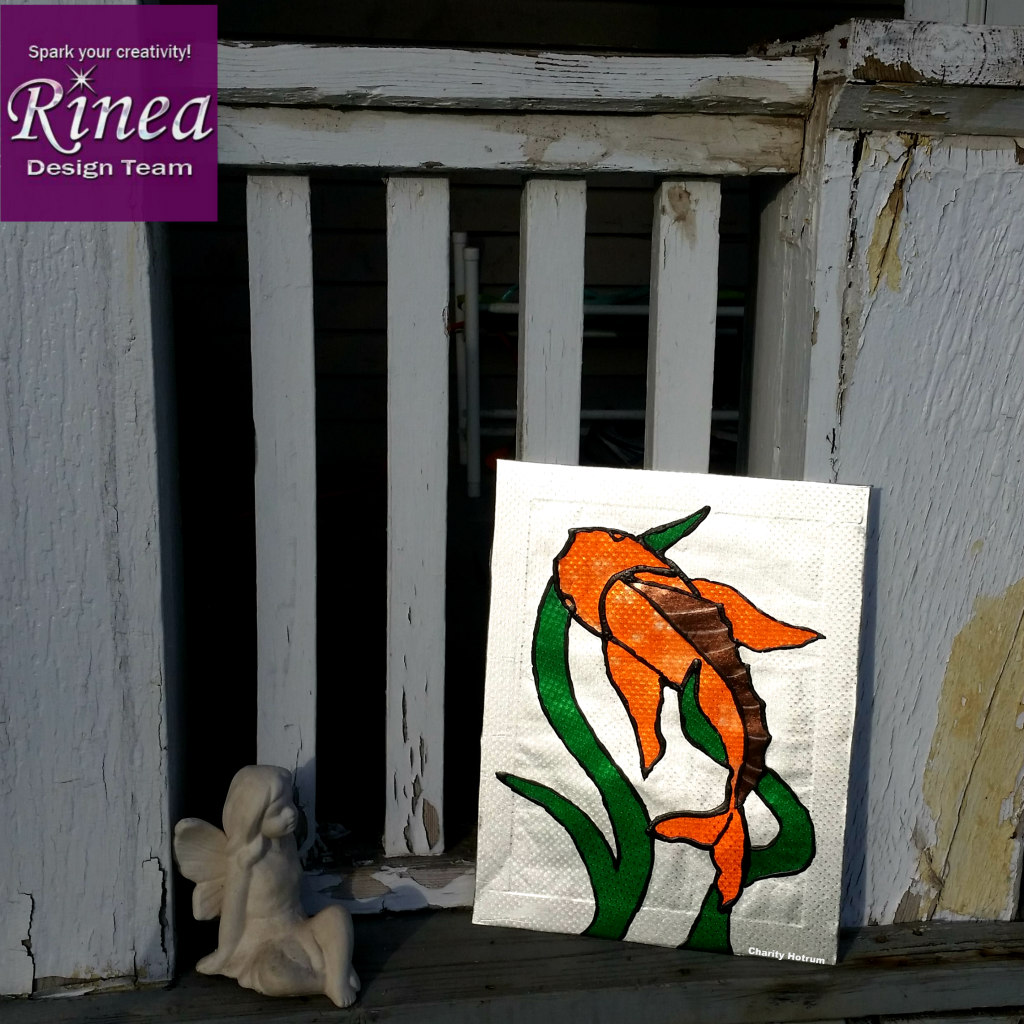
Step Six: Outline all joints and paper edges with leading mixture, leave to dry.
The glue mixture is grey when wet. Remember to use a glue that dries clear. When it does you will have lovely, thick, black lines.
~charity~