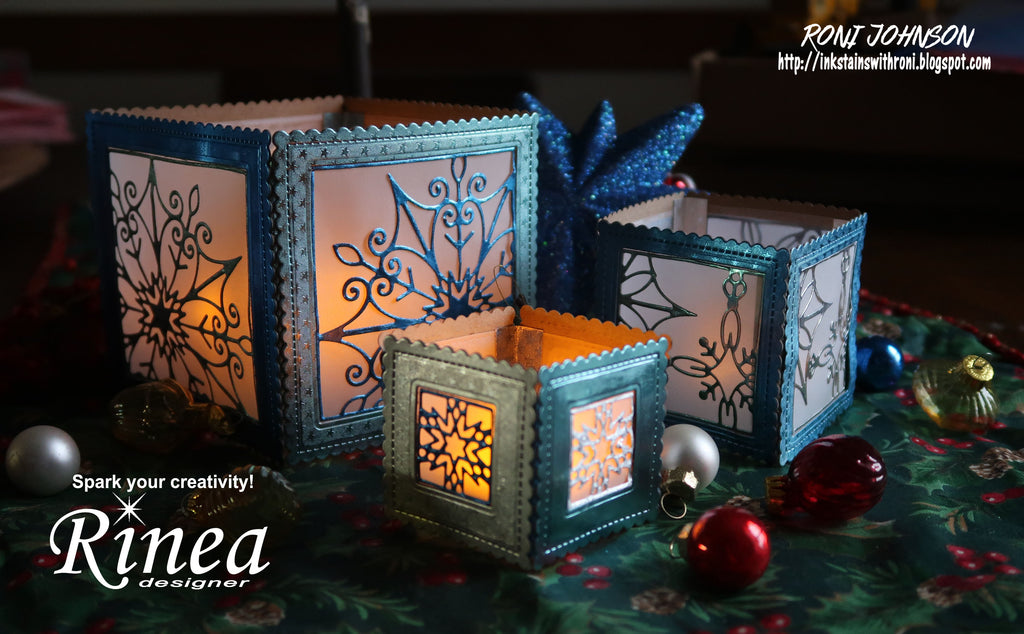
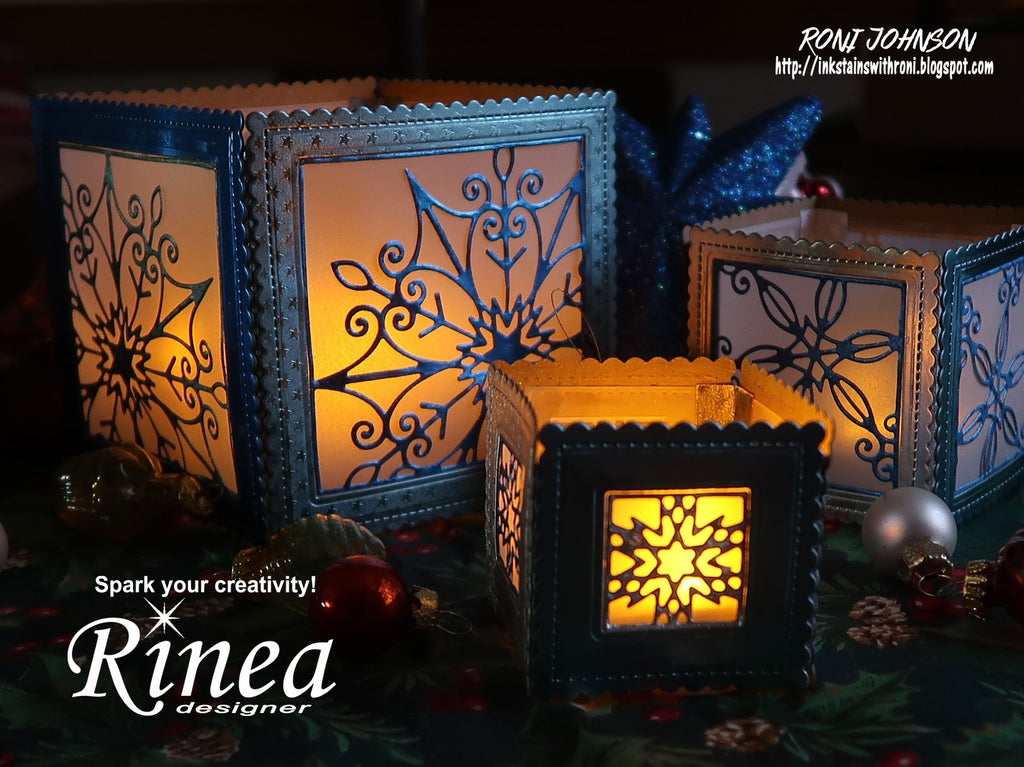
Light Your Way with These Snowflake Luminaries by Roni


One of my favorite parts of the holidays and winter, in general, is the softer lighting it brings...not only from the sun but with candles, Christmas trees, and luminaries. Today I thought it would be fun to create winter-themed luminaries using the Frosted Foiled Paper Variety Pack.
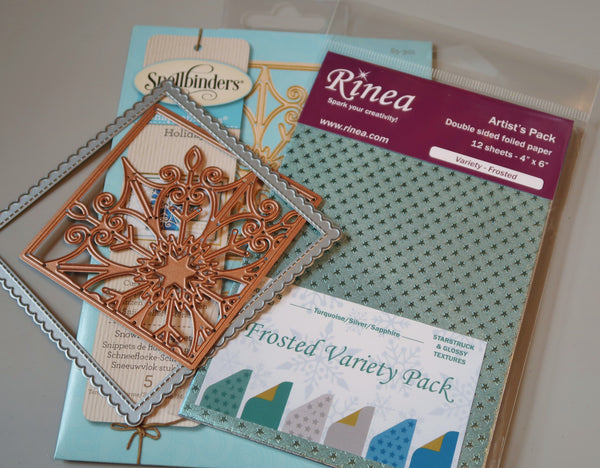
I used snowflake panel dies from Spellbinders but you could easily substitute any dies in your stash or hand-cut various designs by printing them off a computer. I have found that coloring book line arts work well for this application.
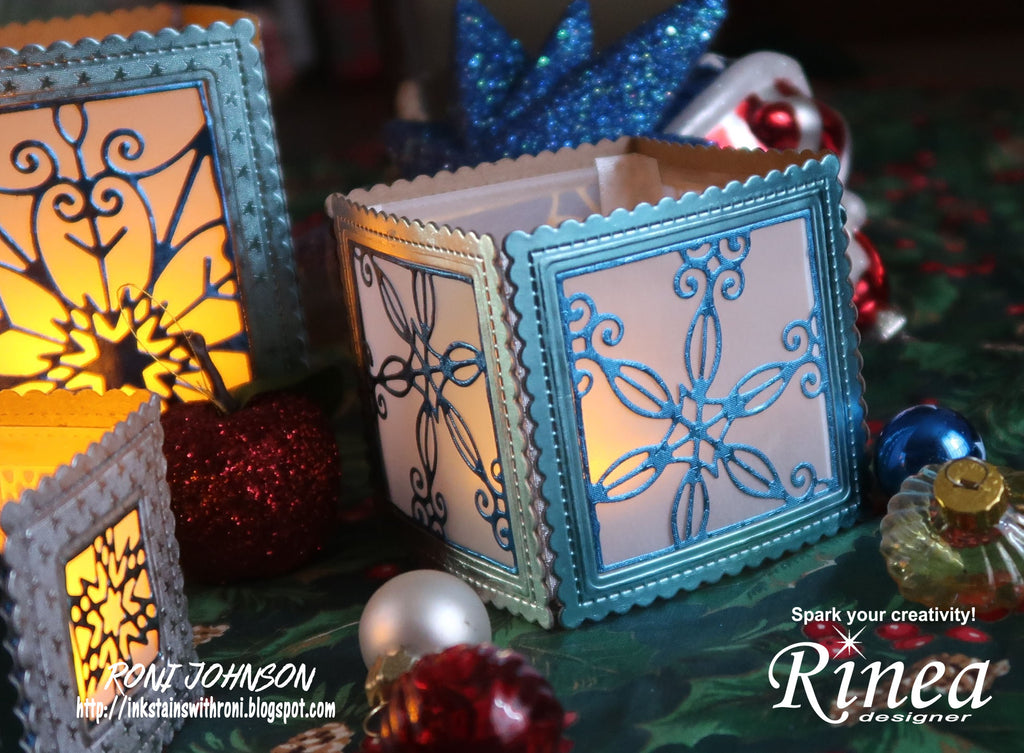
Step 1 - Adhere the foiled paper for the frames to a piece of lightweight chipboard to be used for the walls of the luminary. I used all three colors from the Frosted Foiled Paper Variety Pack for the walls of my luminary: Turquoise, Silver, and Sapphire in both the Glossy and Starstruck textures.
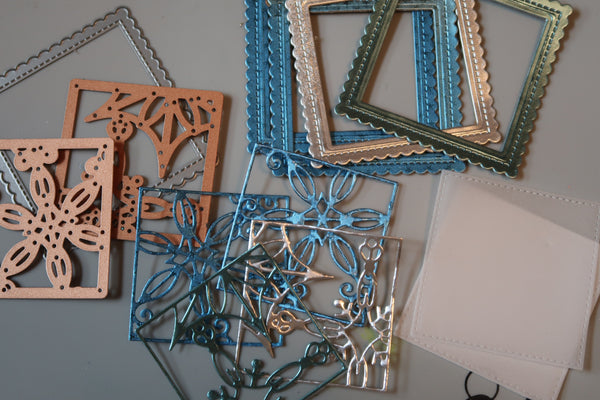
Step 2 - Die-cut the walls using a stitched scallop edge square die.
Step 3 - Die-cut the vellum windows using a plain or stitched square and finally cut the snowflake panels from the Turquoise, Silver, and Sapphire foiled papers.
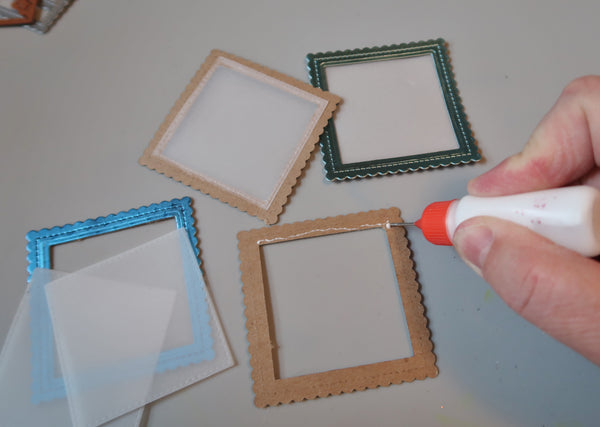
Step 4 - Adhere the vellum windows to the luminary walls.
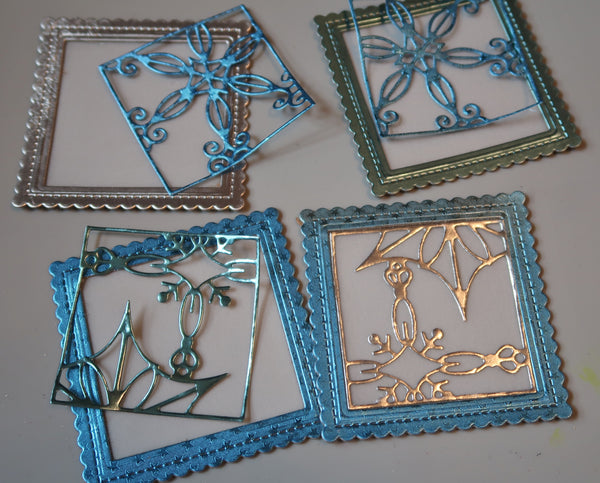
Step 5 - Glue the snowflake panels to the luminary walls.
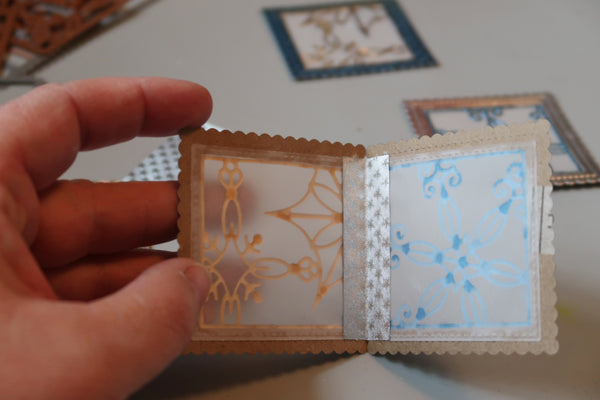
Step 6 - Cut a 1/2" strip of foiled paper and fold it in half. Use this strip of paper to adhere to the 4 walls together as shown.
Supplies:
Rinea: Frosted Foiled Paper Variety Pack - Turquoise/Gold Glossy, Turquoise Starstruck, Silver/Gold Glossy, Silver Starstruck, Sapphire/Gold Glossy, Sapphire Starstruck
MFT - Stitched Square, Stitched Scallop Square
Spellbinders - Snowflake Snippets
Chipboard
Adhesive