Love Card Featuring Embossed Rinea Foiled Papers
by Natalie Ballard

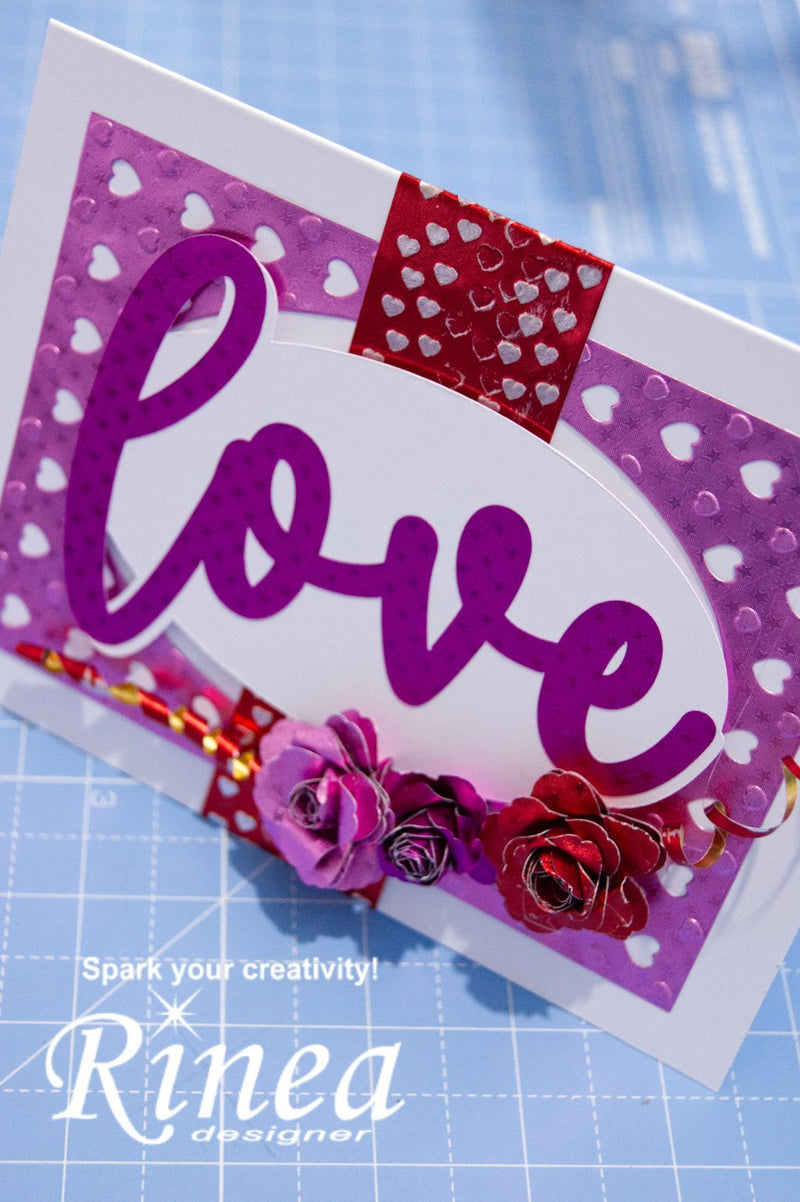
One of my favorite techniques with Rinea paper is combining the Ghost Ink with embossing folders. The play of light across the surface combined with the texture of Ghost Ink just makes for an interesting card.
What you will need:
- Love Themed Paper Pack
- Heart themed embossing folders and/or dies
- Die cutting machine with embossing sandwiches for dies and folders
- Ghost Ink 2.0 Pad and Refill
- Electronic cutter or Love sentiment die
- Rolled flower die or cut file
- 7x5" card blank
Steps:
- Your background is created from the Blush Starstruck foiled paper. Cut your background using a heart themed die (this one is from Crafter's Companion and is discontinued sadly). If your die doesn't feature an aperture, add one at this stage using a basic oval die or template.
- If your die allows it, run the heart themed die and paper through your die cutting machine again with the die embossing sandwich.
The photo shows it being adhered to the front of the 7x5" card blank.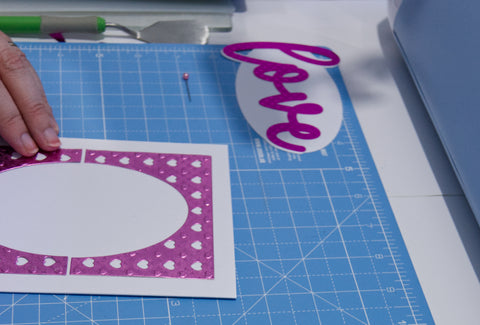
- Cut a strip from the Ruby/Gold glossy paper measuring approximately 1½" wide. Use a border embossing folder to emboss hearts (the one I used is from Tattered Lace). As my border folder was much narrower than the strip, I alternated which way the pattern embossed across the strip.
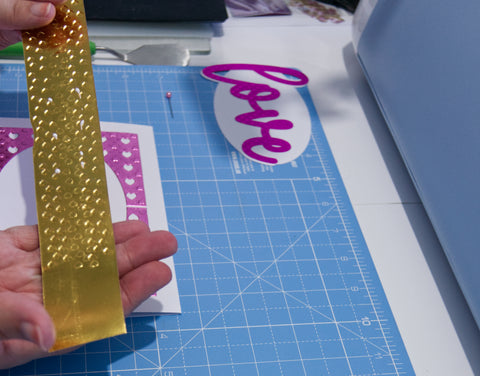
Photo showing the reverse of the embossed Ruby/Gold strip with alternate embossing/debossing. - Swipe the embossed Ruby/Gold strip with the Ghost Inkpad; this will mean some color will transfer to your pad, but this is fine and doesn't affect how the pad works. Gently buff the ink away after 20 seconds or so. Repeat if required so the removed areas show clearly.
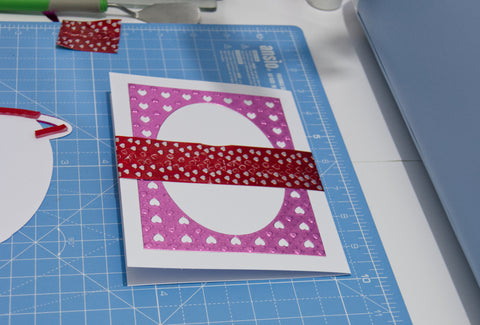
The photo shows the strip trimmed and ready to be adhered to the front of the card blank. - Design your love sentiment in your cutter's design software and cut from Fuchsia Starstruck foiled paper. Alternatively, you can use a die for the text. I then used offset to create an outline and welded it to an oval. This was then cut from the same stock as the 7x5" card blank.
- The background pieces were adhered with PVA glue (I would recommend a quick grab adhesive for this), as shown in the above photographs.
- The love panel was adhered with PVA glue and then "popped out" with clear 3D foam. Clear 3D Foam is ultra sticky (think the 3D version of red liner tape), so non-stick scissors are a must.
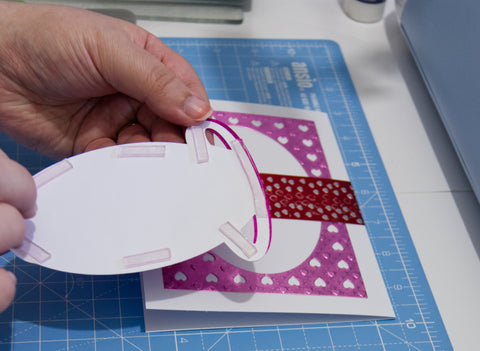
Photo showing the clear 3D foam with the backing removed. - Finally, to finish off the card, I used a rolled flower cut file and cut it from the Starstruck finishes of the Ruby, Fuchsia, and Blush. I then rolled these using a quilling tool and adhered them using a hot glue gun.
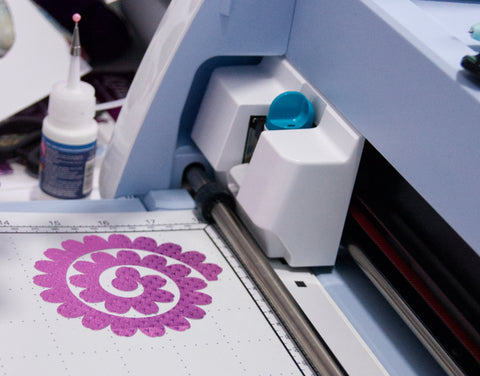
Rolled flower cutting file with the Fuchsia Starstruck foiled paper.
To this, I then added twists in the Ruby/Gold gloss by wrapping thin strips around a bamboo skewer. - Adhere these to the front of your card using a hot glue gun.


