Make A Modern Rainbow Tag
by Jessa Plant

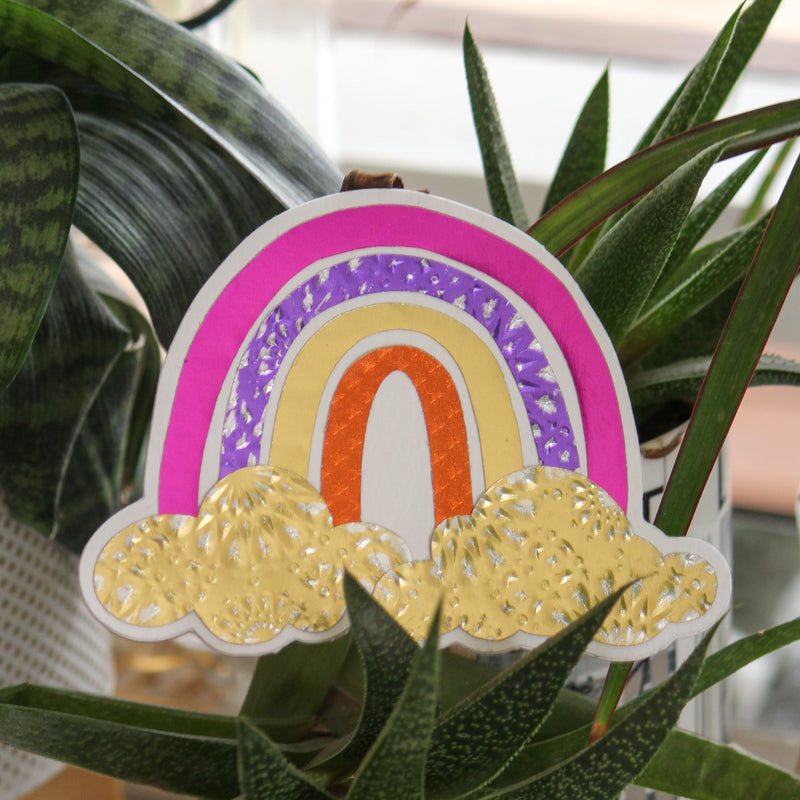

Hey creative friends! Jessa here from Sparkle Living Blog with a bright and happy project for you today. I just can't get enough of these modern rainbows and I love how you can use any colors to make it yours. This pretty little thing is great as a tag and it thick enough to be used as an ornament. Enjoy!

SUPPLIES
- Rinea Foiled Paper Floral Variety Pack
- Rinea Ghost Ink 2.0
- Watercolor Paper
- Adhesive
- Craft Cutting Machine
- Embossing Folder
- Manual Die Cutting Machine
- Ribbon
INSTRUCTIONS
In the design software for your electronic craft cutting machine, size the two of the clouds so that they fit right over the ends of the rainbow. Highlight the rainbow and clouds together and use the software to create an outline of the image using the offset tool, at least 0.125 bigger than the image. Separate the offset from the rainbow and the clouds. Cut out two of the offsets using the watercolor paper. This will create the background.

Using the Rinea Foiled Paper Floral Variety Pack, cut out the rainbow and clouds in your preferred colors using the craft cutting machine on vellum setting.

Once you have all the pieces cut out, decide the foiled paper pieces that you want to emboss and run them through your die cutting machine using an embossing folder.

Rub the Ghost Ink 2.0 lightly over the embossed pieces, so that the color comes off just the top of the embossing. Gently rub off the Ghost Ink 2.0 with damp cloth.

To adhere the whole rainbow together, I use the Creative Station, so that I can peel and layer the pieces like stickers, but any glue will work. If you are adding a ribbon, for hanging, adhere it between the two layers of watercolor paper.
