Make This Lighted Floral Flag Decor by Jessa Plant

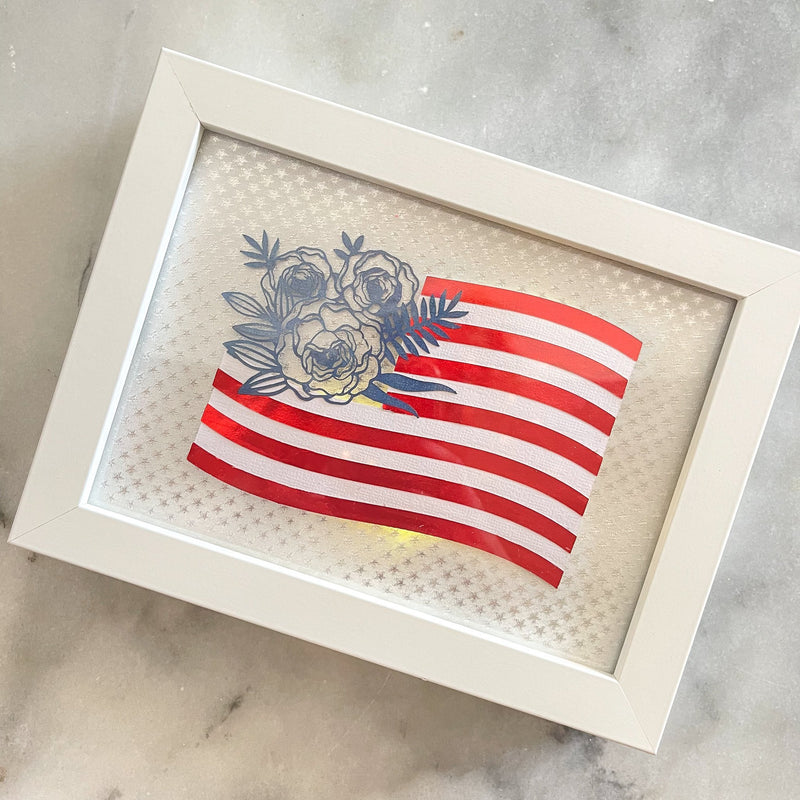

Hi there! Jessa from Sparkle Living Blog here today to share this fun 4th of July flag art. This project combines three of my favorite things, holidays, tiny lights and foiled paper.
Supplies
- Rinea Silver/Silver Starstruck Foiled Paper
- Rinea Ruby/Gold Glossy Foiled Paper
- Floral Flag svg
- Wavy Flag svg
- Electronic Cutting machine
- Tiny Fairy Lights
- White cardstock
- Blue paint
- Adhesive
- Picture frame

Instructions
To create the flag, I used two different flag svg designs that I found in the software for my cutting machine. I liked the flowers off of one, and the wave of the flag on the other. So I sized them so that they would be the same in the software.
I cut out the background of the flag out of white cardstock, the used the same svg to cut out the red stripes using the Rinea Ruby/Gold Glossy Foiled Paper.

For the floral part, I cut it out on white cardstock, then painted it with some Chipped Sapphire Distress Oxide Spray, so that it would be just the color I wanted.
While the paint was drying, I glued the ruby foiled paper stripes on to the cardstock flag background. To ensure that the light would show through the flowers, I cut out part of the background where the flowers will go. Then I glued the edges of the flowers to the flag. While this part is delicate, it will be ok since it's in the picture frame.

Then, cut out a piece of the Rinea Silver/Silver Starstruck Foiled Paper to fit the picture frame. The silver stars are a perfect background for the flag. At this point, you want find a spot in the paper that will be covered by the flag, to poke a hole in for the lights. After threading the lights through the hole in the silver paper, form them into an L shape and adhere them in place with a little bit of the foam tape.

Use small pieces of the foam adhesive to stick the flag on over the lights.
Place in the picture frame, and enjoy your festive decor!