Making and using metal-style embellishments


This project is all about vintage effects, and part of any vintage project is a touch of metallics.
You will need:
- A6 Super Smooth/Stamping card & 7x5" card blank
- Punky Romance and Punky Expressions Stamp Sets by Chocolate Baroque
- Black Squid Ink (or other waterproof ink)
- Wax-based coloured pencils
- Antique Linen Distress Ink
- Blending Brush
- "Mars" Explosion Powder by Pretty Gets Gritty
- Optional metallic patina or wax
- Felt tip airbrush and brown pen
- Copper foiled paper
- Mocha foiled paper
- Metal embellishment style dies
- Paper trimmer
Creating the metal-style embellishments
From the Mocha foiled paper cut and emboss your metal embellishment style designs. Do this by first cutting the design using your normal cutting sandwich in your die machine. Then, switch to your die embossing sandwich which usually includes an embossing rubber mat. For particularly fine designs, you may want to laminate (or layer) your foiled paper onto some thin card for reinforcement. By using this embossing step, your embellishment will look much more solid.
You can further embellish your elements in several ways. You can use the optional wax/patina to emphasise the embossed detail further. You can also use embossing powder and a heat gun to add additional layers.
The centre panel and sentiment panel
Start by stamping the feature image onto an A6 stamping card panel using waterproof ink. Colour the design using coloured pencils - wax based ones will work best for this technique as we want to resist the white paper beneath to keep our colours true.
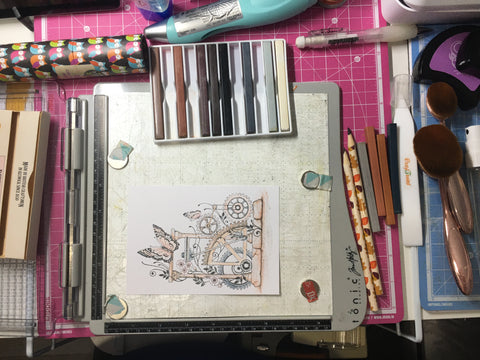
Using a large blending brush (the make-up style ones), blend Antique Linen Distress Ink all over the card.

Create a splatter effect using an airbrush and brown pen or using a strong mix of brown watercolour and a toothbrush or fan brush.

Using a messy mat or glass mat, put a little of the Explosion Powder onto your mat. Spray or drop a little water onto the powder. Tap the edges of your panel into the mixture. Explosion powders are great for pops of little colours and metallics.

Layer your panel onto a piece of copper foiled paper. Trim and gently bend the edges to give a more uneven finish. You can also add the metal-style embellishments at this point to help you at the next step.

Mount your panel onto a larger card blank. I chose a 7x5" card blank for my layout.
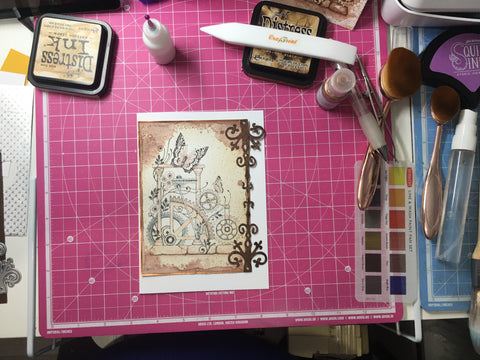
You create the sentiment panel in the same way using a paler impression for the background. Apply with foam tape to pop out from the background.
