More Back To School Fun by Annie

Hello Crafty Friends - Annie here with some fun projects for this year Student!
I know it's that time already - Summer is just flying by. Here in Florida, the children head back to in August. I know that some of your children will be heading back in September.
I thought, why not create some projects for the student this time.
Here are the fun projects I created.

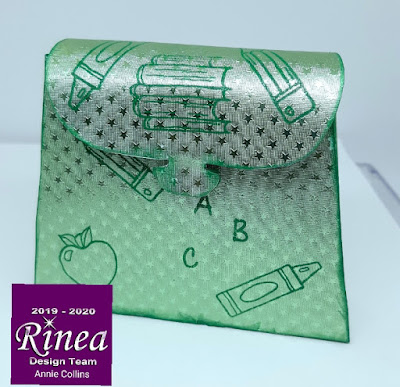
The Backpack
Is perfect to add a little notebook, a mini mechanical pencil, and some fun erasers in it.

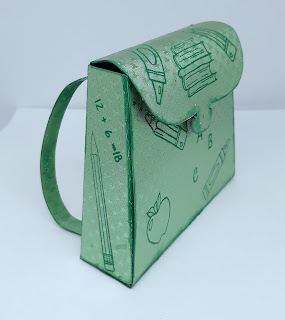
The back view
Side views

Materials Used:
Imagine Crafts Tsukineko StazOn Pigment Ink: Shamrock Green
Let's get started
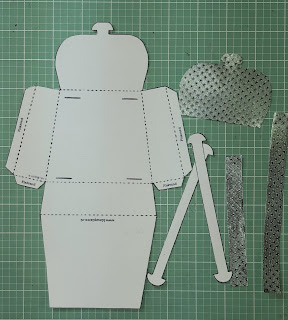
I started by downloading and printing the template. Next, I trimmed the template and adhered it onto the Rinea Jade/Jade Starstruck Foil Paper. I also trimmed an extra panel for the inside of the backpack flap and the straps.

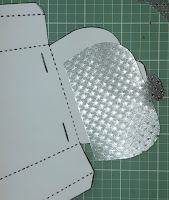

Next, I used a craft knife and cut the slits into the backpack. These will be for the straps.

Then, I used my scoreboard to score all the dotted lines (score lines).


Next, I used Imagine Crafts Tsukineko StazOn Pigment Ink: Shamrock Green, Hero Arts Just A Note Stamp Set CL404 and Woodware Craft Collection School Tots Stamp Set to decorate the backpack. I even stamped on the straps.


Now, to attach the straps to the backpack. I insert the strap notch into the slit and add some adhesive to the tab and pressed into place.


Next, I adhered the side tab to the press into place. I repeat the process on the other side. Cleaning up any adhesive along the way if needed.
Next, I add a bit of velcro to the front of the backpack for a closer. I use a small velcro tab that I cut in half. I stack the velcro tabs the hook and loop part onto the felty part. Then, I place the velcro onto the backpack flap first. Next, I close the flap and press the bottom part of the backpack.


Now, the mini backpack is complete!


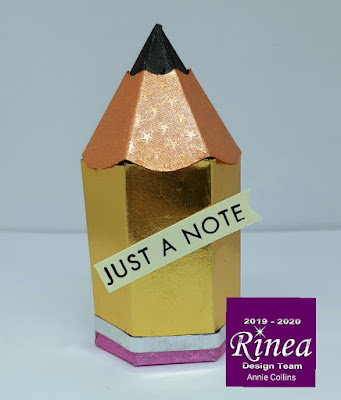
Mini Pencil Box
This fun little pencil box is perfect for a few treats, stickers, or some fun erasers.
Materials Used:Pencil box Template

Now, just like my last post - I didn't make a tutorial for this project.
I will, however, link the template I used to make this mini pencil box.
Thank you for stopping by the blog today. I hope you found some inspiration!
Be sure to stop by the Rinea Store to pick some of the wonderful Rinea Products.

