Oh Canada! by Jess

Hello, it's Jess here today and I want to show you how to make some really cute Canada Day Rosette Decorations with Rinea Foiled Paper.

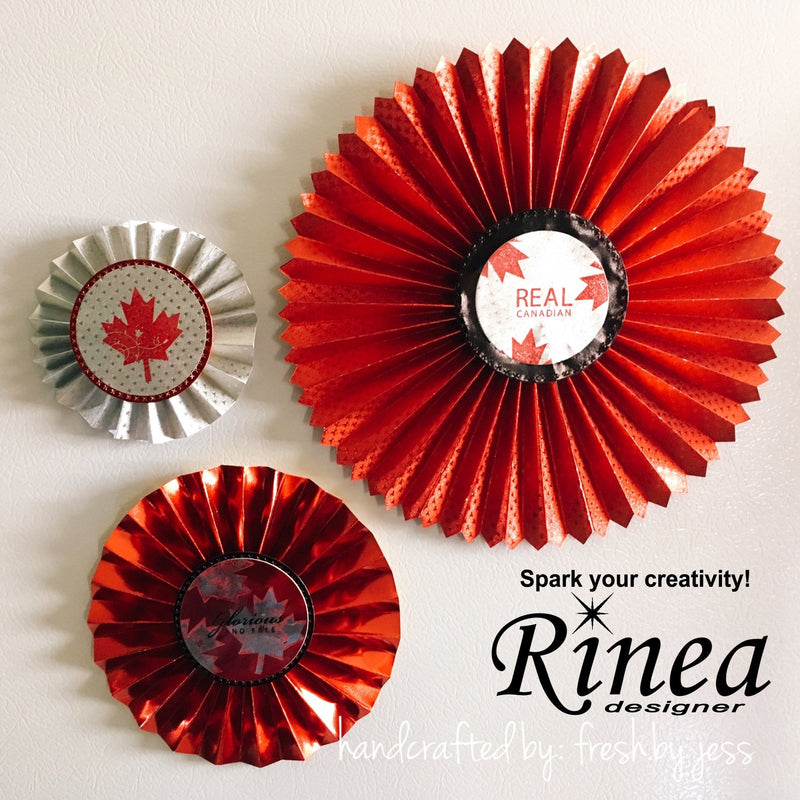
I worked with a couple different packs to create this trio of patriotic rosettes! I primarily used the Magical Foiled Paper Variety Pack along with a few sheets from our brand new Patriotic Foiled Paper Variety Pack (Silver/Silver Starstruck) (Glossy Ruby/Gold, Ruby Starstruck, and Glossy Ebony Black/Gold). I did use the Crafter's Packs size papers. You can totally make these rosettes without a die cut too! I made them both ways.
You'll also need:
- Die-cutting Machine (optional)
- Rosette Die (I used one from Stampin'Up/Sizzix)
- Scoring board
- Cardstock scraps
- strong adhesive
- embossing powder
- Ghost Ink
- Versamark Ink
- patriotic stamps
1. We'll start by making our die-cuts. Rinea Foiled Paper holds it's shape, because of its unique properties! I instantly thought of these fun rosettes! And of course, since I'm Canadian, I had to incorporate a Canada Day theme somewhere! I picked the Ruby Starstruck Foiled Paper for the largest rosette. For this one, I die cut 3 pieces for Foiled Paper.
2. Using my Scoring board, I scored each line as indicated by the die. Alternatively, if you don't have the die - you can just score it every 1/2".


3. Once everything was scored, I accordion folded the paper pieces, then adhered together the ends with some double-sided tape. For the large rosette, I needed to use 4 6x12 pieces of Foiled Paper. For the medium and small I was able to use 3 pieces of 3x12 and 2x12 sizes.


4. To help the rosettes keep their shape, I simply used a piece of cardstock in the shape of a circle on the back of the rosette.
5. I wanted to keep my "Canadian" theme, so I die cut a bunch of circles, then used the Ghost Ink to do a few maple leaves. I used the Ebony Black/Gold Foiled Paper for the background of two of the centers.

6. Embossed Maples leaves and sentiments were added to finish off the designs!


I hope you enjoyed my first project tutorial! I know you will have a lot of fun making different colored rosettes for your next party! Experiment with different die-cuts and different shades of Rinea Foiled Paper!
See you next time!
Jess