Say Thanks by Lorrie

Hey, y'all! Lorrie here with a new thank you card that you are sure to love. I used layers and embellishments to give this card lots of depth and texture as well as lots and lots of shine with Rinea Foiled Papers!

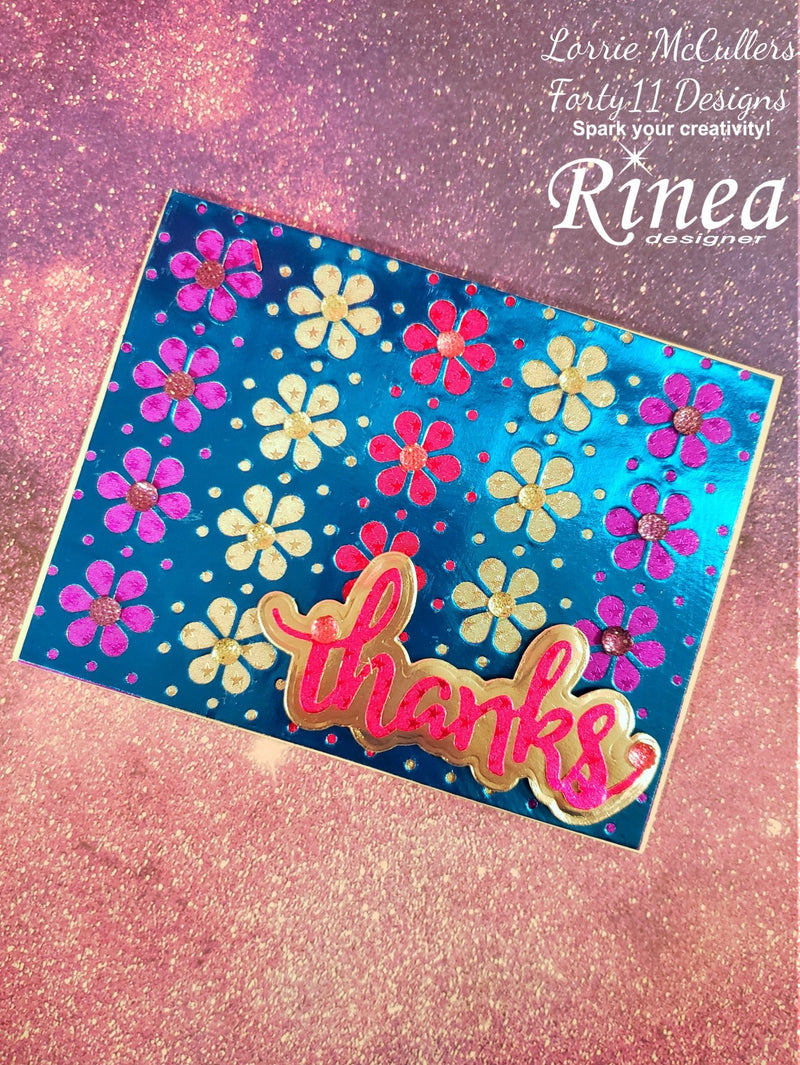
I started by cutting out a card cover from Sapphire/Gold Glossy Foiled Paper using the Eyelet Cover Die from Pink and Main.

I then cut strips from Violet/Violet Starstruck, Silver/Silver Starstruck, and Fuchsia/Fuchsia Starstruck Foiled Papers (this is also a great way to use scraps). I didn't worry about measuring these strips. I just arranged and overlapped them so that they would fit under the cover die.

I adhered these strips to the card base and then placed the die-cut cover over the top of them. I then cut off the excess using a paper trimmer.

I die cut the words "thanks" and the shadow from Silver/Gold Glossy Foiled Paper and Fuchsia/Gold Glossy Foiled Paper using the "Thanks" dies from Pink and Main. I popped it up using foam tape to give the card even more depth.

For the finishing touch, I used textured embellishments for centers of the flowers.

I absolutely love how Rinea Foiled Paper gives even the simplest card such a polished look. The shine is like no other paper can give!
