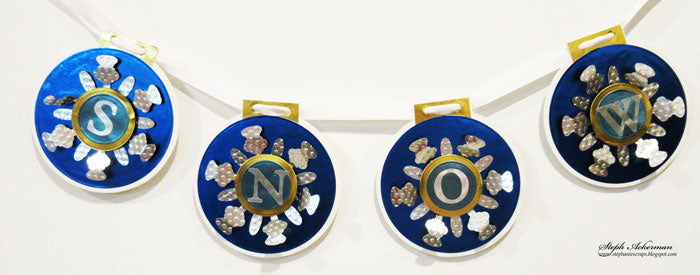
Snowflake Banner by Steph

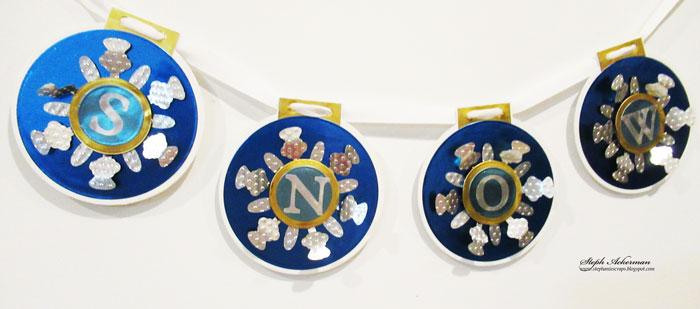
Hi everyone, Steph Ackerman here today with a new banner celebrating winter. It's getting colder and snow is definitely on it's way. I used the new Frosty Foiled Paper Variety Pack. Since this is a seasonal collection, I am also going to link to the individual foiled papers I used from this collection.
I found this chipboard book, and when I looked closer, I realized I could easily turn it into a banner Foiled Paper cuts wonderfully with any die cutting equipment and I used Spellbinders Grand Circle Dies to die cut Sapphire/Gold Glossy Foiled Paper.

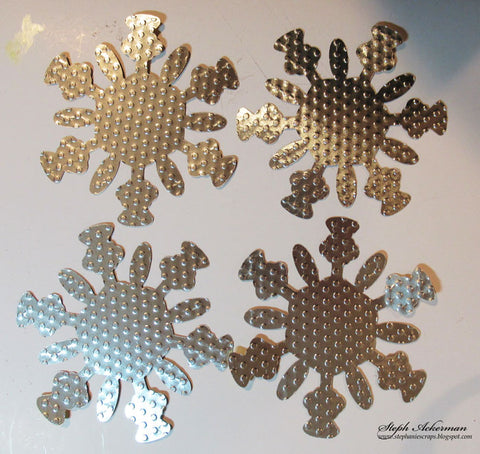
Next, I used Silver/Gold Glossy Foiled Paper to die cut 4 large snowflakes. Using an older, not so tacky Cricut mat, I taped the foiled paper to the mat then loaded it into my Cricut.

I set my Pressure to medium and Speed to high and hit cut. Look at the crisp, clean snowflakes I was able to cut with my Cricut.


I die cut circles from Turquoise/Gold Glossy Foiled Paper and adhered them to the snowflakes with foam adhesives for dimension. Using the left over Silver/Gold Glossy Foiled Paper from the snowflake die cuts, I die cut the letters and adhered them to the circles.
Thanks for stopping by today.
Steph

I found this chipboard book, and when I looked closer, I realized I could easily turn it into a banner Foiled Paper cuts wonderfully with any die cutting equipment and I used Spellbinders Grand Circle Dies to die cut Sapphire/Gold Glossy Foiled Paper.

Next, I used Silver/Gold Glossy Foiled Paper to die cut 4 large snowflakes. Using an older, not so tacky Cricut mat, I taped the foiled paper to the mat then loaded it into my Cricut.

I set my Pressure to medium and Speed to high and hit cut. Look at the crisp, clean snowflakes I was able to cut with my Cricut.

I like to remove the die cut images first. Then I remove the rest of the foiled paper from the Cricut mat and put it aside for another project. I try to use all the scraps of foils that remain.

To add some dimension to each snowflake, I used a Cuttlebug embossing folder to emboss tiny dots on each one.

Using left over scraps from the Sapphire/Gold Glossy Foiled paper, I created the tops of the ornaments.

I die cut circles from Turquoise/Gold Glossy Foiled Paper and adhered them to the snowflakes with foam adhesives for dimension. Using the left over Silver/Gold Glossy Foiled Paper from the snowflake die cuts, I die cut the letters and adhered them to the circles.
I punched holes in each piece then joined them all together with ribbon.
Thanks for stopping by today.
Steph