Space Ranger by Annie

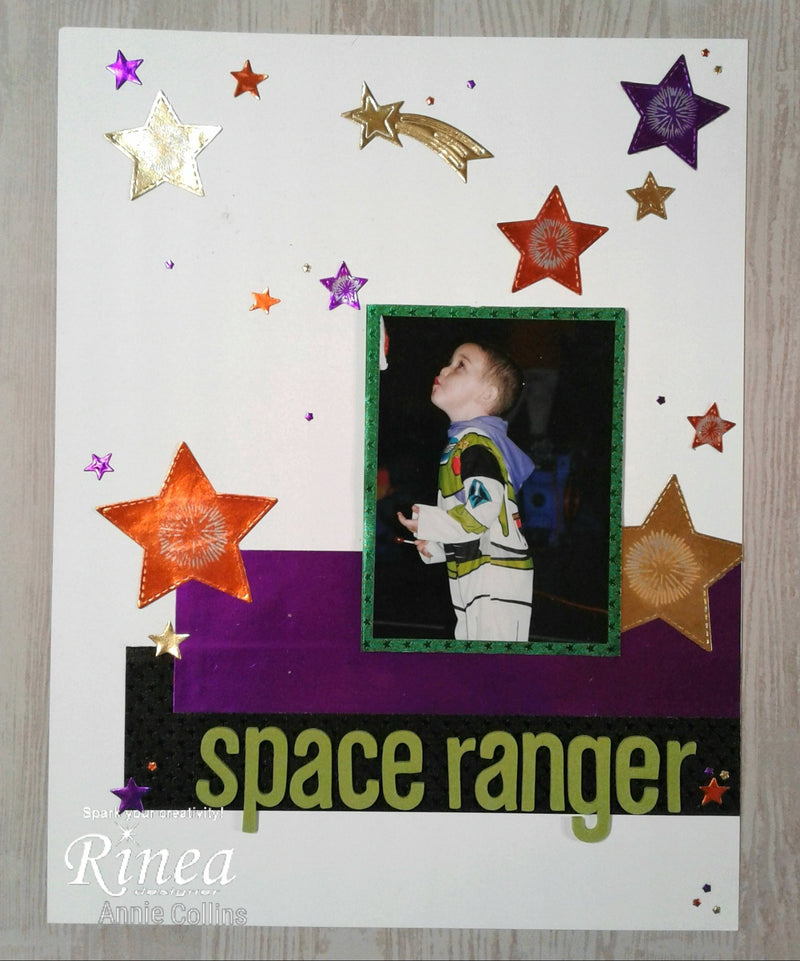
Hello Friends - Annie here with another quick project for you to try out. Today, I am making a layout. I kept this one simple. Just let the photo and paper shine.
I used the Haunted Variety Crafter's Pack to create this layout. I also pulled the Violet/Gold Glossy Foiled Paper to accent my photo.

Let's get started by gathering the Supplies:
Haunted Variety Crafter's Pack
Violet/Gold Glossy Foiled Paper
Rinea Ghost Ink
Rinea Starburst Sentiments Stamp Set
Rinea Clear Round Stamp Block
Heavy Weight Cardstock - White - Recollections Brand
Thickers Alphabets - Daiquiri - Leaf (color)
Tools: Trimmer - Fiskars
Scissors - Fiskars
Die cutting Machine - Cricut - Cuttlebug
Die Cuts & More Double Stitched Stars
Momenta Dies - Single Cut Stars & Shooting Star
Scotch 3M ATG & Quick Dry Craft Glue
Tools: Trimmer - Fiskars
Scissors - Fiskars
Die cutting Machine - Cricut - Cuttlebug
Die Cuts & More Double Stitched Stars
Momenta Dies - Single Cut Stars & Shooting Star
Scotch 3M ATG & Quick Dry Craft Glue
To create this layout I cut the Starstruck Ebony Black and the Violet/Gold Glossy Foiled Paper into 2" wide strips. I then trimmed the Starstruck Ebony to 7-1/2" long and the Violet/Gold Glossy Foil Paper to 6-1/2" long. I trimmed the Starstruck Emerald Green to 3-1/4" X 4-1/4" to mat my photo.
Next, I used several dies from Momenta and Die Cuts & More to cut out various sized stars from Starstruck Marigold Orange, Glossy Marigold/Gold & Violet/Gold Glossy Foiled Paper. I then used Rinea Ghost Ink, Rinea Starburst Sentiments Stamp Set and Rinea Clear Round Stamp Block to add some details to some of the stars.
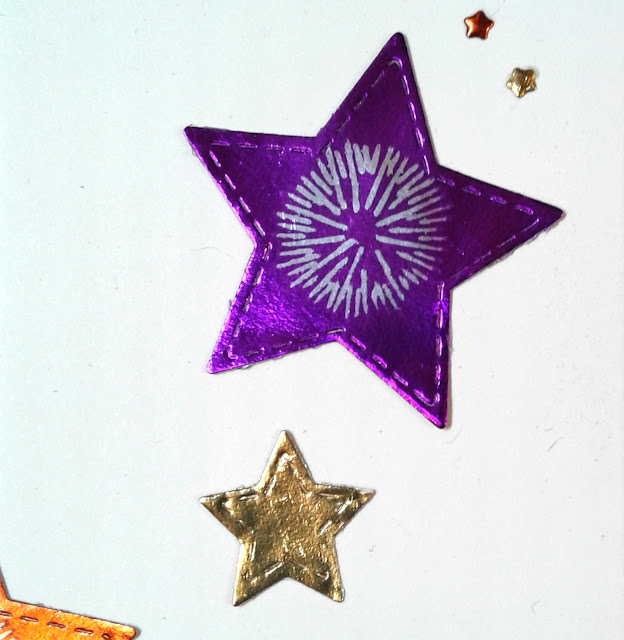
The Ghost Ink lifts the color from the Foil Paper creating a two-tone look. If you haven't given it a try you really should it's amazing!!
To assemble the layout - I used an 8-1/2" x 10" Heavy Weight White cardstock and I layered the strips Starstruck Ebony Black and the Violet/Gold Glossy Foil paper and adhered them toward the bottom of my cardstock. Then, I layered my photo onto the Starstruck Emerald Green Foil Paper adhered into place. Next, I adhered the photo on top of the layered strips. I then adhered the stars around and above the photo - Creating clusters. Making sure to have the three colors of the stars spread out evenly throughout. To finish the layout I used some Thickers in Daiquiri-Leaf. I hope you give Rinea Foil Paper a try on your next layout. It's so easy to use and it provides the perfect touch to any layout!!
Thank you for stopping by today!
I hope you share your Rinea Foil Paper creations with us on Social Media!