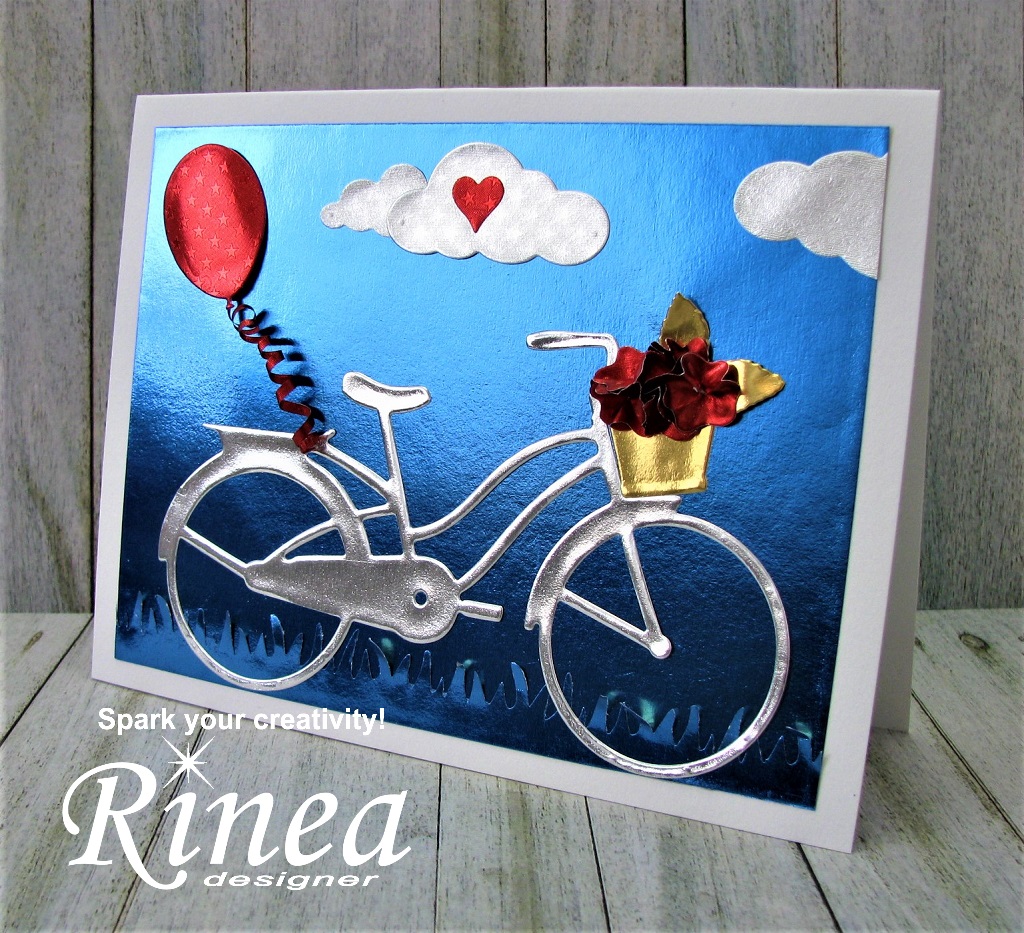
Summer Scene Card by Nancy


Hi, everyone! It's Nancy here today! I'm going to show you how I made this fun Summer Scene Card, using the fabulous Rinea foiled papers!

I'm using the "Patriotic Foiled Paper Variety Pack" for this project.
Other materials used:
- 6 1/2 X 4 1/2 White Card Base;
- Sizzix Brenda Walton Thinlits Die - Whimsy & Delight;
- Memory Box Die - Puffy Clouds;
- Fiskars Border Punch - Grass;
- Adhesive.
1. I began by pulling out the Patriotic Foiled Paper Variety Packs, in both the 6 X 12 and 4 X 6 sizes. I also pulled out this Sizzix die set that I found in my stash but have not been using. It inspired my Summer Scene card.

2. Then I decided my scene should have a few clouds as well. So I added this Puffy Cloud die from Memory Box. I began by cutting the clouds from the Starstruck Silver Foiled Paper.

3. Here you can see the rest of the die-cutting. I used Ruby Starstruck Foiled Paper to cut the flowers, balloon, tag (which I ended up not using), and hearts. I used the Glossy Silver/Gold Foiled Paper to cut the bicycle. Finally, I used the gold side of the Glossy Silver/Gold Foiled Paper to cut the basket and the leaves.

4. Next, I cut a skinny little strip of the Ruby Starstruck Foiled Paper.
It's almost 1/8" wide by about 5" long. I wrapped it securely around a skewer.
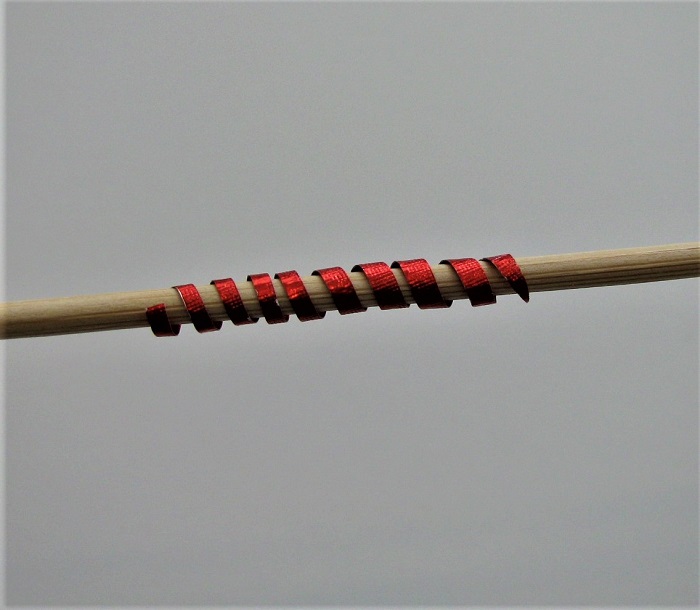
5. Then I pulled the skewer out, leaving the foiled paper in the perfect coiled shape. This is for the string of the balloon.

6. I decided that the Sapphire/Gold Glossy Foiled Paper made a beautiful sky background. So I cut the background at 6 1/4 X 4 1/4 and adhered it to the center of the card base. Then it was time to adhere all the die-cut pieces into place, as shown in this photo.

7. Before adhering the bicycle in place. I decided to add a little more dimension to the bottom of the card. I used the grass border punch and another strip of the Sapphire/Gold Glossy Foiled Paper to do this. Then I adhered the bicycle in place on top.

8. I curled the balloon slightly and mounted it on foam tape. I added one end of the curly bit to the balloon knot and then adhered it in place to the corner. I gently pulled the curly bit and adhered the other end to the back of the bicycle.

9. I adhered the balloons in place, layering them slightly, then added the heart on top.
10. I adhered the basket to the front of the bike and inserted the leaves. I finger pleated all five of the flowers and adhered them to the top of the basket.

Here's one final look at the finished card:

* * * * *
Thanks so much for stopping by today!
I hope you feel inspired to try a fun Summer Scene Card of your own! :o)
* * * * *